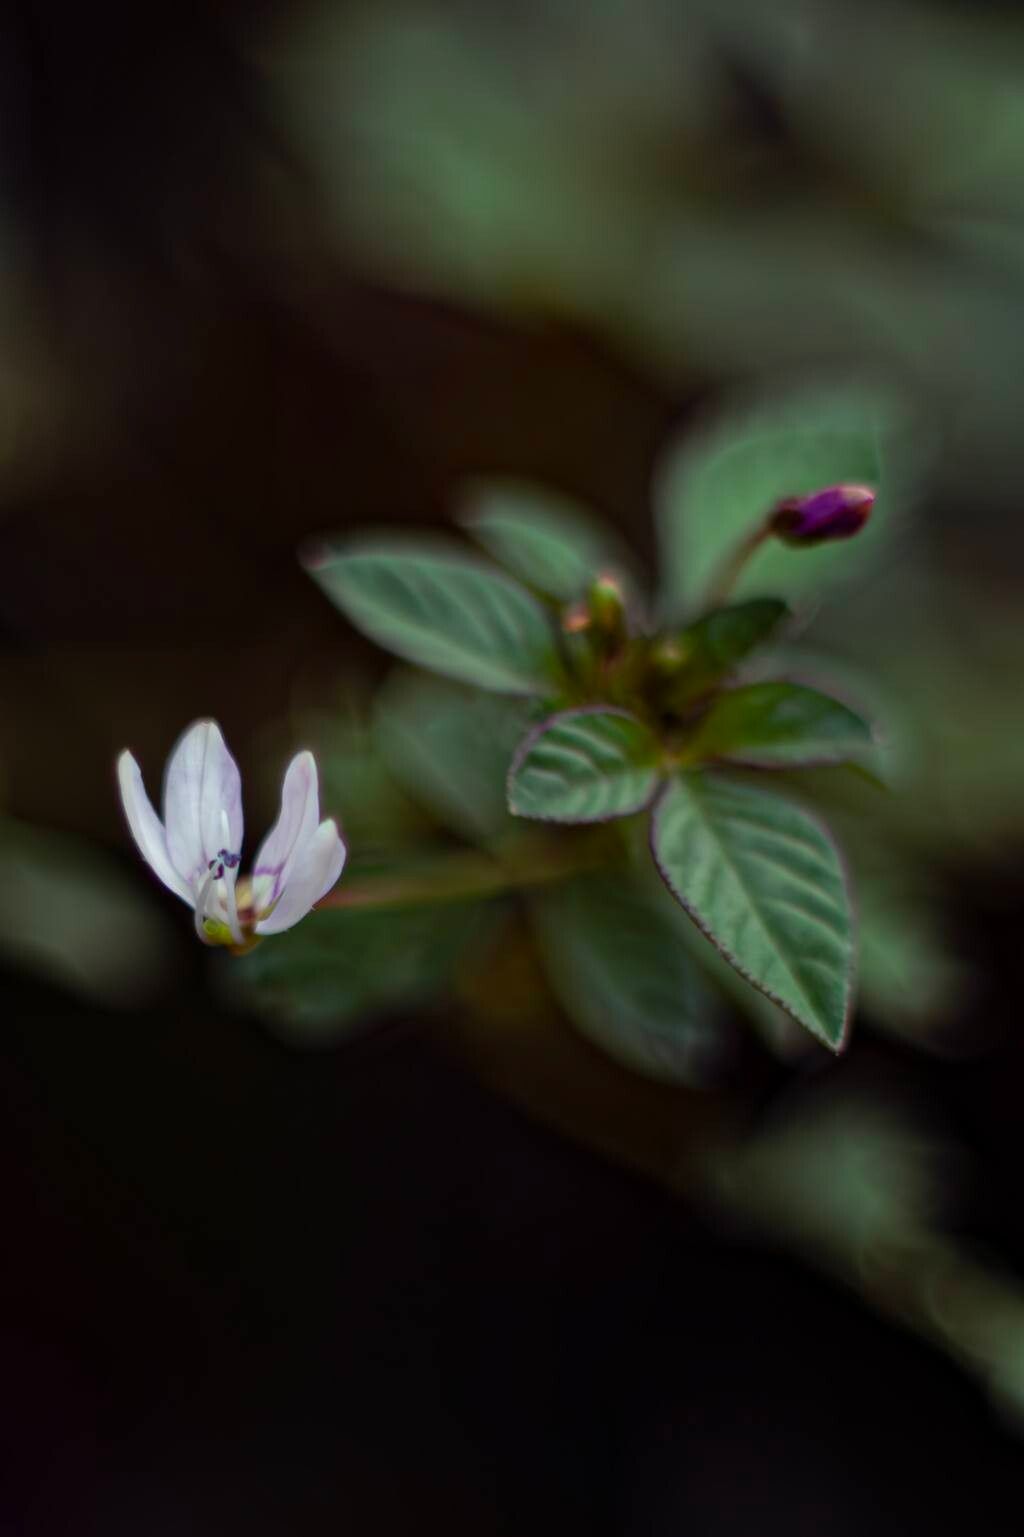
Oh, Cleome rutidosperma! I just adore the way these blooms, with their delicate spider-like petals, dance in the breeze. They bring such a cheerful, almost whimsical touch to any garden. Plus, they bloom for ages, putting on a real show from summer right into fall. And the best part? They’re surprisingly easy to propagate, which means you can fill your garden with these beauties without breaking the bank. Honestly, if you’re just dipping your toes into the world of plant propagation, Cleome rutidosperma is a fantastic place to start. You’ll be a pro in no time!
When to Get Growing
For the absolute best success, I find that starting your Cleome rutidosperma propagation in late spring or early summer is the sweet spot. This is when the plant is actively growing, full of vigor, and has plenty of energy to put into developing new roots. You can also try in early fall, but you might find the growth a bit slower as things cool down.
Your Propagation Toolkit
Here’s what you’ll want to have on hand to get started:
- Sharp, clean pruning shears or a sharp knife: For taking clean cuttings.
- Small pots or seed trays: With good drainage holes, of course!
- A quality potting mix: I like a blend of peat moss, perlite, and a bit of compost. This provides good aeration and moisture retention.
- Rooting hormone (optional but helpful): Especially if you’re new to cuttings. A powder or gel works well.
- A spray bottle: For misting.
- Plastic bags or a propagator lid: To create a humid environment.
- Labels and a marker: To keep track of what you’ve planted.
Bringing Your Cleome to Life
I’ve found the most straightforward way to propagate Cleome rutidosperma is through stem cuttings. It’s reliable and gives you clones of your existing, healthy plants.
- Take Your Cuttings: With your clean shears, select healthy, non-flowering stems from a mature plant. Look for stems that are about 4-6 inches long. Make your cut just below a leaf node (where a leaf joins the stem). This is where the magic happens, where new roots are most likely to form.
- Prepare the Cuttings: Gently remove the lower leaves from the stem, leaving just a few at the very top. This helps prevent them from rotting in the soil. If your leaves are quite large, you can even pinch or cut them in half to reduce moisture loss.
- Apply Rooting Hormone (if using): Dip the cut end of each stem into your rooting hormone. Just a light coating is all you need. Tap off any excess.
- Planting: Fill your small pots or trays with your prepared potting mix. Make a small hole in the center with your finger or a pencil. Gently insert the prepared cuttings into the holes, making sure the leaf nodes are covered by the soil. Firm the soil gently around each cutting.
- Water and Cover: Water gently but thoroughly. You want the soil to be moist, not waterlogged. Cover the pots with a clear plastic bag or place them inside a propagator with a lid. This creates a mini greenhouse, keeping the humidity high, which is crucial for cuttings.
My Little Secrets
Here are a couple of things I’ve learned over the years that really make a difference:
- Bottom Heat is Your Friend: If you have a propagation mat or can place your pots on top of a gently warm appliance (like a computer router, if it’s not too hot!), gentle bottom heat can significantly speed up root development. It’s like giving your cuttings a cozy little incubator.
- Don’t Let Them Drown: When you water your potted cuttings, make sure that no leaves are touching the surface of the water or the soil for too long after watering. Excess moisture directly on the leaves can encourage fungal diseases, and we definitely don’t want that!
Aftercare and What to Watch For
Once your cuttings look like they’re settling in, keep them in that bright, indirect light. Mist them every day or two, especially if you don’t have a propagator lid. You’ll know they’re rooting when you see new leaf growth appearing from the top. This usually takes anywhere from 3 to 6 weeks.
The main thing to watch out for is rot. If your cuttings look mushy, discolored, or slimy, it’s usually a sign of too much moisture and not enough air circulation. If you catch it early, you might be able to save them by removing the affected parts and giving them a bit more airflow.
Go Forth and Grow!
Propagation is such a rewarding part of gardening. It’s like unlocking a little bit of magic, turning one plant into many. Be patient with your Cleome cuttings. Some will take off right away, while others might take their sweet time. Just keep them happy, give them a bit of attention, and enjoy the process. You’ll have a garden bursting with these lovely blooms before you know it! Happy propagating!
Resource:
https://identify.plantnet.org/k-world-flora/species/Cleome%20rutidosperma%20DC./data