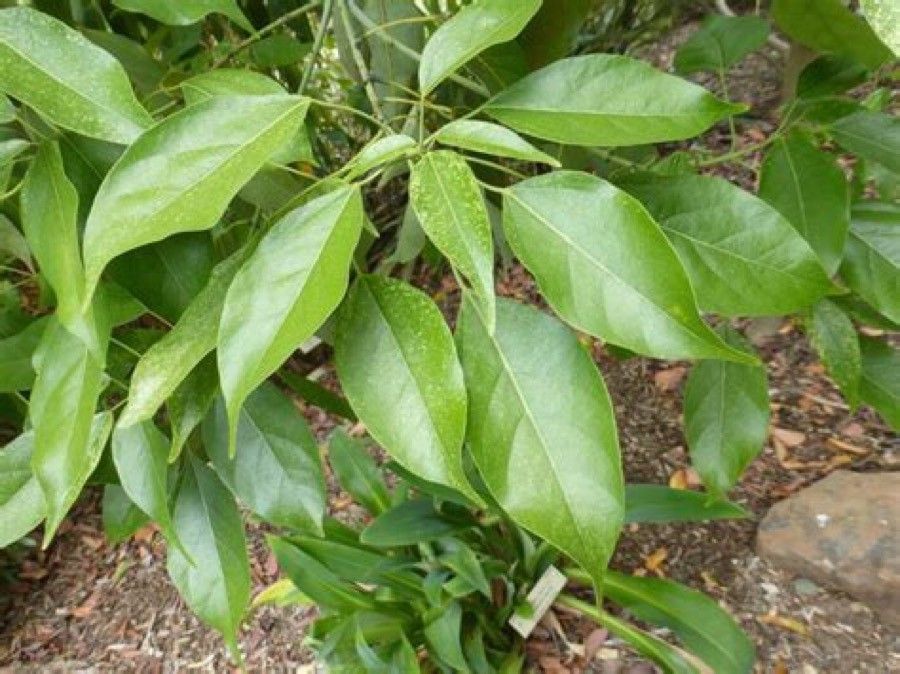
Hello, fellow plant lovers! Today, we’re diving into the wonderful world of propagation with a particularly elegant subject: Acer laurinum, also known as the Chinese Maple or Lavender Maple. This tree is simply stunning with its delicate, often fragrant foliage and beautiful autumn color. There’s something incredibly special about nurturing a new life from a piece of your existing plant, and Acer laurinum is a rewarding one to try, though it can be a bit of a slow starter, so patience is key! It’s not the easiest plant for absolute beginners, but with a little care and attention, you’ll be well on your way.
The Best Time to Start
For Acer laurinum, the sweet spot for propagation is generally late spring to early summer. This is when the plant is in its active growth phase, flush with new, pliable shoots. These young stems have a better chance of developing roots. If you miss this window, don’t despair – you can often have success with slightly harder wood in early autumn, but spring is my go-to for the highest success rate.
Supplies You’ll Need
Here’s a little kit to get you started:
- Sharp, clean pruning shears or a sharp knife: Crucial for making clean cuts that heal well.
- Rooting hormone: A powder or gel will significantly boost your chances.
- Potting mix: A light, airy mix is best. I like a blend of equal parts peat moss or coco coir and perlite. Some growers add a bit of coarse sand too.
- Small pots or seed trays: Whatever you have available, just ensure they have drainage holes.
- Plastic bags or a propagator: To create a humid environment for your cuttings.
- Water: For moistening your soil and misting.
- Labels: To keep track of what you’ve potted!
Propagation Methods
We’ll focus on stem cuttings, which is the most common and effective way to propagate Acer laurinum.
Taking Cuttings:
- Choose a healthy parent plant. Look for a stem that has grown this season – it should be pliable, not woody.
- Using your sharp shears, take a cutting that’s about 4-6 inches long. Make your cut just below a leaf node (where a leaf attaches to the stem).
- Remove the lower leaves from the cutting, leaving just a couple at the very top. This prevents them from rotting in the soil.
- If the remaining leaves are quite large, you can trim them in half horizontally. This reduces water loss through transpiration.
- Dip the cut end of your stem into your rooting hormone. Gently tap off any excess.
- Prepare your pots by filling them with your prepared potting mix. Moisten the mix thoroughly until it’s damp but not waterlogged.
- Using a pencil or your finger, make a small hole in the soil. Insert the hormone-coated end of your cutting into the hole.
- Gently firm the soil around the cutting to ensure good contact.
- Once you have several cuttings planted, water them in gently again.
- Cover the pots with a clear plastic bag or place them in a propagator. This creates a mini greenhouse, keeping humidity high. Make sure the leaves don’t touch the plastic. If you’re using bags, you might need to insert a few small stakes to keep the bag from collapsing onto the cuttings.
The “Secret Sauce” (Pro Tips)
Here are a few things I’ve learned over the years that make a difference:
- Bottom Heat is Your Friend: While not strictly essential, placing your pots on a heated propagator mat can dramatically speed up root development. Maple cuttings respond really well to a bit of warmth from below.
- Don’t Over-Heal: When you’re using rooting hormone, don’t use too much. A light coating is all that’s needed. Too much can actually inhibit rooting.
- Air Circulation is Key (Once Rooted): While you want to keep humidity high during rooting, once you start seeing tiny leaves or signs of growth, it’s a good idea to gradually increase ventilation. Open the propagator lid a little each day, or poke a few extra holes in the plastic bag. This helps the new plant acclimatize to drier air and prevents fungal issues.
Aftercare & Troubleshooting
Once your cuttings have developed roots (this can take anywhere from 4 to 8 weeks, or even longer for maples!), it’s time for a little more hands-on attention.
Signs of Rooting: You’ll often see new leaf growth appearing, and if you gently tug on the cutting, you’ll feel a slight resistance. You can also carefully slip the cutting out of its pot to check for roots.
Moving On: Once you see a good network of roots, you can transplant your new maple into a slightly larger pot with a good quality potting mix. Continue to keep it in a brightly lit spot, but out of direct, harsh sun for the first few weeks. Keep the soil consistently moist but not soggy.
Troubleshooting: The most common problem you’ll encounter is rot. This usually happens when the soil is too wet, or there’s not enough air circulation. If a cutting looks mushy and dark at the base, it’s likely rotted, and sadly, it’s time to discard it and start again. Avoid overwatering! Another sign of failure is a cutting that just shrivels up and dies, which can happen if it dries out too much, or if the rooting hormone didn’t take.
A Little Patience Goes a Long Way
Propagating Acer laurinum is a journey, not a race. There will be times when it feels slow, and maybe a cutting or two won’t make it. But don’t let that discourage you! Each attempt teaches you something new. Celebrate every bit of progress, and enjoy the quiet satisfaction of watching your new little maple grow. Happy gardening!
Resource:
https://identify.plantnet.org/k-world-flora/species/Acer%20laurinum%20Hassk./data