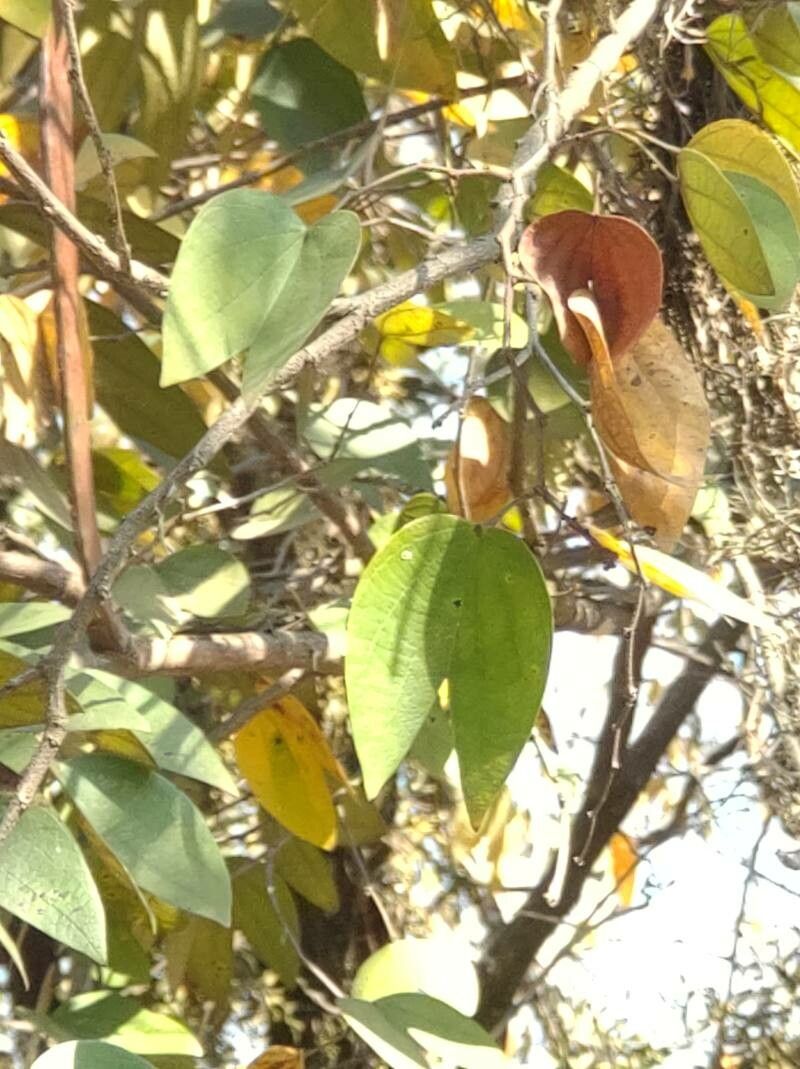
Hello fellow garden enthusiasts! Today, we’re diving into the wonderful world of Bauhinia cupulata, also known as the Mexican Orchid Tree. Its stunning, orchid-like flowers are a sight to behold, and trust me, getting more of these beauties for your garden is a deeply satisfying endeavor. While it might seem a little fancy, propagating this plant is actually quite achievable, even for those newer to the plant parent game. Think of it like baking a new cookie recipe – a little bit of care and attention goes a long way!
The Best Time to Start
The sweet spot for propagating Bauhinia cupulata is late spring to early summer. This is when the plant is in its most vigorous growth phase. You’ll want to take cuttings from new, semi-hardened growth. This means the stems aren’t floppy and green, but they also aren’t woody and stiff. They should bend a little without snapping.
Supplies You’ll Need
Gathering your tools beforehand makes the whole process smoother. Here’s what I usually have on hand:
- Sharp pruning shears or a clean craft knife: For making clean cuts.
- Rooting hormone powder or gel: Helps encourage root development.
- Well-draining potting mix: A good blend of perlite, peat moss, and a bit of compost is perfect. You can also find pre-made cuttings mixes.
- Small pots or seedling trays: Clean containers are crucial to prevent disease.
- Plastic bags or a mini greenhouse: To create a humid environment for the cuttings.
- Watering can or spray bottle: For gentle watering.
- Optional: Bottom heat mat: For consistent warmth, which can speed things up.
Propagation Methods
For Bauhinia cupulata, I find stem cuttings to be the most reliable and rewarding method.
Stem Cuttings:
- Select your cutting: Choose a healthy stem that’s about 4-6 inches long and has at least two sets of leaves. Make a clean cut just below a leaf node (where the leaf attaches to the stem).
- Prepare the cutting: Gently remove the lower leaves, leaving just the top two or three. This prevents them from rotting in the soil.
- Apply rooting hormone: Dip the cut end into your rooting hormone, ensuring it’s coated. Tap off any excess.
- Plant the cutting: Make a small hole in your potting mix with a pencil or your finger. Insert the cut end of the stem into the hole and gently firm the soil around it.
- Water and cover: Water the soil lightly until it’s moist, not soggy. Then, cover the pot with a clear plastic bag, securing it around the rim with a rubber band, or place it inside a mini greenhouse. This creates a humid microclimate.
- Provide light and warmth: Place the pot in a bright, indirect light location. If you have a bottom heat mat, now’s the time to use it – a consistent temperature of around 70-75°F (21-24°C) is ideal.
The “Secret Sauce” (Pro Tips)
Here are a couple of little tricks I’ve learned over the years that really make a difference:
- Scrape Gently: Before dipping in rooting hormone, I sometimes like to gently scrape away a sliver of the outer bark on the bottom inch of the stem. This exposes the cambium layer, which can significantly increase the chances of root formation. Just be gentle and don’t go too deep!
- Air Circulation is Key: While we want humidity, don’t keep those plastic bags sealed tighter than a drum day in and day out. Open the bag for about 15-30 minutes each day to allow for some air exchange. This helps prevent fungal diseases from taking hold.
Aftercare & Troubleshooting
Once your cuttings are planted, patience is your greatest virtue!
- Check for roots: After about 4-8 weeks, you can gently tug on a cutting. If you feel resistance, roots have likely formed. You might even see tiny white roots peeking out from the drainage holes.
- Transition slowly: When roots are established, gradually acclimate your new plant to drier air by opening the plastic bag more each day. Once it’s looking happy outside the bag for a week, you can remove it entirely. Continue to water when the top inch of soil feels dry.
- Watch for rot: The most common sign of failure is rot. This usually happens if the soil is too wet or the humidity is too high without enough air circulation. The cutting will turn mushy and dark. If you see this, it’s best to discard the cutting and start fresh with clean tools and a drier approach.
A Little Encouragement
Successfully propagating Bauhinia cupulata is such a rewarding feeling. You’ve nurtured a new life from a simple cutting! Don’t get discouraged if your first attempt isn’t perfect. Gardening is all about learning and experimenting. Keep trying, keep observing, and most importantly, enjoy the journey of growing your own beautiful orchid trees. Happy gardening!
Resource:
https://identify.plantnet.org/k-world-flora/species/Bauhinia%20cupulata%20Benth./data