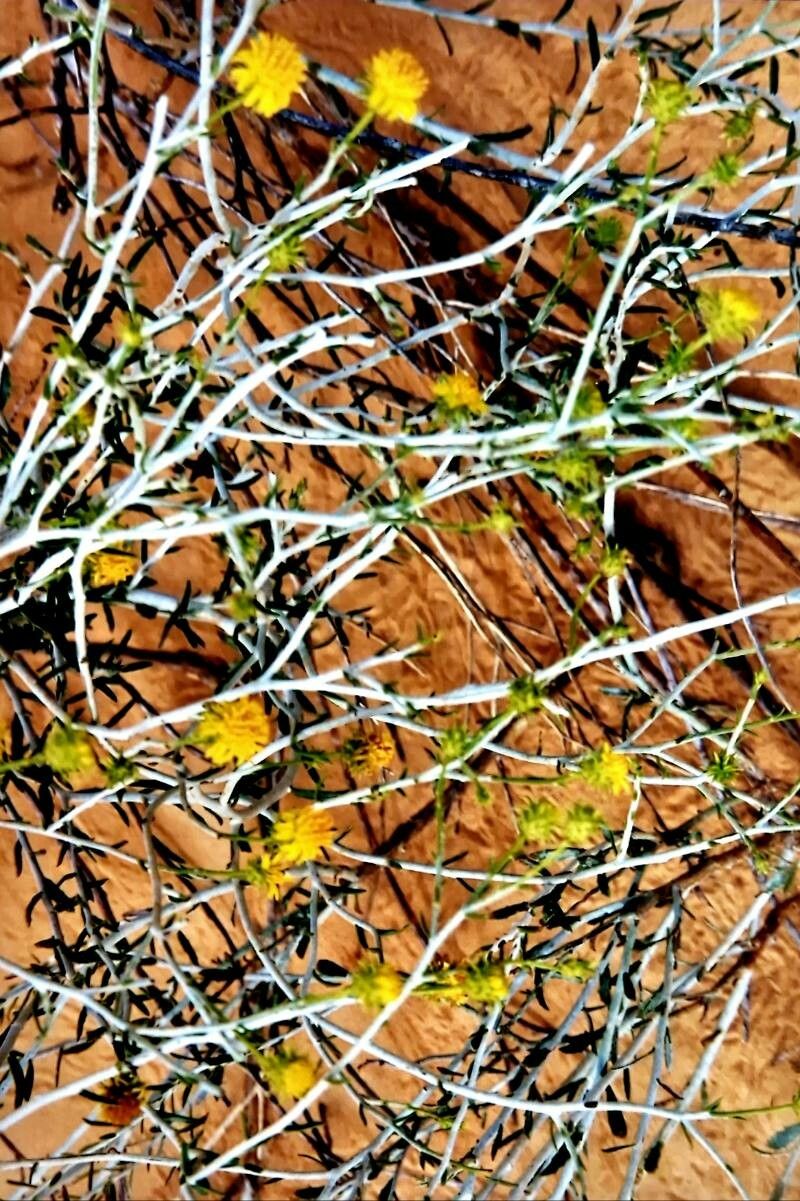
Rhanterium epapposum, often known as the “desert daisy” or “sticky daisybush,” is a tough beauty that truly shines in drier garden spots. Its masses of cheerful, white, daisy-like flowers and silvery foliage bring a lovely, almost Mediterranean feel to the landscape. And guess what? Propagating these resilient charmers is a wonderfully rewarding experience. If you’re relatively new to the plant propagation game, I’d say Rhanterium epapposum is a fairly easy plant to start with, especially if you’re patient.
The Best Time to Start
For the highest success rate, I always aim to take cuttings in late spring to early summer. This is when the plant is actively growing after its spring bloom. The stems are firm but not yet overly woody, which makes them ideal for rooting. You can also have a go at division in early spring, just as the plant starts waking up for the season.
Supplies You’ll Need
Gathering your supplies beforehand makes the whole process much smoother. Here’s what I usually have on hand:
- Sharp pruning shears or a clean knife: For taking clean cuts.
- Rooting hormone powder or gel: This is optional but can give your cuttings a significant boost.
- Potting mix: A well-draining mix is crucial. I like to use a blend of equal parts perlite and peat moss or a good quality seed-starting mix.
- Small pots or trays: With drainage holes, of course!
- A watering can with a fine rose: For gentle watering.
- Plastic bags or a propagator: To create a humid environment.
Propagation Methods
I find two methods work particularly well for Rhanterium epapposum: stem cuttings and division.
Stem Cuttings
This is my go-to method for creating lots of new plants.
- Select healthy stems: Look for non-flowering shoots that are about 4-6 inches long.
- Make the cut: Using your clean shears or knife, take a clean cutting just below a leaf node. Remove any flowers or flower buds.
- Prepare the cutting: Gently remove the lower leaves from the bottom half of the stem, leaving just a few at the top. This prevents them from rotting in the soil.
- Apply rooting hormone (optional): Dip the cut end into rooting hormone, tapping off any excess.
- Pot them up: Insert the cuttings about an inch deep into your prepared potting mix. Two or three cuttings per pot work well.
- Water gently: Water the soil thoroughly but avoid making it waterlogged.
- Create humidity: Cover the pots with a clear plastic bag or place them in a propagator. This traps moisture, mimicking the humid conditions cuttings need to root. Make sure the leaves don’t touch the plastic.
- Provide bright, indirect light: Find a warm spot that receives plenty of bright, indirect light.
Division
This method is best done in early spring.
- Dig up the clump: Carefully dig up the entire plant, trying to disturb the roots as little as possible.
- Gently tease apart: With your hands or a trowel, gently separate the clumps into smaller sections, ensuring each section has roots and some shoots.
- Replant immediately: Plant the divisions in their new locations or in pots with fresh, well-draining soil. Water them in well.
The “Secret Sauce” (Pro Tips)
Over the years, I’ve picked up a few tricks that seem to make all the difference.
- Bottom heat is your friend: For stem cuttings, placing your pots on a heat mat set to a low temperature (around 70-75°F or 21-24°C) can significantly speed up root development. The warmth encourages root growth from the base.
- Don’t rush the transplant: Resist the urge to pull on your cuttings to see if they’ve rooted. You’ll know they’re ready when you see new leaf growth or resistance when you gently tug. This usually takes 4-6 weeks.
- Air circulation is key: Once your cuttings have rooted, gradually acclimatize them to normal room humidity by opening the plastic bag or propagator for increasing periods each day. Good air circulation helps prevent fungal issues.
Aftercare & Troubleshooting
Once your cuttings have developed a good root system, it’s time for them to become independent plants!
- Watering: Water them regularly when the top inch of soil feels dry. Avoid overhead watering, as this can encourage fungal diseases.
- Light: Continue to provide bright, indirect light. As they get stronger, you can gradually introduce them to more direct sun.
- Potting up: If they’re in small pots, they’ll eventually need to be potted up into larger containers or planted in their permanent garden spot.
The most common issue you might encounter is rot. This usually happens when cuttings are kept too wet or don’t have enough air circulation. If you see your cuttings turn black and mushy, it’s a sure sign of rot, and sadly, they’re usually beyond saving. Prevention is key here – ensure excellent drainage and don’t overwater! Another sign of trouble is if cuttings simply shrivel up; this can mean they’re too dry or not getting enough humidity.
A Hug from Your Garden Mentor
Propagating Rhanterium epapposum is a wonderful way to fill your garden with these sun-loving beauties. Be patient, enjoy the process of watching new life emerge. It’s a truly satisfying part of gardening. Happy propagating!
Resource:
https://identify.plantnet.org/k-world-flora/species/Rhanterium%20epapposum%20Oliv./data