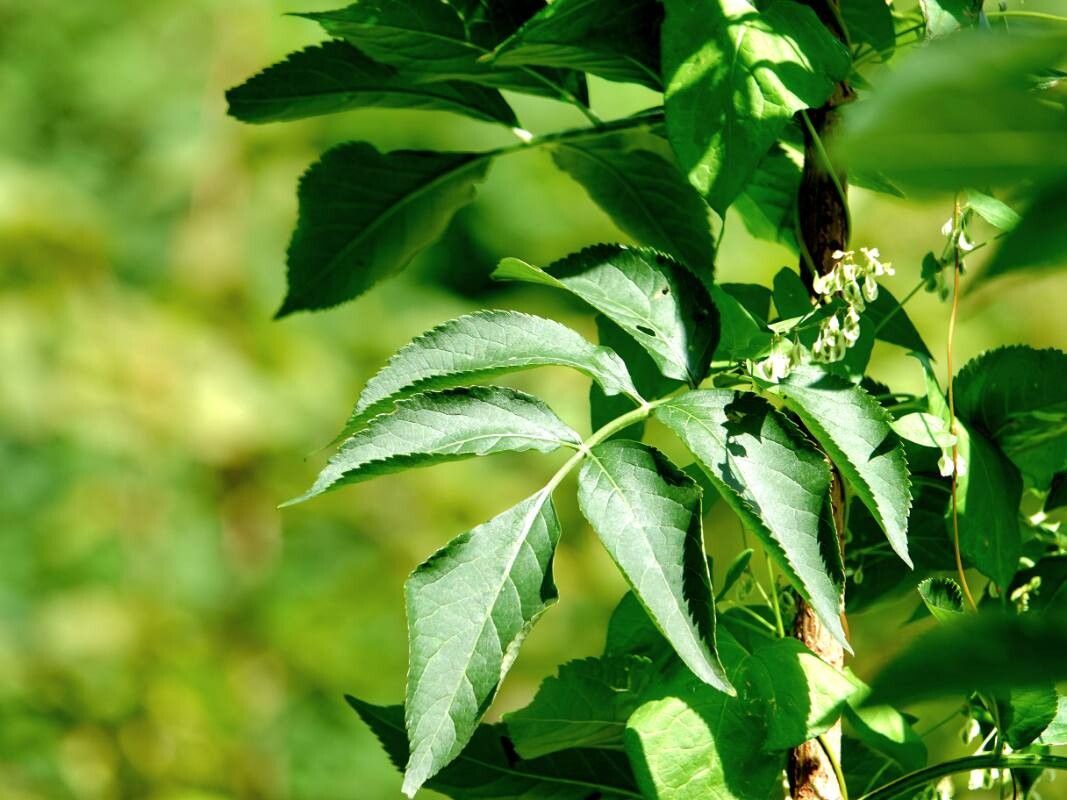
Well hello there, fellow plant enthusiast! It’s so lovely to have you join me today. We’re going to dive into something truly rewarding: propagating Fallopia dumetorum. You know, that gorgeous vine with its delicate, heart-shaped leaves and charming clusters of white flowers? It’s a real charmer in the garden, and growing more of them from your existing plants feels like a little bit of gardening magic.
I’m happy to report that propagating Fallopia dumetorum is surprisingly easy, even for those of you just starting out on your plant journey. It’s a forgiving plant, and watching a tiny cutting transform into a robust new specimen is incredibly satisfying. Think of it as sharing your plant love with the world, one new vine at a time!
The Best Time to Start
For the highest success rate, I always recommend starting your propagation efforts in late spring or early summer. This is when the plant is actively growing and has plenty of energy to put into developing roots. Look for stems that are flexible and a bit woody, but not old and stiff. They should feel firm to the touch.
Supplies You’ll Need
Gathering your supplies beforehand makes the whole process much smoother. Here’s what I usually have on hand:
- Sharp pruning shears or a clean knife: For making clean cuts.
- Rooting hormone (optional but recommended): Helps to speed up root development.
- Small pots or trays: Clean ones are essential to prevent disease.
- Well-draining potting mix: A mix of peat moss, perlite, and compost works wonderfully. You can also use a standard seedling mix.
- Plastic bags or a propagator: To create a humid environment.
- Watering can with a fine rose: For gentle watering.
Propagation Methods
Let’s get our hands dirty! Fallopia dumetorum is a breeze to propagate from stem cuttings. It’s my go-to method for this beauty.
Stem Cuttings:
- Select your stems: Find healthy, non-flowering stems from your mature plant. Aim for stems that are about 6-10 inches long.
- Make the cut: Using your sharp shears, make a clean cut just below a leaf node (where a leaf attaches to the stem). This is crucial because roots often emerge from these nodes.
- Prepare the cuttings: Remove the lower leaves, leaving only a couple of leaves at the top. This reduces water loss. If your leaves are very large, you can even cut them in half.
- Apply rooting hormone (optional): Dip the cut end of the stem into your rooting hormone. Tap off any excess.
- Plant your cuttings: Stick the cut end of the stem about 1-2 inches deep into your prepared potting mix. Gently firm the soil around it.
- Create a humid environment: Water the soil thoroughly until it’s moist but not soggy. Cover the pots with a clear plastic bag or place them in a propagator. This traps humidity, which is vital for cuttings to root. You can prop the bag up with stakes so it doesn’t touch the leaves.
- Place them in good light: Put your cuttings in a bright spot that receives indirect sunlight. Avoid direct sun, as it can scorch the delicate cuttings.
The “Secret Sauce” (Pro Tips)
Here are a few little tricks I’ve learned over the years that can make all the difference:
- Don’t be afraid of smaller pieces: Sometimes, cuttings that look a bit small and insignificant are actually the ones that root with the most vigor. Trust your instincts and try a few different sizes.
- Bottom heat is your friend: If you have access to a heat mat, placing your pots on it can significantly speed up root development. It mimics the warmth of spring soil and gives those roots a real boost.
- Change the water in your misting bottle: If you’re misting your cuttings, make sure to use fresh, clean water regularly to prevent any fungal issues from developing.
Aftercare & Troubleshooting
Once your cuttings have rooted (you’ll know they have when you see new leaf growth and feel a gentle resistance when you tug on them lightly), it’s time to transition them to their next stage.
Aftercare:
- Gradual acclimatization: Slowly remove the plastic cover or open the propagator over a few days to allow the new plants to adjust to normal humidity levels.
- Watering: Continue to water them gently, keeping the soil consistently moist but not waterlogged.
- Potting up: Once they have developed a good root system, you can pot them up into slightly larger individual pots with fresh potting mix.
Troubleshooting:
The most common issue you might encounter is rot. This usually happens if the soil is too wet and there isn’t enough air circulation. If you see a cutting turning black or mushy, it’s best to discard it to prevent the rot from spreading. It’s also normal for some cuttings to simply not take. Don’t be discouraged! Gardening is a journey of experimentation.
A Encouraging Closing
And there you have it! Propagating Fallopia dumetorum is a truly rewarding experience. Be patient with your little cuttings, offer them the right conditions, and you’ll be rewarded with a whole new collection of these beautiful vines. Happy gardening, and enjoy the process of bringing new life into your home and garden!
Resource:
https://identify.plantnet.org/k-world-flora/species/Fallopia%20dumetorum%20(L.)%20Holub/data