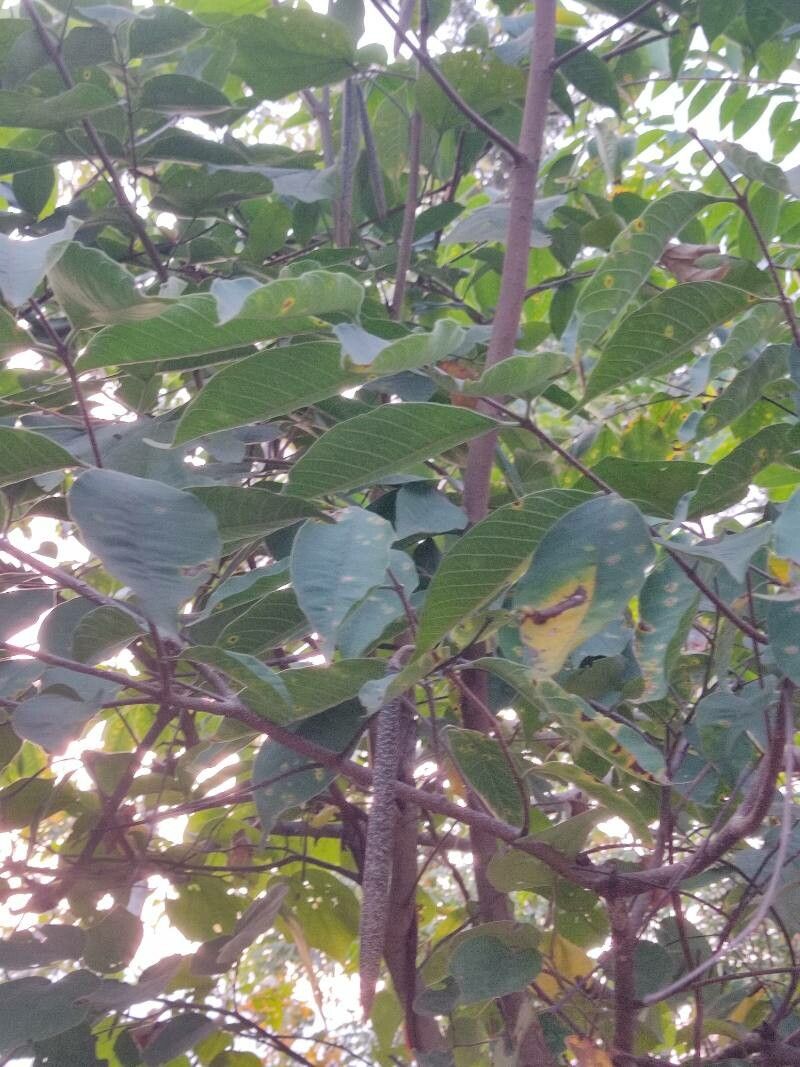
Hello, fellow garden enthusiasts! Let’s chat about one of my absolute favorites: Wrightia arborea, also known as the sweet plum or sweet Indrajao. I’ve spent two decades coaxing these beauties into existence, and let me tell you, there’s a special kind of joy in watching your very own plant flourish from a tiny cutting. This lovely tree, with its fragrant white flowers and attractive foliage, brings a delightful touch to any garden or even a sunny patio. Propagating Wrightia arborea can be a bit of a rewarding challenge. It’s generally moderately easy to propagate, so don’t be intimidated – with a little patience, you’ll be successful!
The Best Time to Start
For the highest success rate with Wrightia arborea, I always aim to take cuttings in the late spring to early summer. This is when the plant is actively growing, putting out nice, semi-hardwood stems. These active growth periods mean the plant has plenty of energy to channel into rooting. Avoid taking cuttings when the plant is stressed, say, from extreme heat or drought.
Supplies You’ll Need
Here’s a little checklist to get you started. Having everything ready makes the process so much smoother!
- Sharp Pruning Shears or a Knife: Cleanliness is key to preventing disease.
- Rooting Hormone Powder or Gel: This is a great boost, especially for woody cuttings.
- Small Pots or Seedling Trays: With good drainage holes, of course!
- Well-Draining Potting Mix: I love a blend of equal parts coco coir, perlite, and a bit of compost. You can also buy a good quality cactus and succulent mix.
- Clear Plastic Bag or Humidity Dome: To keep those cuttings moist.
- Water Spray Bottle: For misting.
- Optional: Heated Mat: Helps to encourage root development.
Propagation Methods
My preferred method for Wrightia arborea is through stem cuttings. It’s reliable and gives great results.
- Select Your Cuttings: Look for healthy, non-flowering stems that are about pencil-thick and roughly 4-6 inches long. You want a piece that has both new growth and a bit of older, slightly woody stem (this is your semi-hardwood).
- Make the Cut: Using your clean pruning shears or knife, make a clean cut just below a leaf node. This is where the magic happens for root formation. Remove the lower leaves, leaving just a few at the top.
- Apply Rooting Hormone: Dip the cut end of the stem into your rooting hormone powder or gel. Gently tap off any excess. This step really encourages those roots to form more quickly.
- Plant Your Cuttings: Fill your small pots with your well-draining potting mix. Make a hole in the center with your finger or a pencil, and insert the cutting. Firm the soil gently around it.
- Create a Humid Environment: Water the soil thoroughly until it drains from the bottom. Then, cover the pot with a clear plastic bag, propped up with a stick so it doesn’t touch the leaves, or place it under a humidity dome. This creates a microclimate that keeps the cuttings from drying out.
- Place and Wait: Put your pots in a bright spot with indirect light. Avoid direct sun, which can scorch young cuttings. If you have a heated mat, place the pots on top of it.
The “Secret Sauce” (Pro Tips)
After years of trial and error, I’ve picked up a few tricks that make a real difference:
- The “Wiggle Test”: After about 4-6 weeks, gently tug on a cutting. If you feel resistance, congratulations – you likely have roots! Don’t pull too hard, though; you don’t want to damage those tender new roots.
- Don’t Overwater! This is crucial. While you want to keep the soil consistently moist, soggy conditions are a fast track to rot. Let the top layer of soil dry out slightly between waterings.
- Bottom Heat is Your Friend: If you can provide bottom heat (around 70-75°F or 21-24°C), it significantly speeds up root development. This is especially helpful if your ambient temperatures are cooler.
Aftercare & Troubleshooting
Once you see signs of new leaf growth, it’s a good indicator that your cuttings have rooted. At this point, you can gradually acclimate them to less humid conditions. Start by opening the plastic bag for a few hours each day, then progressively longer.
The biggest issue you might encounter is rot. If you see your cuttings turning black and mushy, it’s usually a sign of too much moisture and not enough air circulation. Unfortunately, there’s not much you can do once rot sets in, so preventative measures (like using the right mix and not overwatering) are key. Brown, crispy leaf tips can indicate it’s too dry, so increase your misting slightly or check your humidity cover.
A Encouraging Closing
Propagating plants is a journey of patience and observation. There will be times when something doesn’t quite work out, and that’s okay. Learn from it, adjust your approach, and try again. Each cutting is a little experiment, a little hope for a new, beautiful plant. So go ahead, grab those shears, and enjoy the incredibly satisfying process of bringing more Wrightia arborea into your world! Happy gardening!
Resource:
https://identify.plantnet.org/k-world-flora/species/Wrightia%20arborea%20(Dennst.)%20Mabb./data