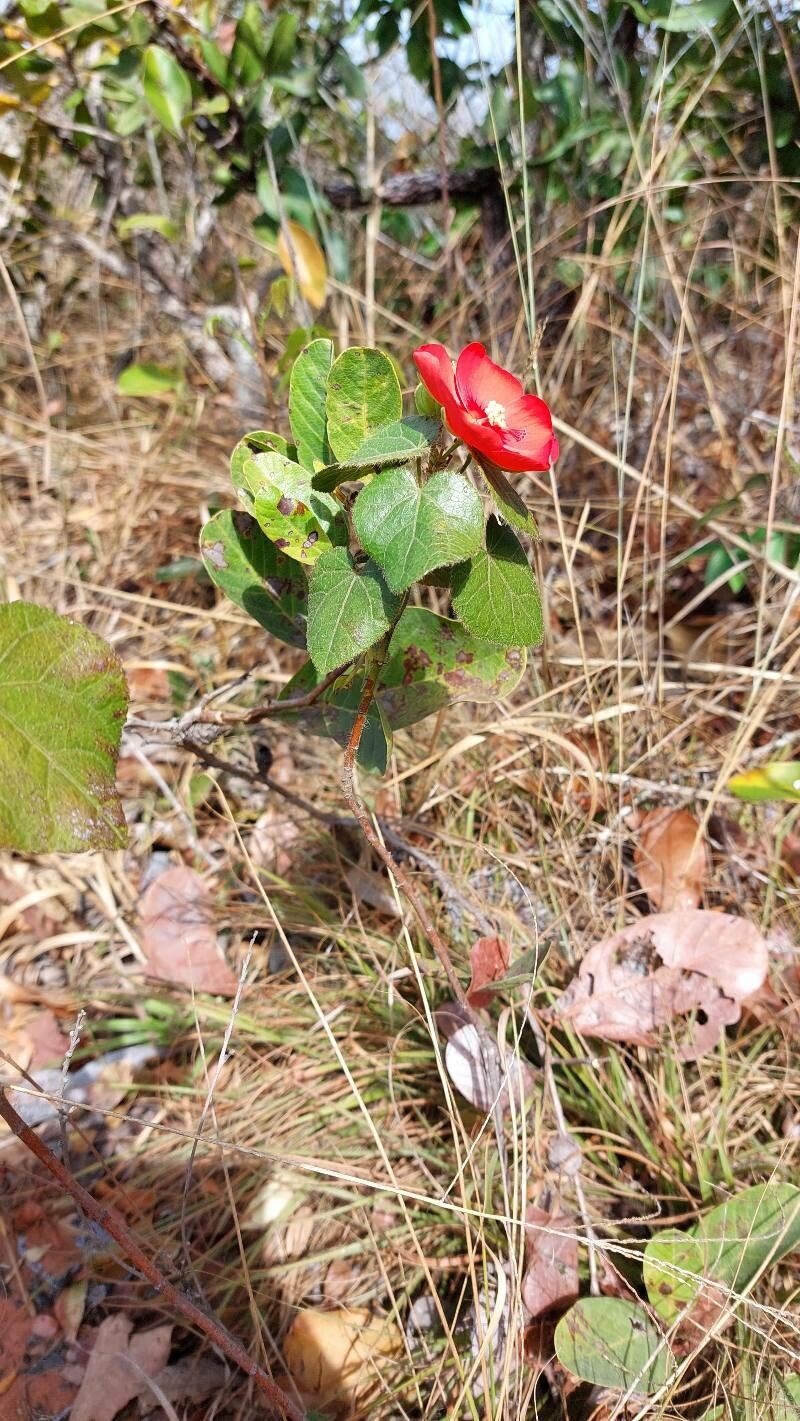
Oh, hello there! If you’ve ever been captivated by the delicate, hibiscus-like blooms of Pavonia rosa-campestris, you’re in for a treat. This little gem, often called the “rose mallow,” brings such a sweet, charming vibe to the garden with its pink to reddish-purple flowers that just keep on coming. And the best part? Sharing that beauty by propagating it yourself is incredibly satisfying. Now, I know some plants can feel a bit intimidating to multiply, but Pavonia rosa-campestris is actually quite a friendly companion for propagation. You’ll likely find success even if you’re just getting your hands dirty with this kind of thing for the first time!
The Best Time to Start
For the highest success rate with Pavonia rosa-campestris, I always aim to start in the spring or early summer. This is when the plant is actively growing and has plenty of energy to put into developing new roots. You’re looking for new, but firm, growth. Avoid taking cuttings from woody, older stems or from very soft, brand-new shoots that haven’t quite toughened up yet.
Supplies You’ll Need
Here’s what I typically have on hand when I’m about to propagate my Pavonia:
- Sharp Pruning Shears or a Knife: Cleanliness is key for preventing disease.
- Rooting Hormone: While not strictly essential for Pavonia, it can give your cuttings a nice boost. I prefer a powdered form, but gels work too.
- Potting Mix: A light, well-draining mix is crucial. I usually use a blend of equal parts peat moss or coco coir and perlite. You can also buy specialized seed-starting or cutting mixes.
- Small Pots or Seedling Trays: Make sure they have drainage holes!
- Plastic Bags or a Propagator with a Lid: This helps create a humid environment for your cuttings.
- Water: For misting and preparing your rooting hormone.
- Labels and a Marker: To keep track of what you’ve planted and when.
Propagation Methods
Pavonia rosa-campestris is quite obliging and roots readily from stem cuttings. This is my go-to method, and it’s wonderfully straightforward.
Stem Cuttings:
- Take Your Cuttings: In the spring or early summer, select healthy stems that are about 4-6 inches long. Use your clean pruners or knife to make a cut just below a leaf node (where a leaf attaches to the stem). This is where roots are most likely to form. Remove any flowers or flower buds from the cutting, as these will just drain energy from root development. You can also gently remove the lower leaves, leaving just 2-3 at the top.
- Apply Rooting Hormone: If you’re using rooting hormone, dip the cut end of the stem into water, then into the powder or gel. Make sure the end is evenly coated. Tap off any excess.
- Potting Up: Fill your small pots or trays with your prepared potting mix. Make a hole in the center of the mix with your finger or a pencil.
- Insert Cuttings: Gently push the cut end of the stem into the hole, ensuring the leaves aren’t buried. Firm the soil gently around the base of the cutting. You can place multiple cuttings in one pot, giving them a little space (about 2 inches apart).
- Water and Cover: Water the soil thoroughly until it’s moist but not soggy. Then, cover the pot or tray with a plastic bag or place it inside a propagator. This creates that essential humid microclimate.
- Provide Light and Warmth: Place your cuttings in a bright spot, but out of direct sunlight. A windowsill that gets bright, indirect light is perfect. If you have a heat mat, placing the pots on it can really speed up rooting – this is a fantastic boost!
The “Secret Sauce” (Pro Tips)
Here are a couple of things I’ve learned over the years that really help:
- Don’t Let the Leaves Touch the Water (If Water Propagating): While I primarily use soil for Pavonia, if you decide to try water propagation (which is also possible!), it’s crucial that the leaves never sit in the water. Submerged leaves will rot, and that’s a quick way to lose your cutting before it even has a chance to grow. Just the bare stem should be in the water.
- Bottom Heat is Your Friend: As I mentioned, using a heat mat can make a world of difference. It mimics the warmth of spring soil and encourages vigorous root development far faster than just ambient room temperature. It’s a game-changer for many types of cuttings.
Aftercare & Troubleshooting
Once your cuttings have taken root – you’ll typically see new growth appearing on top and feel a gentle tug when you lightly pull on the stem – it’s time for a little adjustment.
- Acclimatization: Gradually remove the plastic bag or propagator lid over a few days. This helps the new plant get used to the drier air.
- Watering: Continue to water consistently, allowing the top inch of soil to dry out between waterings.
- Moving Up: Once the new plant is a good size and has developed a healthy root system, you can pot it up into a slightly larger container with fresh potting soil.
- Troubleshooting: The most common issue you’ll encounter is rot. If your cuttings turn black and mushy at the base, it’s usually a sign of too much moisture and not enough air circulation. Overwatering is the main culprit. If you see wilting that doesn’t perk up after watering, and the stem is still firm, it might just be thirsty. However, if the stem feels soft and mushy, it’s likely rot. Prevention is key: ensure good drainage and don’t overwater!
A Word of Encouragement
So there you have it! Propagating Pavonia rosa-campestris is a lovely way to expand your collection or share the joy with friends. Be patient with your little cuttings, offer them the right conditions, and don’t be discouraged if you have a few that don’t make it. Every gardener has those! Enjoy the process, and soon you’ll be rewarded with more of those beautiful rose mallow flowers. Happy propagating!
Resource:
https://identify.plantnet.org/k-world-flora/species/Pavonia%20rosa-campestris%20A.St.-Hil./data