Oh, hello there! I’m so glad you’re thinking about bringing more of those cheerful little dandelions into your garden. You know, the ones with those bright, sunny faces? Many people see them as weeds, but I’ve always had a soft spot for Taraxacum perincisum. Their bold yellow blooms are such a welcome sight, and their persistence is, frankly, inspiring! Propagating them is a wonderfully rewarding project. You get to witness that miracle of life bursting forth, and you’ll have more of those cheerful blooms to brighten your landscape. And the best news? For beginners, this is an absolutely fantastic plant to start with. It’s remarkably forgiving.
The Best Time to Start
The easiest time to get going with Taraxacum perincisum propagation is when the plant is actively growing. This usually means late spring to early summer. You’re looking for plants that are full of life, with good, solid green leaves and developing flower stalks. Avoid trying to propagate from a plant that’s stressed, struggling, or past its peak bloom.
Supplies You’ll Need
Gathering your tools beforehand makes the whole process smoother. Here’s what you’ll want:
- Sharp pruning shears or a clean knife: For making clean cuts.
- Well-draining potting mix: A good quality seed-starting mix or a blend of peat moss and perlite works beautifully.
- Small pots or trays: Clean containers with drainage holes are essential.
- Watering can or spray bottle: For gentle watering.
- Rooting hormone (optional but helpful): A powder or gel can give an extra boost.
- Patience! This is the most important supply.
Propagation Methods
Taraxacum perincisum is wonderfully straightforward. We’ll focus on two of the most successful methods:
Seed Starting
This is the classic dandelion approach!
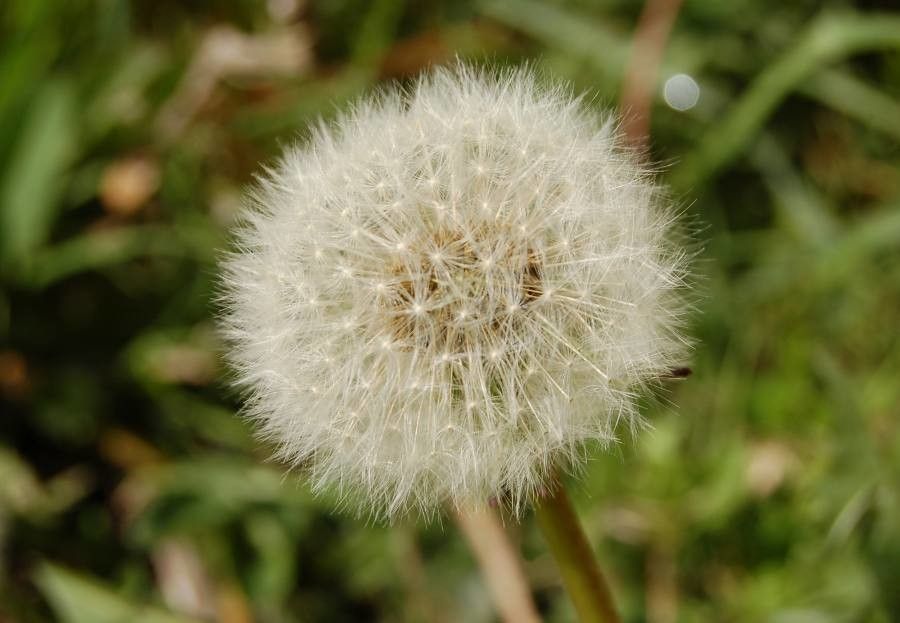
- Harvest the seeds: Wait until the flower heads turn into those fluffy seed balls. Don’t wait too long, or the wind will whisk them away! Gently pluck a seed head, or hold a paper bag underneath and give it a shake.
- Prepare your pots: Fill your small pots or trays with the well-draining potting mix. Leave about an inch of space at the top.
- Sow the seeds: Lightly scatter the seeds over the surface of the soil. You don’t need to bury them deeply – they actually benefit from a bit of light. Just gently press them into the soil surface.
- Water gently: Use a spray bottle or a very fine-mist watering can to moisten the soil. You want it damp, not soggy.
- Provide conditions: Place the pots in a bright location, but out of direct, scorching sun. A windowsill is often perfect. Keep the soil consistently moist.
- Germination: You should see little green sprouts emerge within 1 to 3 weeks.
Root Cuttings
This method is surprisingly effective if you have established plants.
- Identify a healthy plant: Choose a mature, vigorous dandelion.
- Dig carefully: Gently loosen the soil around the base of the plant. You’re aiming to expose the main taproot, which is usually quite thick. Use your hands or a trowel for this.
- Take your cutting: With your clean shears or knife, cut a section of the primary taproot that is at least 2-3 inches long. Make sure your cut is clean.
- Prepare the cutting: If you’re using rooting hormone, dip the cut end into it.
- Plant the cutting: Fill a small pot with your well-draining mix. Make a hole in the center and insert the root cutting vertically, with the end that was closer to the crown of the plant pointing upwards. The cut end should be about an inch or so below the soil surface.
- Water and place: Water gently until the soil is moist. Place the pot in a warm, bright spot.
The “Secret Sauce” (Pro Tips)
Here are a few little tricks I’ve picked up over the years:
- For root cuttings, bottom heat is your friend: Dandelions are resilient, but giving your root cuttings a little warmth from below – like placing the pots on a heat mat set to a low temperature – can significantly speed up root development. You’ll often see roots form much faster.
- Don’t overwater those little seedlings: Taraxacum perincisum seedlings are susceptible to damping off, which is a fungal disease that can topple them over. Keep the soil consistently moist, but never waterlogged. Good air circulation is also key.
- Think about the roots, not just the leaves: When you’re taking root cuttings, focus on getting a substantial piece of that thick taproot. A tiny sliver won’t have enough stored energy to get going. Aim for a good, healthy chunk.
Aftercare & Troubleshooting
Once your seeds have sprouted or your root cuttings have put on new top growth, it’s time to treat them like treasured seedlings. Continue to water them consistently, ensuring the soil stays moist but not soggy. You can gradually introduce them to more light, but still avoid harsh, direct sun for young plants.
The most common issue you might encounter is rot, especially if you’re overwatering. If you see seedlings wilting and their stems becoming mushy at the base, it’s usually a sign of too much moisture and poor drainage. If this happens, gently try to remove the affected plants and ensure better airflow and slightly less watering for the rest. Fungal diseases can also be a concern in overly humid, stagnant conditions.
A Little Seedling Encouragement
Growing dandelions from seed or cuttings is a delightful way to connect with the resilience and beauty of nature. Don’t be discouraged if every single attempt doesn’t pan out perfectly – that’s part of the learning curve for any gardener! Be patient with your little sprouts. Watch them grow, enjoy those sunny blooms, and know that you’ve brought a little bit more of that cheerful yellow magic into the world. Happy gardening!
Resource: