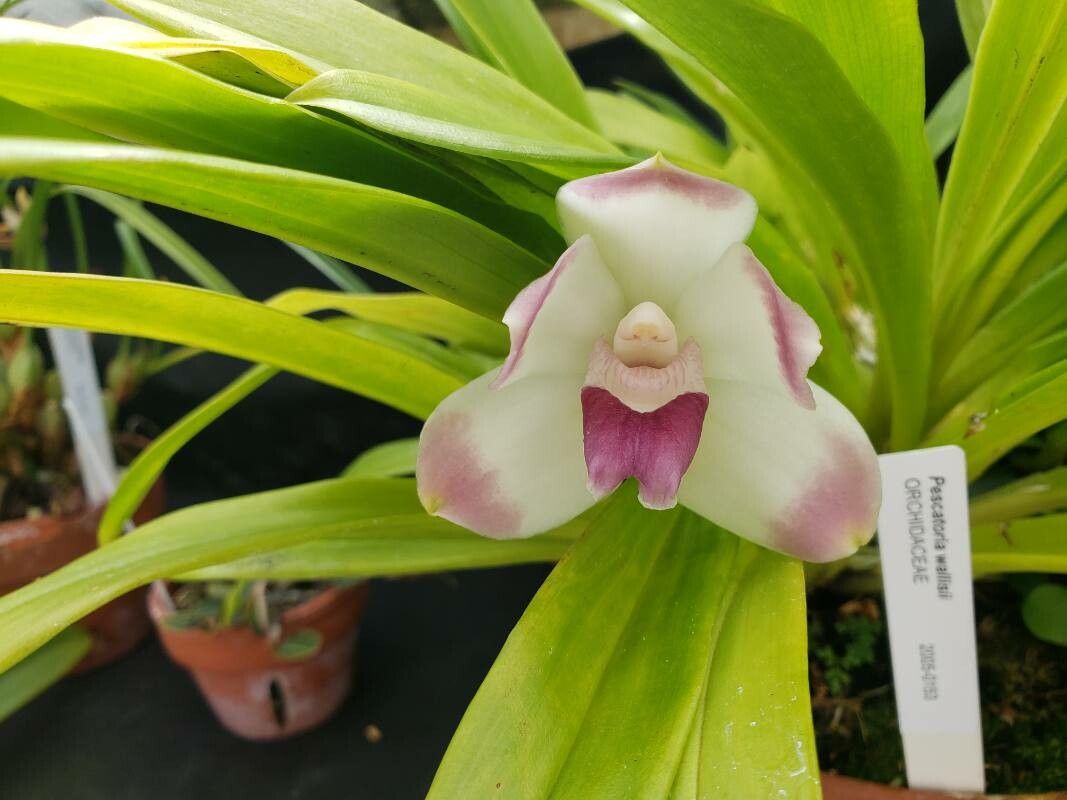
Hello, fellow plant enthusiasts! Today, we’re diving into a truly special orchid, one that brings a touch of the exotic to any collection: Pescatoria wallisii. If you’ve ever admired its vibrant blooms and wondered if you could welcome more of this beauty into your home, you’re in the right place! Propagating orchids, especially this one, can feel a little daunting, but I promise, with a bit of care and the right know-how, you’ll be rewarded with a whole new generation of these stunning flowers.
Why Propagate Pescatoria wallisii?
There’s something incredibly satisfying about nurturing a new plant from a piece of an old one. You get to witness that magic firsthand. Pescatoria wallisii produces these gorgeous, often fragrant, flowers that can truly brighten up a room. Imagine having multiple plants to share with friends or to fill a whole display space! Now, for a reality check: propagating Pescatoria wallisii isn’t what I’d call a beginner’s weekend project. It requires a bit of patience and attention to detail, but the results are absolutely worth the effort.
The Best Time to Start
The absolute sweet spot for propagating Pescatoria wallisii is during its active growing season, which is typically late spring to early summer. This is when the plant has the most energy to put into developing new roots and shoots. You’ll want to choose a healthy, mature pseudobulb that looks plump and robust, free from any signs of disease or stress.
Supplies You’ll Need
Here’s a quick rundown of what you’ll want to have on hand:
- Sharp, sterile pruning shears or a clean knife: Sanitation is key to preventing infection.
- Orchid bark mix: A well-draining mix specifically formulated for orchids is essential. Think a good balance of bark chips, perlite, and sphagnum moss.
- Small pots or containers: Clean, with drainage holes, of course!
- Rooting hormone (optional but recommended): This can give your cuttings a helpful boost.
- Spray bottle: For gentle misting.
- Clear plastic bag or humidity dome: To maintain humidity around your cuttings.
Propagation Methods: Division is Your Friend
For Pescatoria wallisii, the most reliable and straightforward propagation method is division. This involves carefully separating a mature plant into smaller sections, each with its own roots and at least a couple of healthy pseudobulbs.
- Gently remove the orchid from its pot. You might need to tap the sides of the pot to loosen it.
- Carefully clean off any excess old potting mix from the roots. A gentle stream of water can help here.
- Examine the plant. Look for natural divisions where you can see distinct sections, each with its own rhizome (the creeping stem that connects the pseudobulbs and roots).
- Using your sterile shears or knife, carefully cut through the rhizome to separate the divisions. Ensure each division has at least two to three healthy pseudobulbs and a good amount of healthy roots.
- Inspect the cut surfaces. If they look a bit mushy or damaged, you can gently scrape away any affected tissue. It’s a good idea to let these cut surfaces air dry for a day or two in a well-ventilated spot. This helps to form a callus and prevents rot.
- Prepare your new pots. Fill them with your fresh orchid bark mix.
- Pot up each division. Place the division in the pot, ensuring the roots are spread out as much as possible. The pseudobulbs should be positioned so they are at or slightly above the surface of the potting mix.
- Water sparingly at first. Don’t drench it. Just a light watering to settle the mix.
The “Secret Sauce” (Pro Tips)
Here are a few things I’ve learned over the years that really make a difference:
- Don’t rush the drying process. That day or two letting the cut ends callus over is crucial for preventing future rot. It might feel counterintuitive, but it’s a lifesaver!
- Consider bottom heat. If you have a propagation mat, placing your newly potted divisions on it can provide gentle warmth, encouraging root development. Orchids love a bit of an encouraging warmth from below.
- Humidity is key, but avoid stagnant water. After potting, I like to place a clear plastic bag loosely over the pot, or use a humidity dome. This creates a mini-greenhouse. However, make absolutely sure no leaves are touching the sides or bottom of the bag where moisture can collect. That’s a direct invitation for fungal issues.
Aftercare & Troubleshooting
Once your divisions are potted, give them a bright, indirect light and maintain good air circulation. Water only when the potting mix is almost dry to the touch. You’re looking for signs of new growth – tiny new roots emerging from the base of the pseudobulbs or a new shoot. This can take a few weeks, so be patient!
The most common issue you might encounter is rot. If you see your pseudobulbs turning soft, mushy, or developing dark spots, it’s likely due to overwatering or poor air circulation. If rot sets in, you may need to remove the affected parts and repot with fresh, dry medium, making sure to let any cuts air dry thoroughly again. Sometimes, unfortunately, a division caught by rot is beyond saving. Don’t get discouraged; learn from it and try again!
Happy Growing!
Propagating Pescatoria wallisii is a journey, one that requires a gentle hand and a keen eye. But the joy of seeing a new plant flourish, knowing you coaxed it into existence, is truly unmatched. Be patient with your new orchid babies, celebrate every little sign of progress, and most importantly, enjoy the process of nurturing life. Happy growing!
Resource: