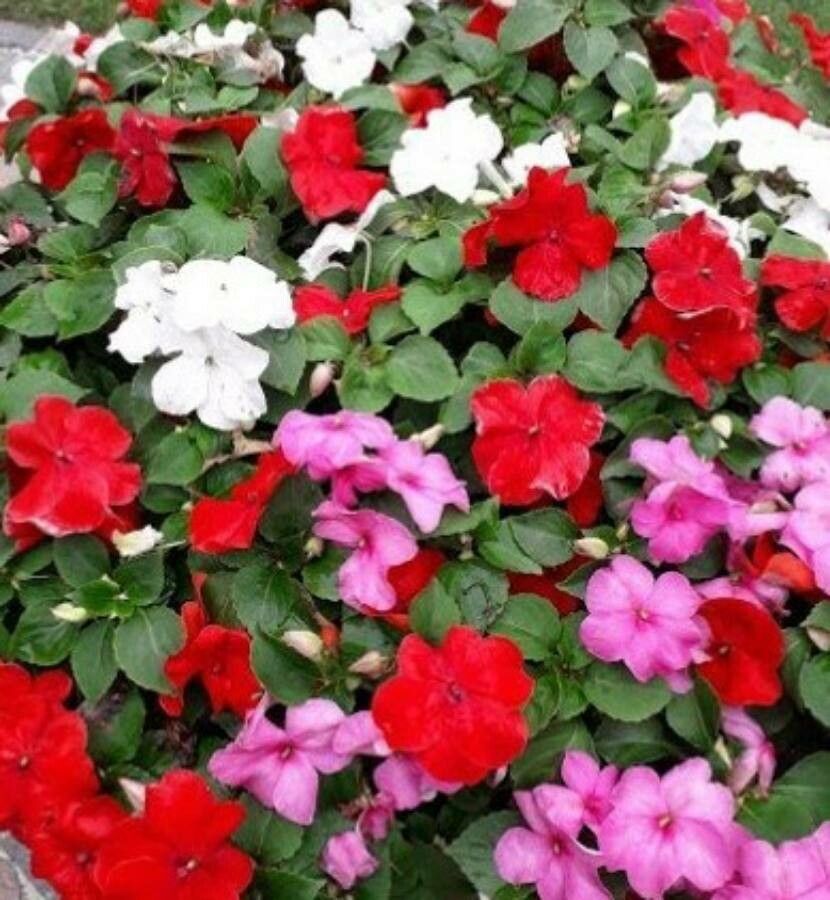
Oh, Impatiens walleriana! Those cheerful bursts of color – the pinks, the purples, the vibrant oranges – they just make any shady corner sing, don’t they? I’ve been growing them for years, and frankly, they’re a favorite of mine. Not only do they brighten up my garden and patio pots, but propagating them is incredibly rewarding. Honestly, if you’re just starting out with plant propagation, Impatiens are a wonderful place to begin. They’re quite forgiving!
The Best Time to Start
For the highest success rate, I find that late spring to early summer is the absolute sweet spot. This is when the parent plants are actively growing, full of energy, and ready to put out new shoots. You’ll have plenty of healthy stems to work with. You can also do this in late winter indoors if you have good light, but spring is just perfect.
Supplies You’ll Need
Gathering your supplies beforehand makes the whole process so much smoother. Here’s what I always have on hand:
- Clean, sharp pruning shears or scissors: To make clean cuts.
- Rooting hormone (optional but helpful): A powder or gel that encourages root development.
- Well-draining potting mix: A light mix, suitable for seedlings or cuttings. I often use a blend of peat moss, perlite, and a bit of compost.
- Small pots or seed trays: Clean ones are a must!
- A spray bottle: For misting.
- A clear plastic bag or dome: To create a humid environment.
- A sunny windowsill or grow light: For light.
- A tray or larger pot: For water propagation.
Propagation Methods
Impatiens are wonderfully versatile, and I’ve had great luck with a couple of methods.
Stem Cuttings
This is my go-to method, and it’s incredibly effective.
- Take your cuttings: Find a healthy, vigorously growing Impatiens plant. Using your clean shears, snip off a stem tip that’s about 3-4 inches long. Make the cut just below a leaf node – that little bump on the stem where leaves emerge. These nodes are where roots will form!
- Prepare the cutting: Gently peel off the lower leaves, leaving just a couple of leaves at the very top. If the leaves are large, you can even cut them in half to reduce water loss as the cutting works on establishing roots.
- Apply rooting hormone (if using): Dip the cut end of the stem into your rooting hormone. Tap off any excess.
- Plant your cuttings: Fill your small pots with your well-draining potting mix. Make a small hole with your finger or a pencil, and insert the cutting, ensuring the leaf nodes you exposed are under the soil surface. Gently firm the soil around the stem.
- Provide humidity: Water the soil lightly from the bottom if you can, or just mist the surface. Then, cover the pot with a clear plastic bag or place it inside a humidity dome. This traps moisture, which is crucial for cuttings that don’t yet have roots to absorb water.
Water Propagation
This method is incredibly satisfying to watch!
- Take your cuttings: Similar to the stem cutting method, snip off a 3-4 inch stem tip just below a leaf node.
- Prepare the cutting: Remove all the lower leaves, making sure no leaves will be submerged in the water. This is key to preventing rot.
- Place in water: Pop your cuttings into a glass or jar filled with clean water. A sunny spot or bright indirect light is perfect. Change the water every few days to keep it fresh.
- Watch for roots: You’ll start to see tiny white roots appearing from the nodes. It’s so exciting! Once the roots are about an inch long, they’re ready to be planted.
The “Secret Sauce” (Pro Tips)
Here are a couple of things I’ve learned over the years that really make a difference:
- Don’t let the leaves touch the water (for water propagation): I can’t stress this enough. Even one leaf submerged will eventually rot and can take your entire cutting down with it. Keep them high and dry!
- Bottom heat is your friend: If you’re serious about propagation, especially if you’re doing it earlier in the season or want faster results, consider a seedling heat mat. Placing your pots on a gentle heat source encourages root development much more quickly. It’s like giving those roots a cozy bed to grow in!
Aftercare & Troubleshooting
Once roots have formed (you’ll see them peeking out the drainage holes of your pots, or they’ll be an inch or so long in water), it’s time for a little more TLC.
If you started with stem cuttings, gradually acclimate your new plants to drier air by opening the plastic bag or dome a little each day for a week. Water them regularly, but don’t let them sit in soggy soil. Keep them in bright, indirect light.
If you propagated in water, plant your rooted cuttings gently into your potting mix. Water them well initially to help settle the soil around the new roots.
The main thing to watch out for is rot. If your cuttings turn mushy or black and fall apart, it’s usually a sign of too much moisture and not enough air circulation. If you see this happening, try increasing air flow, adjusting your watering schedule, and ensuring your soil drains well. Sometimes, a cutting just doesn’t make it, and that’s okay! Don’t get discouraged.
A Encouraging Closing
Propagating Impatiens is a wonderful way to multiply your favorite colors and share them with friends. Be patient with your little cuttings – they’re working hard to establish themselves. Enjoy the journey, and soon you’ll have a whole new collection of these beloved blooms to brighten your world. Happy growing!
Resource:
https://identify.plantnet.org/k-world-flora/species/Impatiens%20walleriana%20Hook.f./data