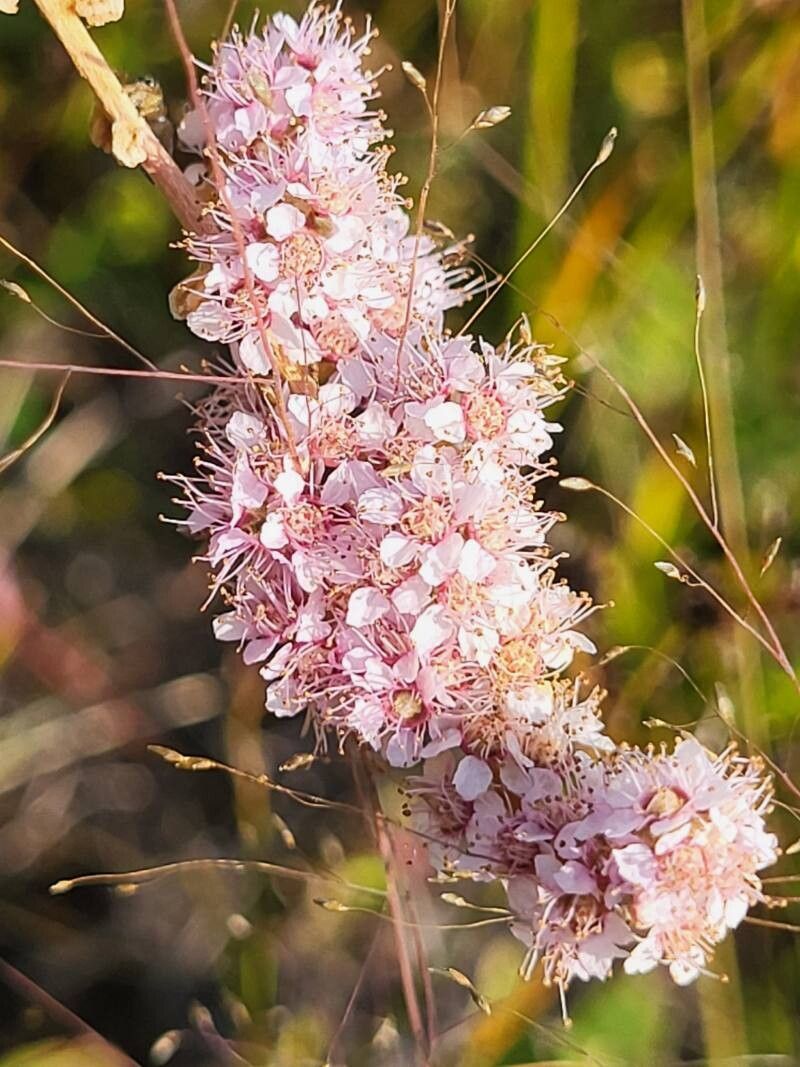
Oh, Spiraea tomentosa! If you’ve ever admired those charming, fuzzy pink flower spikes on this native shrub, then you know exactly why I’m so excited to talk about propagating it. It’s a garden gem, a magnet for pollinators, and surprisingly easy to share with friends – or just to fill out your own landscape. Honestly, for many gardeners, getting new Spiraea plants started is a really rewarding experience, and I’m here to show you how.
The Best Time to Start
For Spiraea tomentosa, or Steeplebush, the sweet spot for propagation is generally late spring to early summer. You’re looking for semi-hardwood cuttings. These are shoots that have started to toughen up a bit but are still flexible. Think of it as the plant’s strong, but not woody, adolescent phase. Trying too early with soft, floppy green stems can lead to disappointment, and waiting too late, when the wood is too hard, makes rooting more of a challenge.
Supplies You’ll Need
Before we dig in, let’s gather our tools. Having everything ready makes the process so much smoother, like having your ingredients prepped before you start cooking.
- Sharp Pruning Shears or a Knife: Cleanliness is key here to prevent disease.
- Rooting Hormone: A powder or gel specifically for cuttings. It really gives them a boost!
- Potting Mix: A well-draining blend is crucial. I like to use a 50/50 mix of perlite and peat moss or coco coir. You can also find pre-made propagation mixes.
- Small Pots or Trays: With drainage holes, of course!
- Plastic Bags or a Propagation Dome: To keep humidity high.
- Watering Can or Spray Bottle: For gentle watering.
- (Optional) Bottom Heat Mat: If your house is on the cooler side.
Propagation Methods
Now for the fun part – getting new plants! I find stem cuttings to be the most reliable method for Spiraea tomentosa.
Stem Cuttings
- Take Your Cuttings: On a nice, non-rainy morning when the plant is turgid, select healthy, vigorous stems from your mature Spiraea. Look for those semi-hardwood shoots. Aim for cuttings that are about 4-6 inches long.
- Prepare the Cuttings: Using your clean shears, make a clean cut just below a leaf node (where a leaf attaches to the stem). Remove the leaves from the bottom two-thirds of the cutting. If the remaining leaves are very large, I’ll often cut them in half horizontally. This reduces water loss while still allowing for some photosynthesis.
- Apply Rooting Hormone: Dip the cut end of each cutting into the rooting hormone, tapping off any excess. This really helps stimulate root formation.
- Plant the Cuttings: Fill your small pots or trays with your prepared potting mix. Make a hole in the center with a pencil or your finger, then insert the cutting, ensuring the hormone-coated end is covered by soil. Gently firm the soil around the stem.
- Water Gently: Water the soil thoroughly but gently so you don’t wash away the hormone or dislodge the cuttings.
- Create a Humid Environment: Place the pots in a location that receives bright, indirect light. Cover the pots loosely with a plastic bag or place them under a propagation dome. The goal is to keep the humidity high around the cuttings.
The “Secret Sauce” (Pro Tips)
Here are a few little tricks I’ve picked up over the years that can make a big difference for Spiraea:
- Don’t let the leaves touch the water if you’re thinking about water propagation. While possible, Steeplebush roots are more reliably produced in soil. If you do try water, make sure only the very bottom of the stem is submerged and change the water regularly.
- Bottom heat is your friend! If you have a propagation mat, placing your pots on it can significantly speed up root development. It mimics the warmth of spring soil. Rooting hormones work best with a little warmth.
- Cleanliness is paramount. I can’t stress this enough. Always use clean tools and pots. A speck of mold can set you back considerably.
Aftercare & Troubleshooting
Once your cuttings are planted, be patient! It can take anywhere from 4 to 8 weeks (or sometimes a bit longer) for roots to form. You’ll know they’re ready when you see new leaf growth or feel a gentle resistance when you tug lightly on the stem.
Keep the soil consistently moist but not soggy. Overwatering is the most common reason for failure, leading to rot. If you see wilting, check the moisture level.
Look out for rot: If a cutting turns black and mushy, it’s likely rotted. Remove it immediately to prevent it from affecting others. Also, if the leaves start to yellow and drop excessively, it might be too dry or the light is too intense. Adjust as needed.
Once roots are established, you can slowly acclimate them to lower humidity by gradually opening the bag or dome over a few days. Then, you can transplant them into their own small pots, and once they’re a good size and the danger of frost has passed, into the garden!
A Little Encouragement
Propagating plants is a dance with nature, and like any dance, it takes a little practice. Don’t be discouraged if every cutting doesn’t make it. Celebrate the successes, learn from any setbacks, and most importantly, enjoy the process of bringing new life into your garden. Happy growing!
Resource:
https://identify.plantnet.org/k-world-flora/species/Spiraea%20tomentosa%20L./data