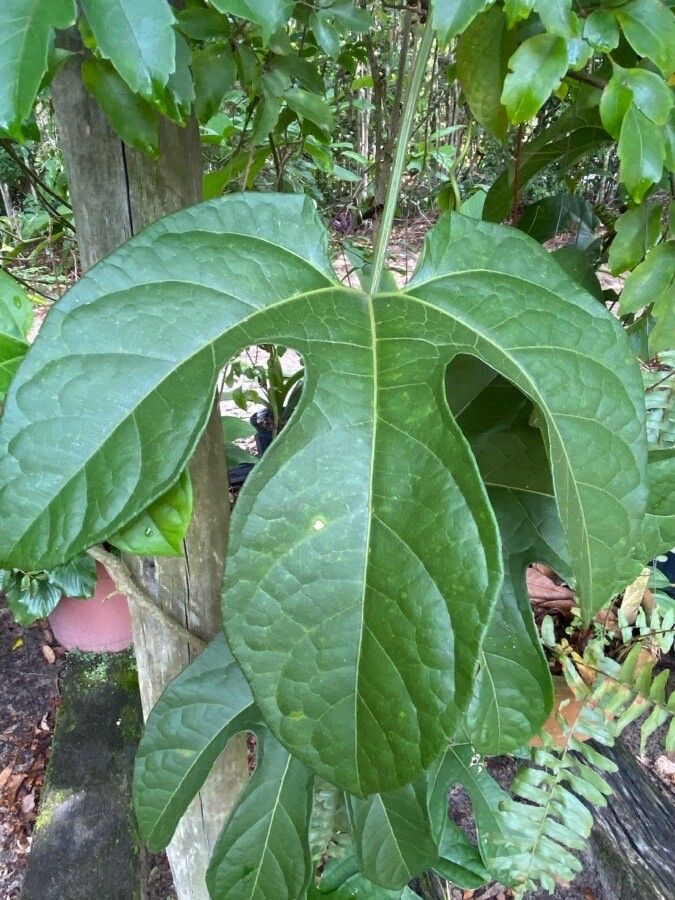
Hello, fellow plant enthusiasts! I’m so excited to share my passion for one of my favorite leafy wonders: Gurania sellowiana. If you haven’t had the pleasure yet, imagine lush, cascading foliage that brings instant tropical vibes to any space. It’s a plant that truly sings with life, and the joy of watching a new baby Gurania sprout from a simple cutting? Well, that’s pure gardening magic!
Now, I know some folks might be a bit intimidated by propagation, but let me tell you, Gurania sellowiana is surprisingly forgiving, which makes it a fantastic choice for those dipping their toes into the world of plant multiplication. We’ll get you set up for success.
The Best Time to Start
For Gurania sellowiana, the sweet spot for propagation is definitely late spring through summer. This is when the plant is actively putting on new growth and has plenty of energy. You want to be taking cuttings from healthy, mature stems that are neither too woody nor too soft and new. Think of it as catching the plant at its peak vigor!
Supplies You’ll Need
Gathering your supplies beforehand makes the whole process much smoother. Here’s what I always have on hand:
- Sharp Pruning Shears or a Clean Knife: For making clean cuts and avoiding damage.
- A Well-Draining Potting Mix: I love a blend of equal parts peat moss, perlite, and coco coir. This provides air circulation and retains just enough moisture.
- Rooting Hormone (Optional, but Recommended): This little helper can significantly speed up root development. I prefer a powder form for cuttings.
- Small Pots or Seed Trays: For your new cuttings. Make sure they have drainage holes!
- Plastic Bags or a Clear Dome: To create a humid environment for your cuttings.
- Watering Can or Spray Bottle: For gentle watering.
- Optional: Heating Mat: This can really boost rooting in cooler conditions.
Propagation Methods
Gurania sellowiana is wonderfully versatile, and stem cuttings are my go-to method. It’s incredibly rewarding!
Stem Cuttings
This is where the real fun begins.
- Select Your Donor Plant: Find a healthy, actively growing stem on your mature Gurania.
- Make the Cut: Using your clean shears or knife, take a cutting that is about 4-6 inches long. Make the cut just below a leaf node (where a leaf attaches to the stem). This is where roots are most likely to form.
- Prepare the Cutting: Gently remove the lower leaves from the cutting, leaving only the top two or three leaves intact. If the remaining leaves are very large, you can give them a trim by cutting them in half diagonally – this reduces water loss.
- Apply Rooting Hormone (If Using): Dip the cut end of the stem into your rooting hormone, tapping off any excess.
- Plant Your Cuttings: Fill your small pots with your prepared, moist potting mix. Make a small hole in the center with your finger or a pencil. Carefully insert the cut end of the Gurania cutting into the hole, ensuring the leaf node is below the soil surface. Gently firm the soil around the stem.
- Create a Humid Environment: Water the soil lightly. Then, either cover the pot with a clear plastic bag (propped up with stakes so it doesn’t touch the leaves) or place it under a clear dome. This humidity is crucial for preventing the cutting from drying out before it forms roots.
- Find a Warm, Bright Spot: Place your potted cuttings in a location that receives bright, indirect light. Avoid direct sun, which can scorch the tender cuttings.
The “Secret Sauce” (Pro Tips)
Now for a few of my hard-won secrets that can make a real difference.
- Don’t let the leaves touch the water in your humidity dome or bag! If they’re constantly wet, they’re more prone to rot. Keep them elevated.
- Bottom heat is your friend. If you have a propagation mat or can place your pots on top of a gently warm appliance (like a refrigerator or computer tower), this will significantly encourage root development. Gurania loves a bit of warmth from below.
- Be patient with leaf drop. It’s completely normal for a cutting to drop a few of its lower leaves as it conserves energy to focus on root growth. Don’t despair if this happens!
Aftercare & Troubleshooting
Once you start seeing signs of new growth, like tiny leaves unfurling or the stem looking plumper, it’s a good sign that roots are forming. You can gently tug on the cutting; if you feel resistance, you’ve got roots!
Once your Gurania sellowiana has established a good root system (you’ll see roots emerging from the drainage holes or the plant will feel firmly anchored), you can slowly acclimate it to less humidity. Gradually lift the plastic bag or dome for longer periods each day. After a week or two, you can remove it entirely. Water your new plant when the top inch of soil feels dry.
The most common issue you’ll face is rot. If your cutting turns mushy or black, it’s likely succumbed to rot. This is often due to too much moisture and not enough air circulation. If you catch it early, you might be able to salvage a healthy section, but often, it’s best to start again. Ensure your soil drains well and isn’t waterlogged.
A Encouraging Closing
Propagating Gurania sellowiana is a truly rewarding journey. It’s a practice that connects you more deeply with your plants and fills your home with even more green goodness. Don’t be discouraged if your first attempt isn’t a rousing success; every gardener has had their share of cuttings that didn’t make it. Learn from it, try again, and most importantly, enjoy the process of bringing new life into your world. Happy propagating!
Resource:
https://identify.plantnet.org/k-world-flora/species/Gurania%20sellowiana%20(Schltdl.)%20Cogn./data