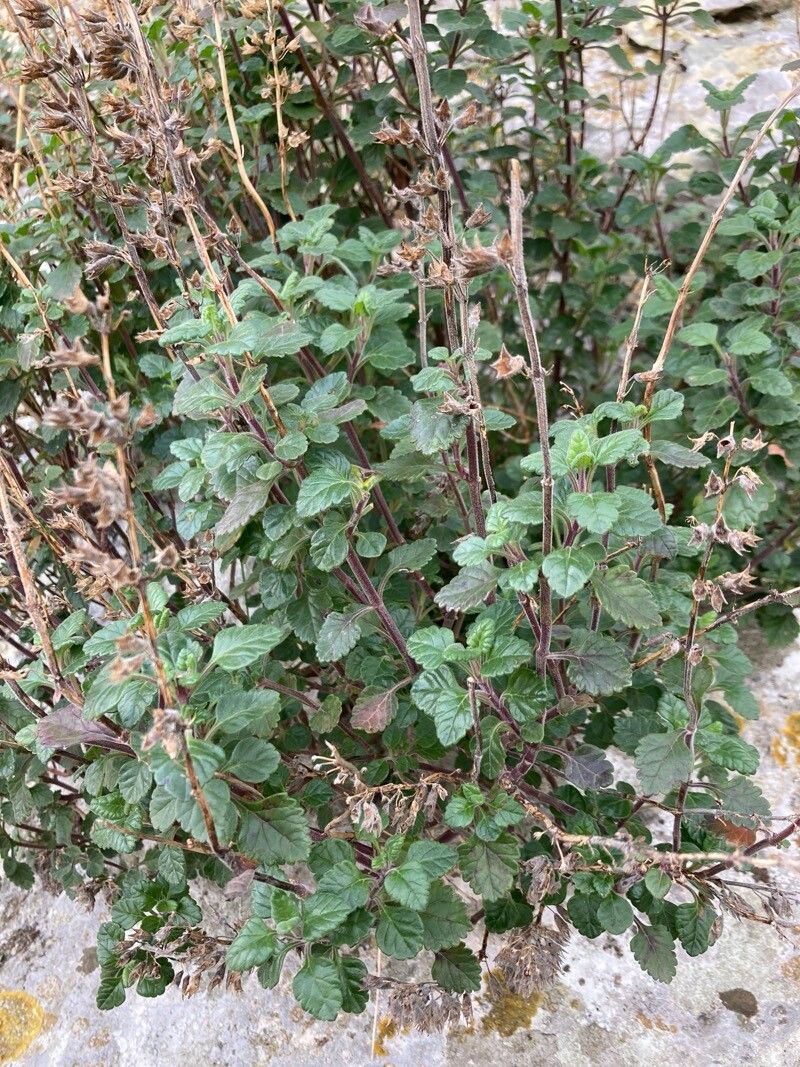
Oh, Teucrium flavum! If you’re looking for a plant that brings a touch of Mediterranean charm to your garden with its lovely pale yellow flowers and subtle fragrance, you’re in for a treat. It’s often called Yellow Germander, and I find it such a rewarding plant to grow. And guess what? Propagating it is a fantastic way to expand your collection or share the beauty with fellow garden friends.
Some folks might shy away from propagating, thinking it’s a fiddly affair. But honestly, Teucrium flavum is remarkably easy to propagate, even for beginners. It’s quite forgiving, which is always a bonus in my book. You’ll feel that thrill of creating something new from a piece of your existing plant – it’s pure garden magic!
The Best Time to Start
For the highest success rate with Teucrium flavum, I always reach for my secateurs in late spring to early summer. This is when the plant is actively growing, and the new shoots have usually hardened off just enough to make good cuttings. You’re looking for stems that are no longer totally soft and floppy but haven’t become stiff and woody. Think of them as being in that “pencil-lead” stage – firm but still flexible.
Supplies You’ll Need
Before we get our hands dirty, let’s gather our essentials. It’s always good to be prepared:
- Sharp, clean pruning shears or a sharp knife: Crucial for making clean cuts that heal well.
- Rooting hormone (optional but recommended): This gives your cuttings a real boost in developing roots. I like to use a powder or gel form.
- A well-draining potting mix: A good blend is usually 50% peat moss or coco coir and 50% perlite or coarse sand. Or, you can buy a commercial seed-starting or propagation mix.
- Small pots or seed trays: Clean pots are a must to prevent disease.
- A plastic bag or a clear plastic dome: This creates a humid environment, which is vital for cuttings.
- Watering can or spray bottle: For gentle watering.
Propagation Methods
Teucrium flavum is a champion when it comes to stem cuttings. It’s my go-to method, and I usually have fantastic results.
Stem Cuttings:
- Take Your Cuttings: In late spring or early summer, select healthy, non-flowering stems. Make a clean cut just below a leaf node (where a leaf attaches to the stem). Aim for cuttings that are about 4-6 inches long.
- Prepare the Cuttings: Gently remove the lower leaves from the cutting, leaving only a few at the top. This prevents them from rotting in the soil and encourages the plant to focus its energy on root development.
- Apply Rooting Hormone (Optional): Dip the cut end of the stem into your rooting hormone, tap off any excess.
- Pot Them Up: Fill your clean pots with the well-draining potting mix. Make a small hole with your finger or a pencil in the center of the soil.
- Insert the Cuttings: Gently push the prepared cutting into the hole, ensuring the leaf nodes where you removed the leaves are covered by soil. Firm the soil around the base of the cutting.
- Water Gently: Water the soil thoroughly but don’t drown it. A good soak to start is perfect.
- Create Humidity: Place a plastic bag over the pot, securing it around the rim with a rubber band, or use a clear plastic dome. This will trap moisture and create a mini-greenhouse. Place the pots in a bright location, but out of direct, harsh sunlight.
You can also try water propagation. Just pop your prepared cuttings (lower leaves removed) into a jar of water, making sure the leaf nodes are submerged. Place it in bright, indirect light. Change the water every few days to keep it fresh. You’ll be able to see the roots forming, which is incredibly satisfying!
The “Secret Sauce” (Pro Tips)
Over the years, I’ve picked up a few tricks that seem to make all the difference.
- Don’t let the leaves touch the water: If you’re doing water propagation, it’s crucial to keep the aerial parts of the plant dry. Leaves sitting in water are a recipe for rot and fungal issues.
- Bottom heat is your friend: If you can, using a seedling heat mat under your pots can significantly speed up root formation. It mimics the warmth of summer soil and gives those nascent roots extra encouragement.
- Be patient with the peat: If you’re using peat moss in your mix, make sure it’s thoroughly moistened before you start. Dry peat can repel water, making it hard to get your cuttings hydrated initially.
Aftercare & Troubleshooting
Once you start seeing new growth or feel a gentle tug when you lightly pull on a cutting, it’s a sign that roots have formed! This usually takes anywhere from 3-6 weeks, sometimes a little longer.
When roots appear, gradually remove the plastic covering over a few days to help the new plant acclimatize to drier air. Continue to keep the soil consistently moist but not waterlogged. You can then transplant the new little Teucrium into its own slightly larger pot.
Now, what if things don’t go as planned? The most common issue you might encounter is rot. If your cuttings turn black and mushy, it’s usually a sign of too much moisture and not enough air circulation. You might also see wilting, which could be due to lack of roots or the cutting drying out. Don’t fret if a few don’t make it; it’s all part of the learning process. Just clean up any rotted material and try again!
A Encouraging Closing
Propagating Teucrium flavum is a journey, and like any garden project, it’s about patience and enjoying the process. Don’t be discouraged if your first attempt isn’t perfect. Celebrate the successes, learn from the challenges, and before you know it, you’ll have a beautiful little army of Yellow Germander ready to brighten your garden or be gifted to friends. Happy propagating!
Resource:
https://identify.plantnet.org/k-world-flora/species/Teucrium%20flavum%20L./data