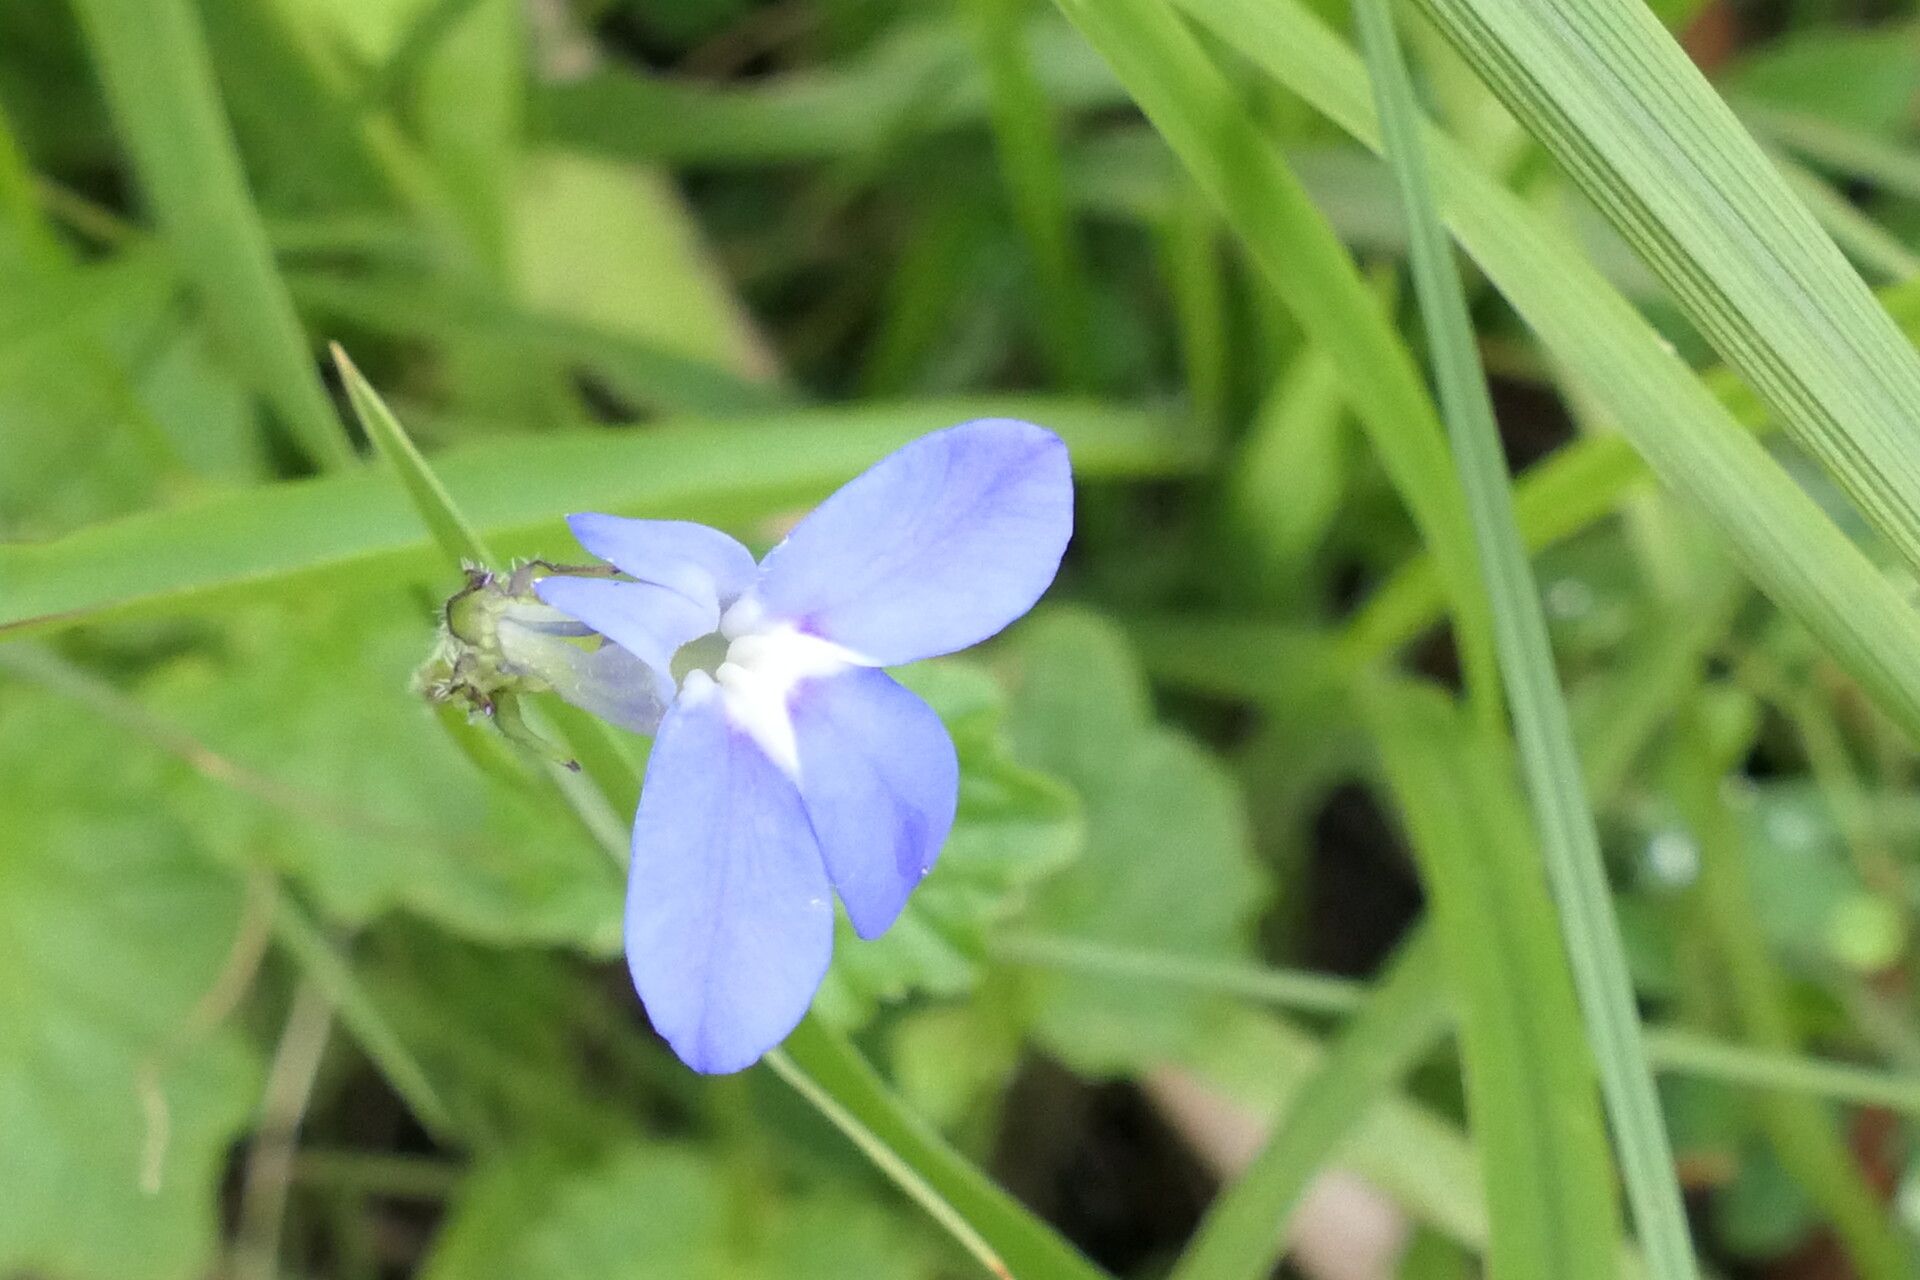
Oh, I’m so delighted you’re interested in propagating Lobelia cochleariifolia! It’s truly one of my little garden treasures. Its delicate, almost ethereal blue flowers cascade over the edges of pots and borders, creating a breathtaking effect. Plus, being able to create more of these beauties from your existing plants is incredibly satisfying. For those just dipping their toes into the world of propagation, I’d say Lobelia cochleariifolia is a delightfully achievable choice. You’ll feel like a garden wizard in no time!
The Best Time to Start
When it comes to getting the most bang for your buck with propagation, late spring to early summer is your sweet spot. This is when the plant is actively growing and has plenty of healthy, vigorous stems to work with. You’re essentially catching it at its peak energy levels, which translates to faster rooting and stronger new plants.
Supplies You’ll Need
Gathering your tools beforehand makes the whole process much smoother. Here’s what I like to have on hand:
- Sharp pruning shears or a clean craft knife: For making nice, clean cuts.
- Small pots or seed trays: Clean and with drainage holes, of course!
- A good quality potting mix: I prefer a light, well-draining mix, often a blend of peat moss or coco coir with perlite. You can also use a dedicated seed starting mix.
- Rooting hormone (optional but recommended): This is like a little boost for your cuttings.
- A watering can with a fine rose or a spray bottle: For gentle watering.
- A clear plastic bag or a propagation dome: To create a humid environment.
Propagation Methods
Let’s get our hands dirty! For Lobelia cochleariifolia, stem cuttings are my go-to method.
Stem Cuttings:
- Select your cutting: Look for healthy, non-flowering stems that are about 3-4 inches long. Gently pinch or snip the stem from the parent plant, making sure to get a section that has at least a few sets of leaves.
- Prepare the cutting: Carefully remove the lower leaves from the stem, leaving just a couple of sets at the very top. If you’re using rooting hormone, dip the cut end into it now.
- Plant your cutting: Fill your small pots with your prepared potting mix. Make a small hole with a pencil or your finger and gently insert the cut end of the stem. Firm the soil gently around the base.
- Water and cover: Water the soil lightly – you want it moist, not soggy. Then, cover the pot with a clear plastic bag or propagation dome. This traps humidity, which is crucial for cuttings to root.
- Placement: Place your pots in a bright spot but out of direct sunlight. A windowsill that gets morning sun is usually perfect.
The “Secret Sauce” (Pro Tips)
Okay, here are a few little tricks I’ve picked up over the years that make a big difference:
- Bottom heat is your friend: If you have a seedling heat mat, placing your pots on it can significantly speed up root development. It mimics the warmth of spring soil and encourages those roots to really get going.
- Don’t let those leaves touch the soil! Make sure any leaves you removed are completely off the stem before planting. If they’re buried, they’ll just rot and can introduce disease to your cutting.
- Mist, don’t soak: While humidity is key, overly wet conditions can lead to fungal issues. I like to give the leaves a light misting every day or two to keep them turgid and encourage rooting without waterlogging.
Aftercare & Troubleshooting
Once you start seeing new leaf growth or feel a gentle tug when you lightly pull on the cutting (try not to disturb the roots too much!), you know you’ve got roots! This is a joyous moment!
- Gradually acclimate: Once roots have formed, slowly remove the plastic cover over a few days. This helps the new plant adjust to normal humidity levels.
- Watering: Continue to water when the top inch of soil feels dry. Avoid letting the pot sit in water.
- Repotting: When the new plant is well-established and has filled its small pot with roots, you can gently transplant it into a slightly larger pot or directly into your garden bed.
Now, what if things go wrong? The most common culprit is rot. If your cutting starts to look limp, turn yellow or brown, or develops a slimy base, it’s likely due to too much moisture and not enough air circulation. If you catch it early, gently remove the affected cutting, ensure good drainage, and try to improve air circulation.
A Encouraging Closing
Don’t be discouraged if your first attempt isn’t a runaway success. Gardening is all about learning and experimenting. Every little bit of experience you gain helps you understand your plants better. Be patient with your Lobelia cochleariifolia cuttings, celebrate each tiny sign of progress, and most importantly, enjoy the wonderful journey of growing more beauty for your garden! Happy propagating!
Resource:
https://identify.plantnet.org/k-world-flora/species/Lobelia%20cochleariifolia%20Diels/data