Hello there, fellow plant enthusiasts! Today, we’re diving into the wonderful world of propagating one of Australia’s most striking natives: Banksia candolleana. If you’ve ever admired those iconic, fuzzy flower spikes and wondered how you could grow more of them, you’re in the right place. I’ve spent two decades with my hands in the soil, and I can tell you, coaxing new life from your existing plants is one of the most rewarding gardening experiences.
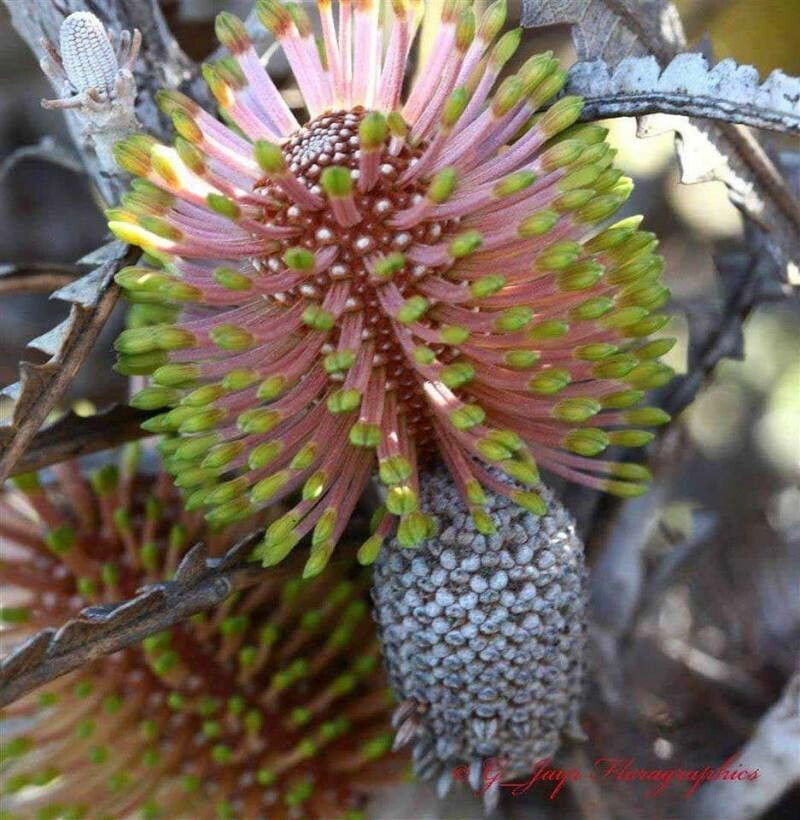
Banksia candolleana, with its unique, shuttlecock-shaped flower heads and distinctive foliage, brings a touch of the wild Australian bush to any garden. The satisfaction of nurturing a tiny cutting into a mature plant is incredible. Now, some Banksias can be a bit fussy, but Banksia candolleana is generally considered to be moderately easy to propagate, making it a great plant to try your hand at if you’re looking to expand your native plant collection.
The Best Time to Start
When it comes to getting your Banksia candolleana cuttings off to a good start, late spring to early summer is your sweet spot. This is when the plant is actively growing, and the stems are usually the right kind of semi-hardwood. You want cuttings that are firm but still have a bit of flexibility. Think of it as catching them at the peak of their energy!
Supplies You’ll Need
Before you get started, gather your tools. Having everything ready will make the process much smoother.
- Sharp, clean pruning shears or secateurs: For making clean cuts that heal well.
- Rooting hormone: A powdered or liquid form to help encourage root development.
- Well-draining potting mix: A mix specifically for Australian natives or a blend of coarse sand, perlite, and peat moss works well. Avoid heavy, water-retentive soils.
- Small pots or propagation trays: Clean and with drainage holes!
- Plastic bags or propagation dome: To create a humid environment.
- Sharp knife or scalpel: For preparing cuttings if needed.
- Misting bottle: For keeping humidity levels up.
Propagation Methods: Stem Cuttings
This is my go-to method for Banksia candolleana. It’s reliable and gives you a good chance of success.
- Take Your Cuttings: On a bright morning, use your clean secateurs to snip off healthy stems from your mature plant. Aim for pieces about 10-15 cm long. Make sure each cutting has at least a few sets of leaves.
- Prepare the Cuttings: Gently remove the leaves from the bottom half of the cutting. You want to expose a few nodes – these are the little bumpy bits where leaves used to be, and where roots will form. If the leaves are very large, you can cut them in half horizontally to reduce water loss.
- Apply Rooting Hormone: Dip the cut end of the prepared stem into your rooting hormone, coating the bottom 2-3 cm. Tap off any excess.
- Plant the Cuttings: Fill your small pots with your well-draining potting mix. Make a small hole in the center with a pencil or your finger, deep enough for planting. Gently insert the cutting into the hole, pushing the soil in around it to ensure good contact.
- Water Gently: Water the soil lightly. You want it moist but not waterlogged.
The “Secret Sauce” (Pro Tips)
Here are a few tricks I’ve learned over the years that can really make a difference:
- Don’t let leaves touch anything but air or water: This is crucial if you ever try water propagation (which I find less successful for Banksias). In soil, it means ensuring no leaves are buried or touching the sides of the pot where they can trap moisture and rot.
- Bottom heat is your friend: Banksias often root better when the base of the cutting is kept warm. A heated propagation mat placed under your pots can significantly speed up root development. It mimics the warmth of the soil in summer.
- Be patient with the leaves: If you’re using a plastic bag or dome, make sure the leaves aren’t pressed against the plastic. This traps too much moisture and can encourage fungal diseases. Prop the bag up slightly if needed, or ensure good airflow.
Aftercare & Troubleshooting
Once your cuttings are planted, it’s time to create a mini-greenhouse.
- Create Humidity: Cover your pots with a clear plastic bag, secured with a rubber band, or place them under a propagation dome. This keeps the humidity high, which is essential for cuttings until they develop roots and can absorb water themselves. Place them in a bright spot, but avoid direct, scorching sunlight initially.
- Water Sparingly: Mist the cuttings every few days, or when the surface of the soil starts to dry out. It’s better to underwater slightly than to overwater.
- Check for Roots: After about 6-8 weeks, you can gently tug on a cutting. If you feel resistance, you likely have roots forming! You can also look for new leaf growth, which is a good sign.
- Troubleshooting: The most common issue is rot. If you see a cutting turning black or mushy, it’s usually due to too much moisture and poor airflow. Discard any affected cuttings immediately to prevent spreading. If you don’t see any signs of growth after a couple of months, don’t despair! Some cuttings take longer.
A Little Patience Goes a Long Way
Growing new plants from cuttings is a wonderful journey. It requires a bit of patience and observation, but the rewards are immense. Seeing those first tiny roots emerge and then watching your new Banksia candolleana begin to grow is a truly special feeling. So grab your secateurs, find a healthy stem, and enjoy the process. Happy propagating!
Resource:
https://identify.plantnet.org/k-world-flora/species/Banksia%20candolleana%20Meisn./data