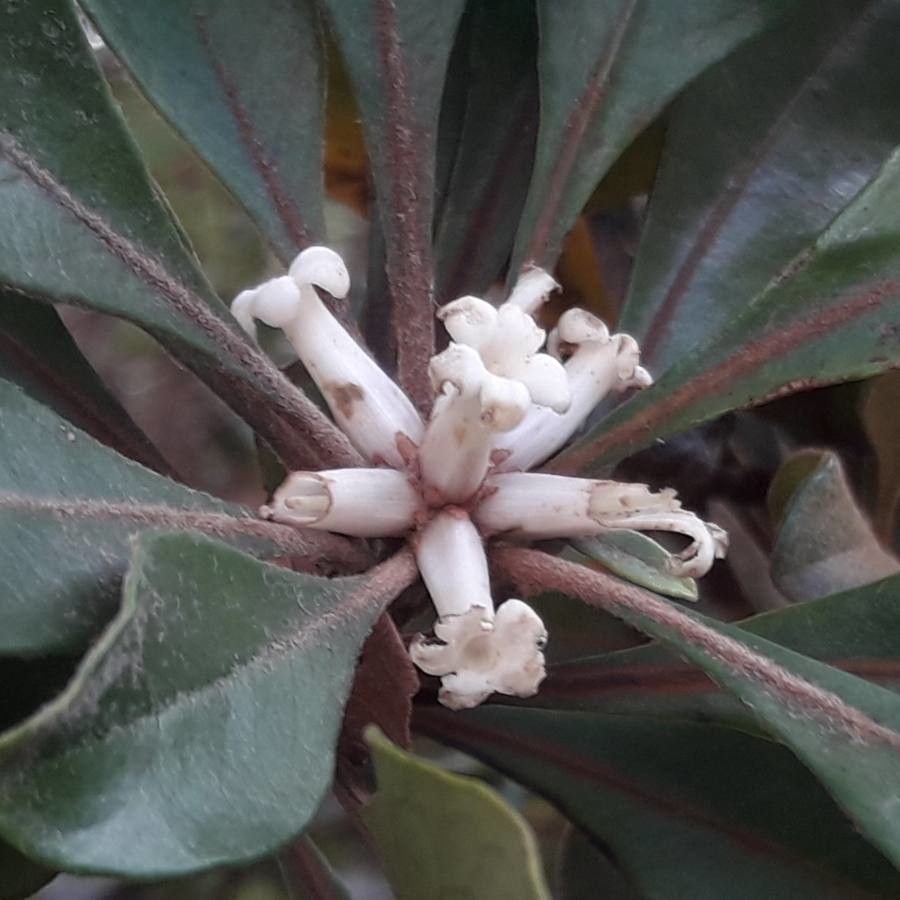
Oh, Pittosporum echinatum! What a beauty. Its glossy, dark leaves and delicate, fragrant flowers make it a real treasure in any garden. And honestly, there’s something so incredibly satisfying about coaxing a new plant into existence from a tiny piece of another. It’s like a little miracle happening right in your hands. Now, is it a walk in the park for absolute beginners? I’d say it’s moderately easy, meaning with a little care and attention, you’ll likely have success. Think of it as a gentle challenge that’s definitely worth the reward.
The Best Time to Start
For Pittosporum echinatum, the sweet spot is really during its active growing season. The best time to take your cuttings is usually in late spring to early summer. You’re looking for new, but slightly woody, growth. Think of stems that are flexible but not so soft they bend easily. This is when the plant has plenty of energy and is ready to put it into making new roots.
Supplies You’ll Need
Gathering your supplies upfront makes the whole process smoother. Here’s what I always have on hand:
- Sharp pruning shears or a clean, sharp knife: For making clean cuts.
- A good quality potting mix: Something well-draining is key. I often use a mix of equal parts peat moss (or coco coir for a more sustainable option) and perlite or coarse sand.
- Rooting hormone (optional but recommended for a boost): It helps speed things up and increases your success rate. Look for one specifically for hardwood or semi-hardwood cuttings.
- Small pots or seed trays: Clean ones, of course!
- A watering can with a fine rose: To avoid disturbing your cuttings.
- A plastic bag or a clear Propagation Dome: To create a humid environment.
- Labels and a marker: So you don’t forget what you planted where!
- Small pebbles or grit (optional): For extra drainage in the pots.
Propagation Methods
We’ll focus on stem cuttings, as this is generally the most reliable way to propagate Pittosporum echinatum.
Step 1: Taking the Cuttings
Head out to your plant with your clean pruners. Look for healthy, semi-hardwood stems – the current season’s growth that’s starting to firm up. You want cuttings that are about 4-6 inches long.
Make a clean cut just below a leaf node (that little bump where a leaf joins the stem). This is where root hormones are naturally produced. Remove the lower leaves, leaving just the top 2-3 leaves. If the remaining leaves are very large, you can cut them in half horizontally. This reduces water loss through transpiration.
Step 2: Preparing the Cuttings
Now, dip the cut end of each stem into your rooting hormone. Tap off any excess. This powder is like a little kickstart for your cutting.
Step 3: Planting Your Cuttings
Fill your clean pots with your well-draining potting mix. You can moisten it slightly beforehand.
Make a small hole in the center of the pot with a pencil or your finger. Carefully insert the prepared cutting into the hole, making sure the rooting hormone-coated end is well-covered.
Gently firm the soil around the base of the cutting to ensure good contact. If you’re doing multiple cuttings, you can plant them in the same pot, spaced a few inches apart, or in separate small pots.
Step 4: Creating the Humid Environment
This is crucial! Lightly water the soil. Then, cover the pot with your plastic bag (make sure it doesn’t touch the leaves!) or place it under a propagation dome. You want to create a mini-greenhouse effect to keep the humidity high, preventing the cuttings from drying out before they can root.
Step 5: Finding the Right Spot
Place your potted cuttings in a bright location with indirect light. Avoid direct sun, which can scorch the delicate cuttings. A sunny windowsill that doesn’t get harsh afternoon sun is often perfect.
The “Secret Sauce” (Pro Tips)
After years of playing with plants, I’ve picked up a few tricks that really seem to make a difference.
First, don’t let those leaves touch the soil line unnecessarily. If you’ve got a cutting that’s a bit long and the leaves sag down, sometimes it’s better to gently prune them back a tiny bit more rather than risk them sitting in damp soil. Damp leaves against the soil can invite fungal issues, and we don’t want that!
And here’s a big one: bottom heat can be a game-changer. If you can, place your pots on a propagation mat or on top of a router (just make sure it’s not too hot!). This gentle warmth encourages root development from below, giving your cuttings that extra push they need.
Aftercare & Troubleshooting
Once your cuttings look established and you see some new growth peeking out – that’s a good sign! You can gently tug on a cutting. If you feel resistance, roots are forming. You can also look for roots emerging from the drainage holes.
When roots have developed, it’s time to gradually acclimate your new plants to lower humidity. Start by removing the plastic bag or dome for a few hours each day, slowly increasing the time over a week or two. Once they’re used to the open air, you can transplant them into individual pots with their own potting mix. Continue to water them regularly, but allow the top inch of soil to dry out between waterings.
What if things go wrong? The most common issue is rot. If your cutting turns black and mushy, it’s likely rotted. This usually happens from too much moisture and not enough air circulation, or if the cutting was taken from unhealthy material. Don’t be discouraged; just start again with fresh cuttings and make sure your environment is well-drained and has good airflow. Sometimes, a good spray of a mild fungicide near the start can help prevent issues if you’re particularly worried.
Keep Going and Enjoy the Journey!
Propagating plants is an act of hope, a way of investing in the future of your garden. Be patient with your little Pittosporum echinatum cuttings. Some take longer than others, and that’s perfectly okay. Watch them, tend to them, and celebrate every tiny sign of progress. You’re nurturing life, and that’s one of the most rewarding hobbies there is. Happy propagating!
Resource: