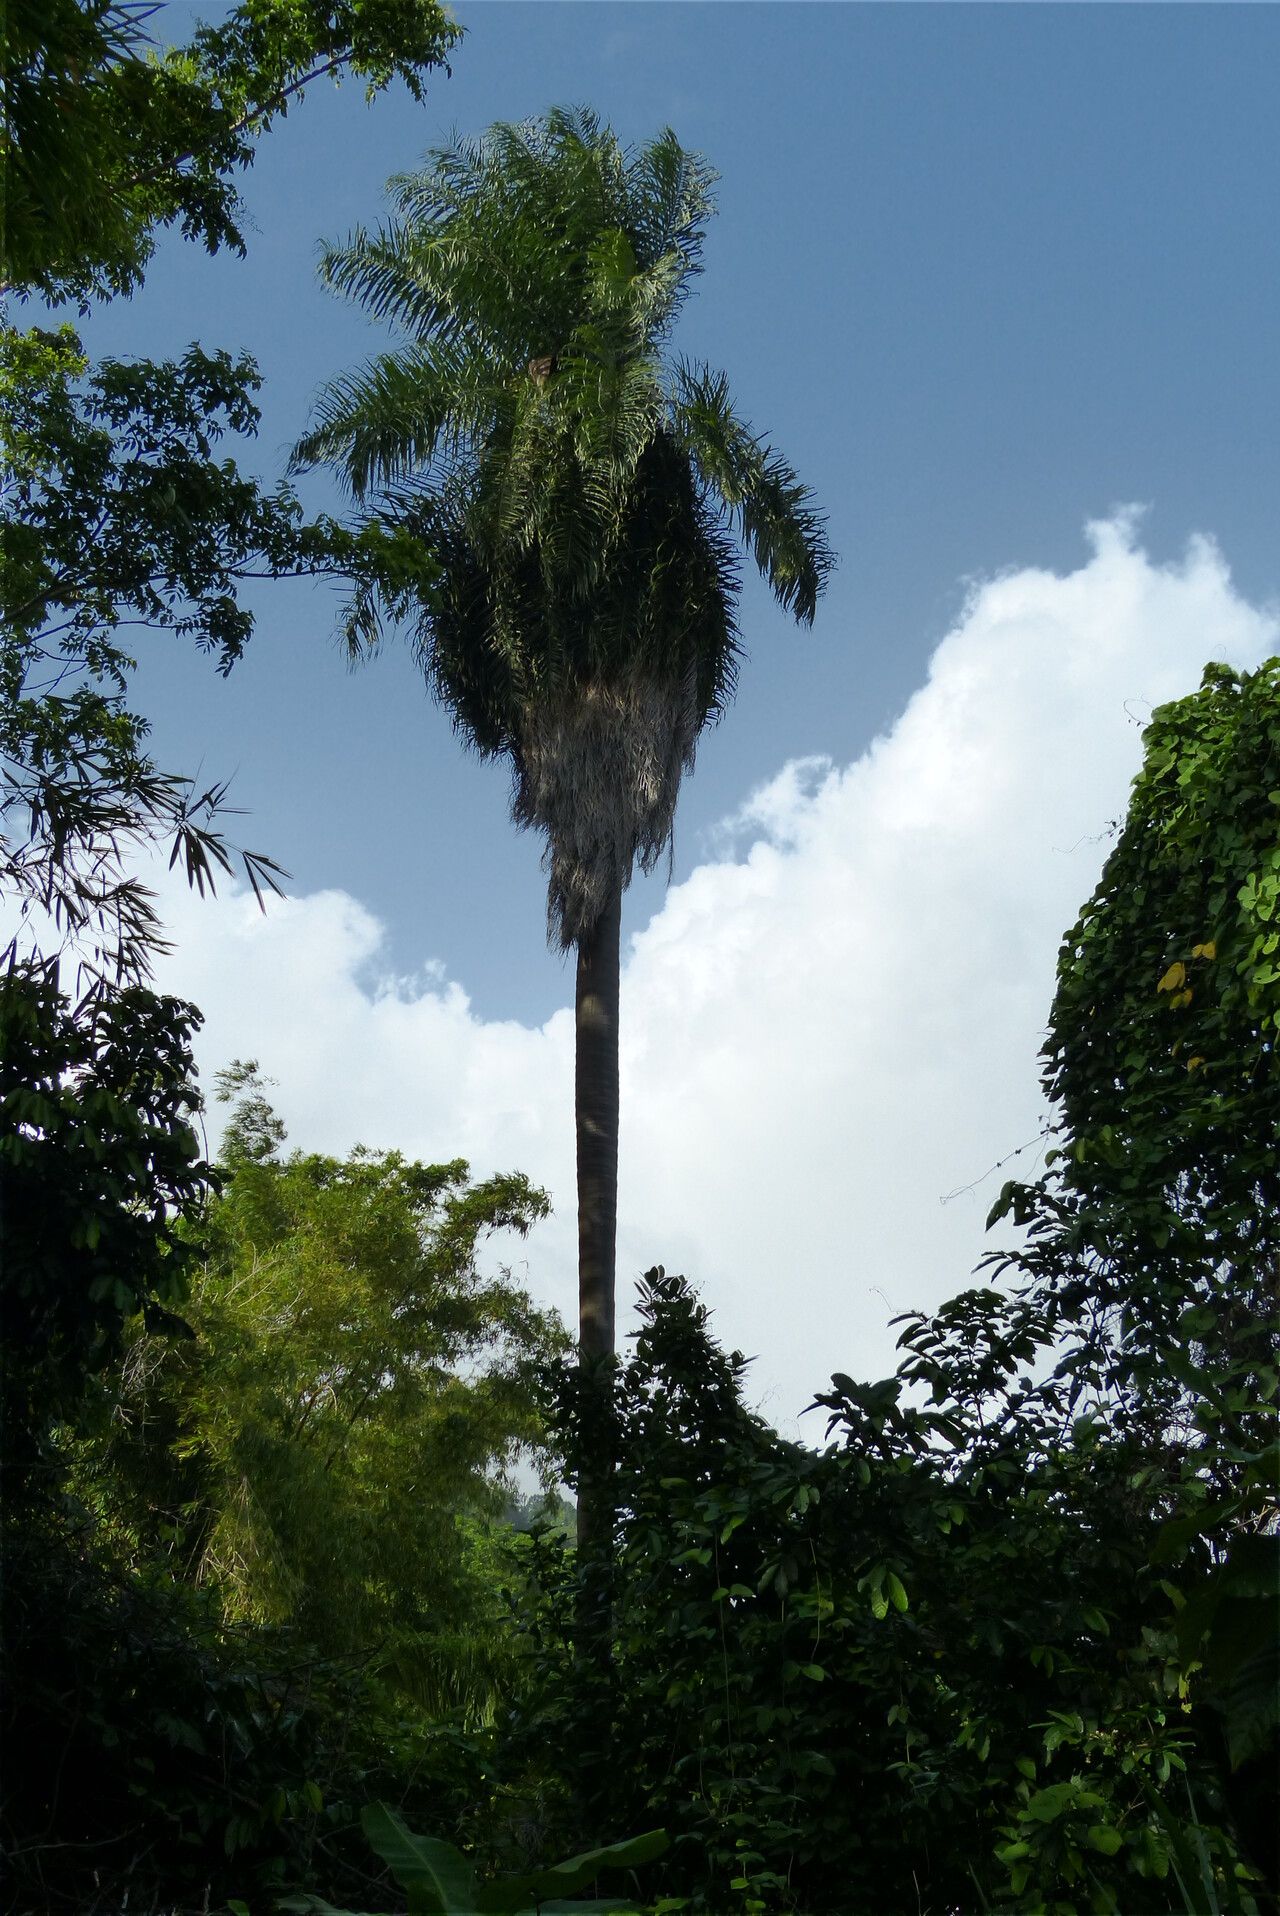
Alright, my fellow garden enthusiasts! Let’s talk about a truly spectacular palm: Attalea maripa. If you haven’t encountered one of these beauties yet, imagine a majestic palm with a crown of feathery fronds reaching towards the sky. They bring such a tropical, almost ancient feel to any space. And the best part? You can bring that magic into your own garden (or home!) by propagating them yourself. Now, I won’t sugarcoat it – Attalea maripa isn’t exactly a beginner-friendly prop. It takes a bit of patience and understanding, but oh, the rewards are so worth it.
The Best Time to Start
The sweet spot for propagating Attalea maripa is when the plant is actively growing, usually during the late spring and summer months. Think of it as when everything in Mother Nature is buzzing with energy. If you’re working with a mature plant that’s already producing offshoots or “pups,” that’s your golden ticket. Starting when the plant is feeling robust definitely boosts your chances of success.
Supplies You’ll Need
To give your new baby palms the best start, gather these essentials:
- Sharp pruning shears or a clean, sharp knife: For making clean cuts.
- Well-draining potting mix: A mix designed for palms or cacti, or a blend of peat moss and perlite works wonders.
- Small pots with drainage holes: Choose a size appropriate for the offshoot you’re taking.
- Rooting hormone (optional but recommended): A powder or gel can significantly speed up root development.
- Gloves: For protecting your hands.
- A clean workspace: Hygiene is key to preventing fungal issues.
- Watering can or spray bottle: For gentle watering.
Propagation Methods
Attalea maripa is primarily propagated through division of offsets or “pups.” These are smaller, miniature versions of the mother plant that sprout from the base.
- Assess Your Mother Plant: Gently clear away any debris or soil around the base of your Attalea maripa. Look for any offshoots that are at least a few inches tall and have their own discernible root system. You don’t want to take them too early.
- Prepare Your Tools: Make sure your pruning shears or knife are clean and sharp. This is crucial to prevent disease from entering the wound.
- Make the Cut: Gently separate the pup from the mother plant. You want to make a clean cut as close to the mother plant’s base as possible, ensuring you capture as many of the pup’s own roots as you can. Avoid tearing or damaging both plants unnecessarily. If a pup has a good set of roots attached, you might be able to gently wiggle it free.
- Prepare the Pup: If your pup has a lot of damaged or torn leaves, you can trim those away to reduce stress. If you’re using rooting hormone, lightly dip the cut end of the pup into the powder or gel. Tap off any excess.
- Potting Up: Fill your small pot with your well-draining potting mix. Make a small hole in the center and gently place the pup in it, ensuring the roots are spread out. Firm the soil gently around the base.
- Initial Watering: Water the pot thoroughly but gently until water drains from the bottom. Avoid waterlogging.
The “Secret Sauce” (Pro Tips)
Here are a couple of things I’ve learned over the years that can really make a difference:
- Let the wound heal: After you’ve separated the pup, let it air dry for a few hours, or even a day, in a shaded, dry spot before potting. This allows the wound to callus over, which helps prevent rot. It might sound counterintuitive, but it’s a game-changer.
- Mimic a warm, humid environment: Once potted, give your new prop a little cozy microclimate. A clear plastic bag loosely placed over the pot (so it doesn’t touch the leaves) can create that humid environment they love, especially if you’re doing this in a drier part of the year. Just remember to vent it daily for a few minutes to let in fresh air.
Aftercare & Troubleshooting
Once your pup is happily potted, keep it in a bright, indirect light location. Avoid direct sun, which can scorch tender new growth. Water only when the top inch of soil feels dry to the touch. Be patient! It can take weeks, even months, for new growth to appear, which signals that roots are establishing.
The most common problem you’ll encounter is rot. If the pup starts to look mushy, brown, or has a foul smell, it’s likely rot. This usually happens from overwatering or wounds that didn’t heal properly. If you see signs of rot, act fast. You might be able to salvage part of the pup by cutting away the rotted sections and letting the healthy part re-callus before repotting in fresh, dry soil.
Until Next Time
Propagating palms like Attalea maripa is a journey, not a race. Enjoy the process, learn from each little one you try to nurture, and celebrate those tiny new leaves when they finally emerge! Happy gardening!
Resource:
https://identify.plantnet.org/k-world-flora/species/Attalea%20maripa%20(Aubl.)%20Mart./data