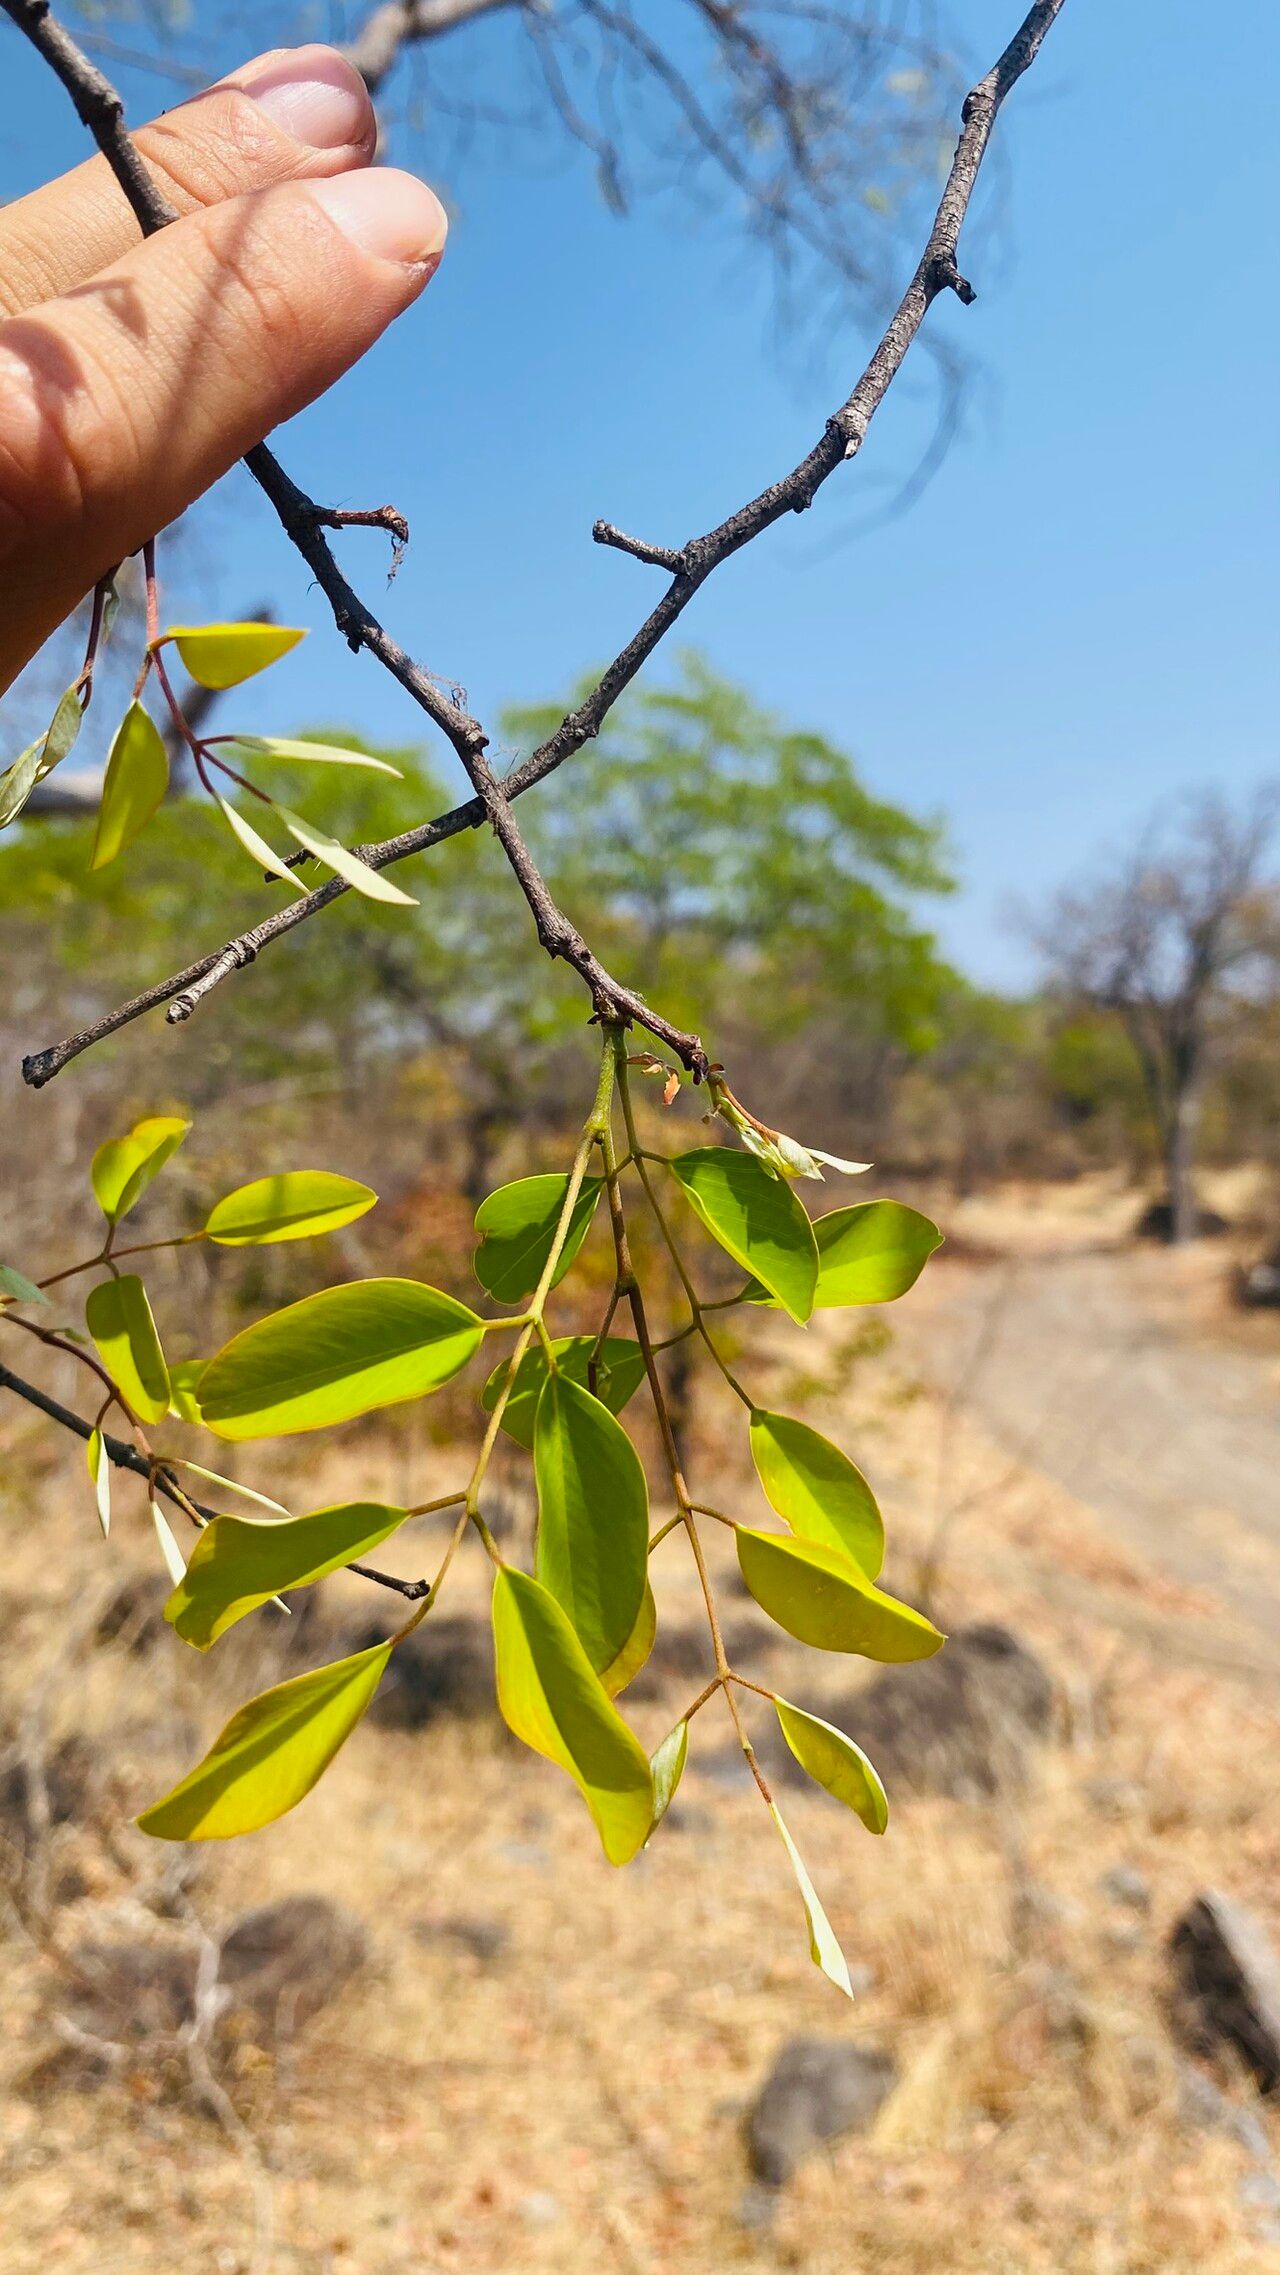
Hello there, fellow plant lovers! Today, I want to chat about a truly special tree: Pterocarpus lucens. You might know it as the Sunwood, or perhaps its fiery autumn foliage has caught your eye. This tree is a stunner, offering beautiful shades of red and orange as the weather cools. Plus, its graceful form adds a touch of elegance to any garden. And the most rewarding part? Bringing a new one of these beauties into the world yourself. It’s a journey that takes a bit of patience, but oh-so-worth-it. For beginners, I’d say Pterocarpus lucens falls into the moderately challenging category – not impossible, but you’ll want to pay attention to the details.
The Best Time to Start
Timing is everything in the plant world, and for Pterocarpus lucens, the sweet spot is late spring to early summer. This is when the plant is in its most vigorous growth phase. You’ll want to take cuttings from softwood or semi-hardwood stems. These are the current season’s growth that has started to firm up but isn’t yet woody and old. Think of it as still being a bit pliable.
Supplies You’ll Need
Before we get our hands dirty, let’s gather our tools. Having everything ready makes the process so much smoother.
- Sharp Pruning Shears or a Knife: Crucial for making clean cuts to avoid damaging the stem.
- Rooting Hormone: This is a game-changer, helping stimulate root development. Look for one formulated for stem cuttings.
- Potting Mix: A well-draining mix is key. I like to use a blend of equal parts perlite and peat moss, or a specialized propagation mix.
- Small Pots or Seedling Trays: Clean pots are essential to prevent disease.
- Plastic Bags or a Clear Dome: To create a humid environment for your cuttings.
- Watering Can with a Fine Rose: For gentle watering.
- Optional: Bottom Heat Mat: Can significantly speed up rooting, especially in cooler environments.
Propagation Methods
Let’s get down to business! Here’s how I like to propagate Pterocarpus lucens using stem cuttings.
Stem Cuttings:
- Select Your Mother Plant: Choose a healthy, vigorous Pterocarpus lucens tree.
- Take the Cuttings: Using your sharp shears or knife, select stems that are about 6-8 inches long. Make a clean cut just below a leaf node (where a leaf attaches to the stem). The leaf node is where roots are most likely to form.
- Prepare the Cuttings: Gently remove the leaves from the bottom half of the cutting. You can leave a couple of leaves at the top to help with photosynthesis. If the leaves are very large, you might want to cut them in half to reduce water loss through transpiration.
- Apply Rooting Hormone: Dip the cut end of each stem into your rooting hormone, tapping off any excess.
- Plant the Cuttings: Fill your small pots or trays with your prepared potting mix. Make a small hole with a pencil or finger, and carefully insert the cutting into the hole, ensuring the rooting hormone-coated part is in contact with the soil. Gently firm the soil around the base of the cutting.
- Water Gently: Water thoroughly but gently, making sure the soil is moist but not waterlogged.
- Create Humidity: Cover the pot or tray with a clear plastic bag or a propagation dome. This traps moisture and creates a mini-greenhouse environment. Make sure the leaves don’t touch the plastic if possible.
- Provide Light and Warmth: Place your cuttings in a bright spot that receives indirect sunlight. Avoid direct sun, which can scorch them. If you have a bottom heat mat, now’s the time to use it – a gentle warmth of around 70-75°F (21-24°C) is perfect.
The “Secret Sauce” (Pro Tips)
Here are a couple of things I’ve learned over the years that really make a difference:
- Keep ‘Em Clean: Always use sterilized tools and clean pots. This is your first line of defense against fungal diseases, which can be a real setback for cuttings.
- Air Exchange is Vital: Even though you’re creating a humid environment, it’s crucial to open the plastic bag or dome for a few minutes each day. This allows for air circulation and prevents the build-up of excess moisture that can lead to rot. Plus, it helps prevent fungal issues.
- Don’t Rush Patience: Sometimes, plants can take a while to show signs of rooting. Resist the urge to constantly pull them up to check. You’ll usually see new leaf growth as the first indicator that roots are forming.
Aftercare & Troubleshooting
Once you see that promising new growth, it’s a sign your cuttings have successfully rooted!
- Gradual Acclimation: As they develop, you’ll need to slowly acclimate them to normal humidity levels. Gradually open the plastic bag or dome for longer periods over a week or two.
- Watering: Continue to keep the soil consistently moist but not soggy. Allow the top inch of soil to dry out slightly between waterings.
- Fertilizing: Once you see good, steady growth for a few weeks, you can start feeding them with a diluted liquid fertilizer every 2-4 weeks.
Now, what happens if things don’t go as planned? The most common culprit is root rot. If your cuttings look uniformly mushy and dark, or if the stem turns black and soggy, it’s likely rot. This is usually caused by overwatering and poor air circulation. If you catch it early, you might be able to salvage some, but often it means starting over. Another sign of no root development is if the leaves start to wilt or yellow significantly without any new growth appearing after several weeks.
A Encouraging Closing
Propagating Pterocarpus lucens is a wonderful way to connect with nature and expand your garden. Don’t be discouraged if your first attempt isn’t a complete success. Every cutting you take is a learning experience. Be patient, observe your plants, and enjoy the magic of watching new life emerge from a simple stem. Happy propagating, everyone!
Resource: