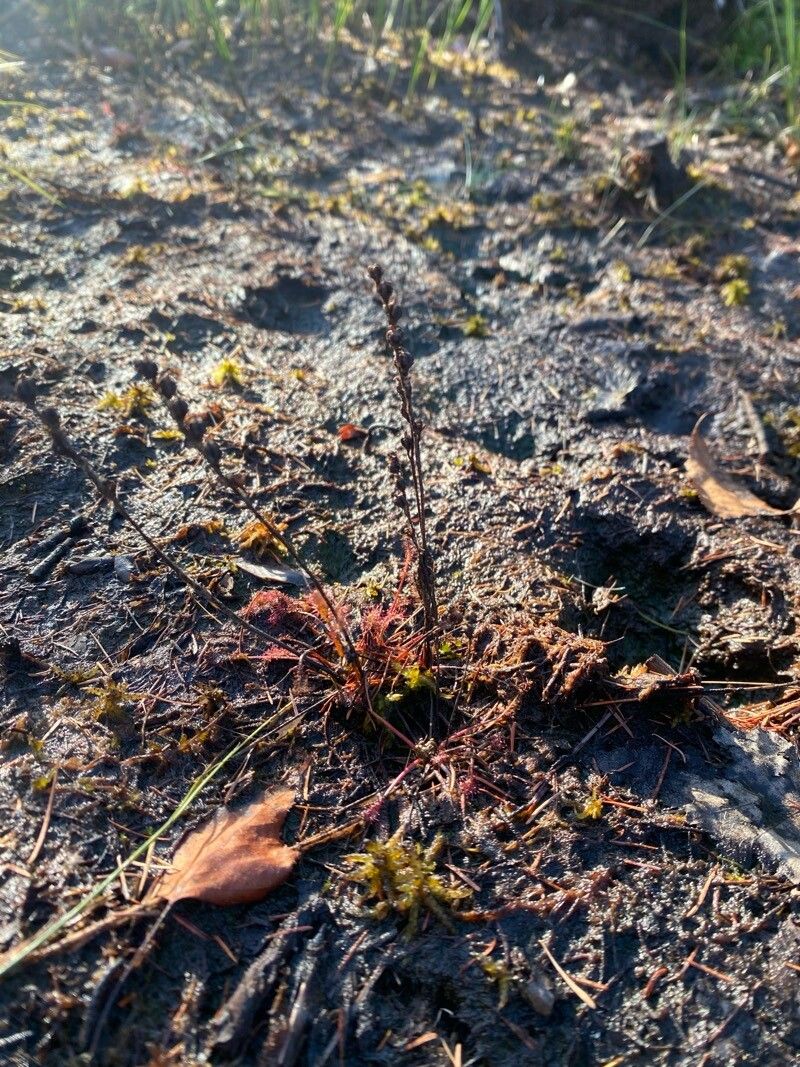
Hello, fellow plant enthusiasts! Today, I want to chat about a little gem that brings a touch of magic to any bog garden or terrarium: Drosera intermedia, or the oblong-leaved sundew. If you’ve ever marveled at those sparkling, sticky tentacles meant to catch unfortunate insects, then you’ll understand why I’m so drawn to these carnivorous beauties. Propagating them is not just about making more plants; it’s about understanding their delicate needs and witnessing their resilience. For those just dipping their toes into the world of carnivorous plants, I’d say Drosera intermedia is a moderately easy plant to propagate, offering a really satisfying challenge.
The Best Time to Start
For the highest success rates, I find that spring is your absolute best friend when it comes to propagating Drosera intermedia. This is when the plant is really coming into its own, bursting with new growth after a period of rest. You’ll notice vigorous leaf development and the plant will have more energy to dedicate to forming new plantlets. Aim to propagate when the plant is actively growing, not during its dormancy period.
Supplies You’ll Need
Gathering your tools beforehand makes the whole process much smoother. Here’s what I always have on hand:
- Carnivorous plant soil mix: This is crucial! A blend of peat moss and perlite or horticultural sand (avoid anything with added fertilizers) is ideal. You want excellent drainage and aeration. I usually use a 1:1 ratio.
- Sharp, sterile pruning shears or a sharp craft knife: Clean tools are essential to prevent the spread of disease.
- Small pots or trays: Clean ones, of course! Seedling trays or small 2-3 inch pots work perfectly.
- Distilled water, reverse osmosis (RO) water, or rainwater: Tap water is a big no-no for sundews as it contains minerals that can harm them.
- A spray bottle: For keeping things humid.
- (Optional) Bottom heat mat: This can significantly speed up root development.
Propagation Methods
There are a few wonderful ways to get more Drosera intermedia from your existing plant. My favorite, and often the most successful, is through leaf cuttings.
Leaf Cuttings
- Select a healthy leaf: Look for a mature, vibrant leaf on your Drosera intermedia. Avoid any that look yellow, damaged, or are already past their prime.
- Make the cut: Using your sterile shears or knife, carefully cut the leaf stalk as close to the base of the plant as possible. You want to get a decent bit of the stalk, not just the leafy part.
- Prepare the cutting: Gently place the leaf cutting on the surface of your prepared carnivorous plant soil. You can lay it flat or prop the cut end slightly into the soil – I find laying it flat works best.
- Provide the right environment: This is key! The soil should be consistently moist but not waterlogged. I like to use the tray method, where the pot sits in a shallow tray of distilled water (about 1/2 inch deep). Place the pot or tray in a bright, sunny spot. Avoid direct, scorching midday sun, but bright, indirect light is perfect.
- Maintain humidity: A mini-greenhouse effect is your goal. You can achieve this by covering the pot loosely with a clear plastic bag or a clear plastic dome. Make sure there are a few small holes for air circulation. Keep the humidity high.
- Be patient: This is the hardest part! Within a few weeks, you should start to see tiny plantlets forming along the cut edge of the leaf. These will grow and eventually form their own roots.
The “Secret Sauce” (Pro Tips)
Over the years, I’ve learned a few tricks that seem to make all the difference. Here are a couple of my favorites:
- Don’t let the leaves touch the water: When propagating other plants in water, submerging the leaf is sometimes recommended. With sundews, this is a recipe for rot. Ensure your leaf cuttings are primarily exposed to air, with only the very base of the stalk getting moisture from the soil.
- Bottom heat makes a world of difference: If you have a seedling heat mat, using it will significantly speed up the rooting process. A gentle warmth from below encourages root development much faster than ambient room temperature, especially in cooler months. I find a consistent temperature around 70-75°F (21-24°C) is perfect.
Aftercare & Troubleshooting
Once you see those little roots popping out and the plantlets are a decent size (around a quarter inch or so), you can start giving them a little more space. You can gently transplant them into their own small pots with fresh carnivorous plant soil. Continue to keep them in bright, indirect light and maintain that moist soil.
The most common sign of failure is rot. If your leaf cuttings turn black and mushy, it’s usually a sign of too much moisture without enough air circulation, or potentially a contamination issue. Ensure good airflow and that the soil isn’t constantly saturated to the point of being swampy. If you see signs of mold, try to gently remove it and increase ventilation.
A Encouraging Closing
Propagating Drosera intermedia is a journey of discovery, and like all gardening, it has its own rhythm. Don’t be discouraged if your first few attempts aren’t perfect. Each plant you nurture from a tiny cutting is a testament to your growing skill and your connection with nature. So, grab your supplies, find a healthy leaf, and enjoy the magical process of bringing new life into your home. Happy growing!
Resource:
https://identify.plantnet.org/k-world-flora/species/Drosera%20intermedia%20Hayne/data