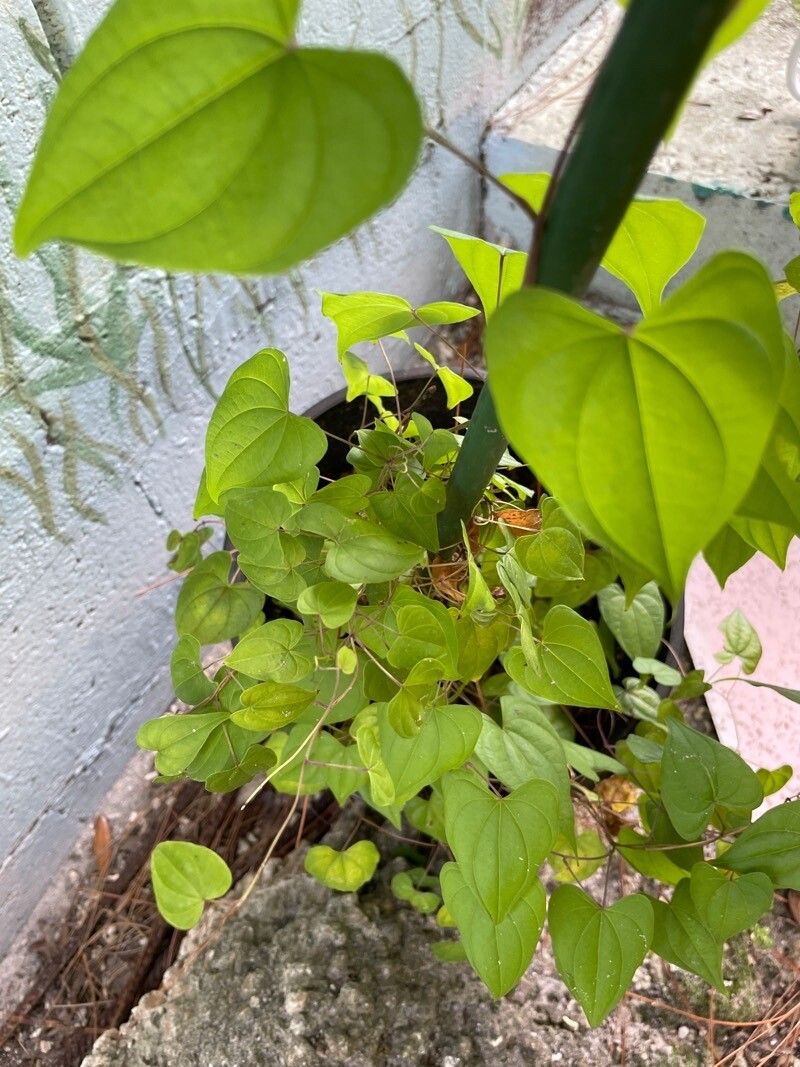
Ah, Dioscorea floridana! If you’re drawn to the wild charm and unique beauty of this Florida native, you’re in for a treat. This twining vine, with its starry, fragrant summer blooms and attractive foliage, brings a touch of untamed elegance to any garden. Now, I know what you might be thinking – is it difficult to get more of these beauties? Well, I won’t lie, Dioscorea floridana can be a little bit of a diva when it comes to propagation. It’s not the easiest plant for a complete beginner, but with a little patience and the right approach, it’s absolutely doable and incredibly rewarding. There’s something so special about nurturing a new plant from a tiny piece of its parent.
The Best Time to Start
For the highest chance of success, I find that late spring to early summer is your golden window for propagating Dioscorea floridana. This is when the plant is actively growing and has plenty of energy to put into developing new roots. Wait until the plant has established itself for the season, and you’ll see new, vigorous shoots emerging. Trying to propagate when the plant is dormant or stressed just increases the potential for disappointment.
Supplies You’ll Need
Gathering your tools beforehand makes the whole process so much smoother. Here’s what I usually have on hand:
- Sharp Pruning Shears or a Clean Knife: For making clean cuts. Sterilize them before you start!
- Well-Draining Potting Mix: A standard potting mix with added perlite or coarse sand works wonders. You want air circulation.
- Small Pots or Seed Trays: Clean and with drainage holes, of course.
- Rooting Hormone (Optional but Recommended): A powdered hormone can give your cuttings a significant boost.
- Plastic Bags or a Propagator: To create a humid environment.
- Water: For… well, watering!
- Small Labels and a Pen: So you don’t forget what you’ve planted and when!
Propagation Methods
Dioscorea floridana is primarily propagated through stem cuttings or division.
Stem Cuttings
This is my go-to method for increasing my stock.
- Take Your Cuttings: From a healthy, actively growing plant, select a stem that has at least two or three nodes (the points where leaves emerge from the stem). Using your sterilized shears, make a clean cut just below a node. Aim for cuttings that are about 4-6 inches long. Remove the lower leaves, leaving just one or two at the very top.
- Apply Rooting Hormone: If you’re using rooting hormone, lightly dip the cut end of the stem into the powder, tapping off any excess.
- Pot Them Up: Fill your small pots or trays with your well-draining potting mix. Make a hole in the center with your finger or a pencil.
- Plant the Cuttings: Gently insert the cut end of the stem into the hole, making sure at least one node is buried beneath the soil line. The nodes are where roots will form!
- Water and Cover: Water the soil thoroughly, letting any excess drain away. Then, cover the pot with a clear plastic bag or place it in a propagator. This will create a humid microclimate, which is crucial for cuttings.
Division
If you have an established clump of Dioscorea floridana, division is a simpler option.
- Gently Unearth: In late spring or early summer, when the plant is actively growing but before it gets too vigorous, carefully dig up the entire plant.
- Separate Rhizomes: You should be able to see thick, fleshy rhizomes. Gently separate these rhizomes, ensuring that each piece has at least one or two buds or growing points. You can use your hands or a clean knife if they are very tough.
- Replant Immediately: Plant the divided rhizomes into pots filled with your potting mix, or directly into the ground if you have a suitable spot. Ensure the buds are facing upwards. Water well.
The “Secret Sauce” (Pro Tips)
Now for a couple of little tricks that have helped me over the years:
- Don’t Let the Leaves Touch the Water (if using water propagation): While some plants are happy to root in a glass of water, Dioscorea floridana cuttings can be prone to rot this way. If you do try water propagation, make sure only the submerged stem and nodes are in the water. Always try to keep the leaves above the waterline. That said, I generally prefer the soil method for this one.
- Bottom Heat is Your Friend: Dioscorea floridana absolutely loves warmth. If you have access to a seedling heat mat, placing your pots on it can dramatically speed up root development. It mimics the warmth of the soil in its natural tropical environment and gives those stubborn roots a much-needed push.
Aftercare & Troubleshooting
Once you see new growth emerging from the soil or on the surface, congratulations! This is a good sign those cuttings have rooted.
- Gradual Acclimation: Slowly begin to remove the plastic bag or open the propagator for increasing periods each day. This allows the new plant to get used to normal humidity levels and prevents shock.
- Watering: Keep the soil consistently moist, but not waterlogged. Overwatering is the quickest way to invite rot, especially for young plants. Let the top inch of soil dry out slightly between waterings.
- Light: Place your new plants in a bright, indirect light location. Avoid direct, harsh sun, which can scorch delicate new leaves.
- Signs of Failure: The most common issues are rot (mushy, dark stems, or mold on the soil surface) and drying out. If you see rot, it’s best to discard the affected cutting. If the leaves are wilting and the soil is dry, it simply needs a good watering. Don’t be discouraged if some cuttings don’t make it; it’s all part of the learning process.
A Little Patience Goes a Long Way
Propagating Dioscorea floridana is a journey, not a race. There will be times when you wonder if anything is happening, and then, seemingly out of nowhere, there’s new life! Enjoy the process of nurturing these unique plants, and celebrate every little success. Happy propagating!
Resource:
https://identify.plantnet.org/k-world-flora/species/Dioscorea%20floridana%20Bartlett/data