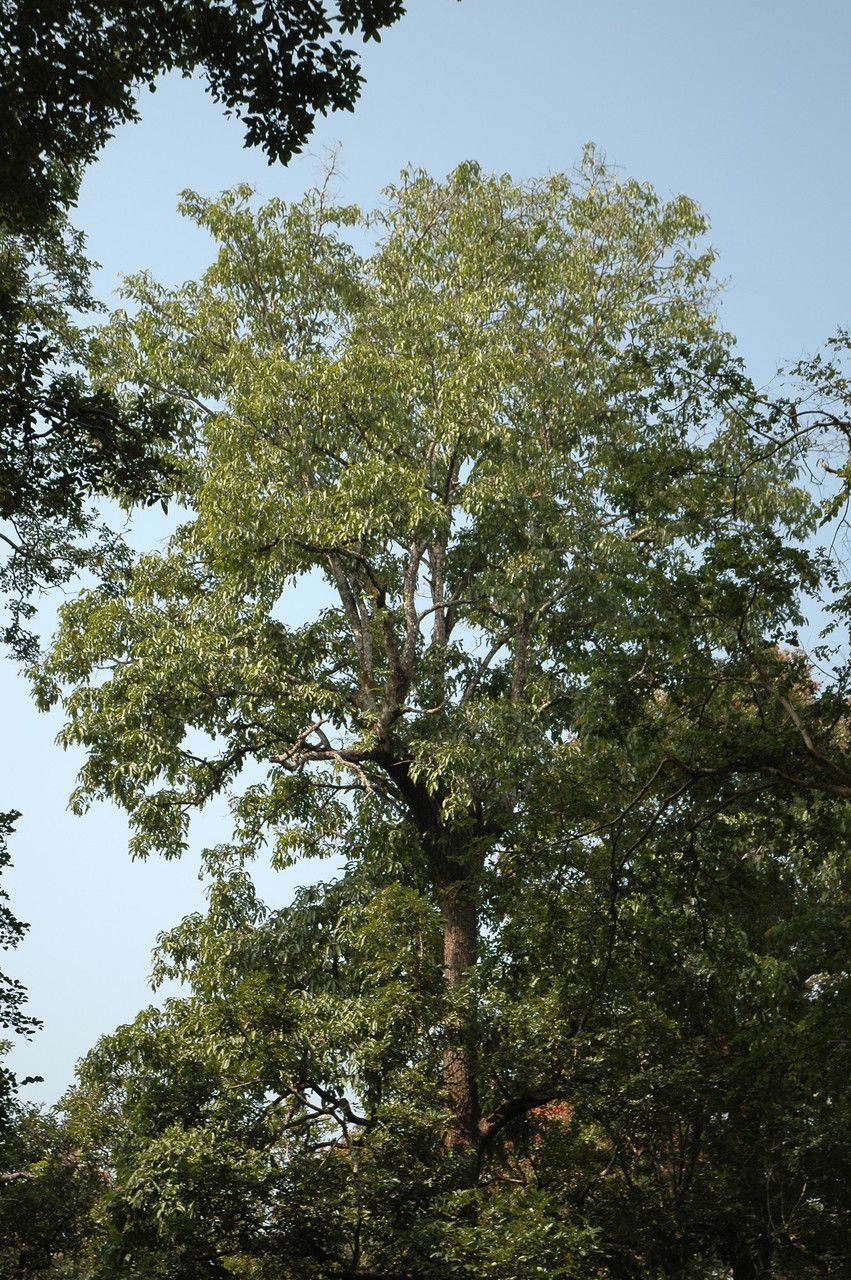
Hey there, fellow plant lovers! It’s your friendly garden enthusiast here, ready to dive into a truly beautiful tree with a name that might sound a bit exotic: Terminalia elliptica. You might also know it by names like Indian Laurel or Peacock Tree. I’ve been growing and tinkering with plants for two decades now, and let me tell you, the satisfaction of coaxing new life from a single leaf or a small cutting is just unparalleled.
Terminalia elliptica has this wonderful, often sprawling growth habit, and in the right climate, it can produce these lovely, subtle flowers followed by interesting fruit. Plus, there’s something so rewarding about creating your own little green family from your existing plants. Now, if you’re a beginner, I’d say propagating Terminalia elliptica isn’t going to be an overnight success story like a spider plant, but with a little patience and the right approach, it’s absolutely achievable. Don’t let that scare you away!
The Best Time to Start
For the highest success rate, I always find that the late spring or early summer is your golden window for propagating Terminalia elliptica. This is when the plant is in its active growing phase. The new growth is softer and more pliable, which means it’s more receptive to rooting. Trying it when the plant is dormant is usually a recipe for disappointment.
Supplies You’ll Need
Gathering your tools beforehand makes the whole process so much smoother. Here’s what I typically have on hand:
- Sharp, clean pruning shears or a sharp knife: For making clean cuts.
- Rooting hormone: This isn’t strictly mandatory, but it really gives those cuttings a boost. I prefer a powder or gel.
- Well-draining potting mix: A good blend of peat moss, perlite, and a bit of compost works wonders. You can also find specific “propagation mixes.”
- Small pots or seed trays with drainage holes: For your cuttings to grow in.
- Plastic bags or a small propagation dome: To create a humid microclimate.
- Watering can with a fine rose or a mister: For gentle watering.
- A small trowel or dibber: To make holes for your cuttings.
Propagation Methods
While you might be able to get some success with seed, I’ve found stem cuttings to be the most reliable and rewarding way to propagate Terminalia elliptica.
Stem Cuttings:
- Select your cutting: Look for a healthy, vigorous stem that’s about 6-8 inches long. It should have some leafy growth but ideally, avoid anything that’s already flowered or fruited. It’s best to take cuttings from semi-hardwood. This means the stem is not brand new and bright green, but also not woody and old. It should be firm but still slightly flexible.
- Make the cut: Using your clean shears or knife, make a clean cut just below a leaf node. The leaf node is where a leaf attaches to the stem – this is where new roots are most likely to form.
- Prepare the cutting: Gently remove the leaves from the bottom half of the cutting. You want to expose a few nodes for rooting. If the remaining leaves are very large, I’ll often snip them in half to reduce water loss through transpiration.
- Apply rooting hormone: Dip the cut end of the stem into your rooting hormone, tapping off any excess. Make sure the nodes where you removed leaves are coated.
- Plant your cutting: Fill your pots or trays with your well-draining potting mix. Use your dibber or trowel to make a hole deep enough for your cutting. Gently insert the cutting and firm the soil around it.
- Water gently: Water the soil thoroughly but gently. You don’t want to dislodge the cutting.
- Create humidity: Cover the pot or tray with a clear plastic bag (making sure it doesn’t touch the leaves!) or place it inside a propagation dome. This is crucial for keeping the humidity high, which helps the cuttings stay hydrated until they develop roots.
- Provide warmth and light: Place your cuttings in a warm spot with bright, indirect light. Avoid direct sun, as this can scorch the young cuttings.
The “Secret Sauce” (Pro Tips)
Okay, here are a couple of little tricks I’ve picked up over the years that can make a big difference:
- Bottom Heat is Your Friend: If you can, place your pots on a heat mat. This gentle bottom warmth encourages root development much faster than ambient room temperature alone. It’s particularly helpful if your house isn’t always toasty.
- Don’t Drown Your Dreams: While humidity is key, it’s equally important not to let the potting mix become waterlogged. Soggy soil is a breeding ground for fungal diseases, and root rot is the enemy of any new cutting. Feel the soil; if it’s still damp a few inches down, it’s likely fine. I usually only water when the top inch of soil starts to feel dry.
- Think About Air Flow, Too: While we want to trap humidity, you don’t want stagnant, dead air. If you’re using a plastic bag, open it up for a few minutes each day to allow for some air exchange. This helps prevent fungal issues.
Aftercare & Troubleshooting
Once those little roots start to form – and you’ll know this when you see new growth emerging from the top, or if you gently tug on the cutting and feel resistance – you can start tending to your new plant.
- Gradually Acclimate: Slowly reduce the humidity by gradually opening the bag or dome over a week or two. Once the roots are well-established (you might see them peeking out the drainage holes), you can transplant your new Terminalia elliptica into its own slightly larger pot with regular potting soil.
- Watering: Continue to water consistently, letting the top inch of soil dry out between waterings.
- Light: Gradually introduce it to brighter, but still indirect, light. It will eventually tolerate more direct sun as it matures, but give it time to adjust.
Now, what if things go wrong? The most common culprit is root rot. If your cutting starts to look mushy, discolored, or just generally unhealthy, and there’s no sign of rooting, rot is likely the cause. This is usually due to overwatering and lack of drainage. Sometimes, you can save it if you catch it extremely early by taking it out of the pot, trimming away any rotted parts, and repotting in fresh, dry soil, but often, it’s best to discard the failed cutting and try again. Black, shriveled stems can also indicate it’s just dried out too much, so inconsistent watering can be an issue.
A Encouraging Closing
Propagating plants is a journey, and like any good journey, there will be ups and downs. Some attempts will be more successful than others, and that’s perfectly fine. The most important thing is to be patient, learn from each attempt, and most importantly, enjoy the process. There’s a special kind of magic in nurturing a new plant from its very beginnings. Happy propagating!
Resource:
https://identify.plantnet.org/k-world-flora/species/Terminalia%20elliptica%20Willd./data