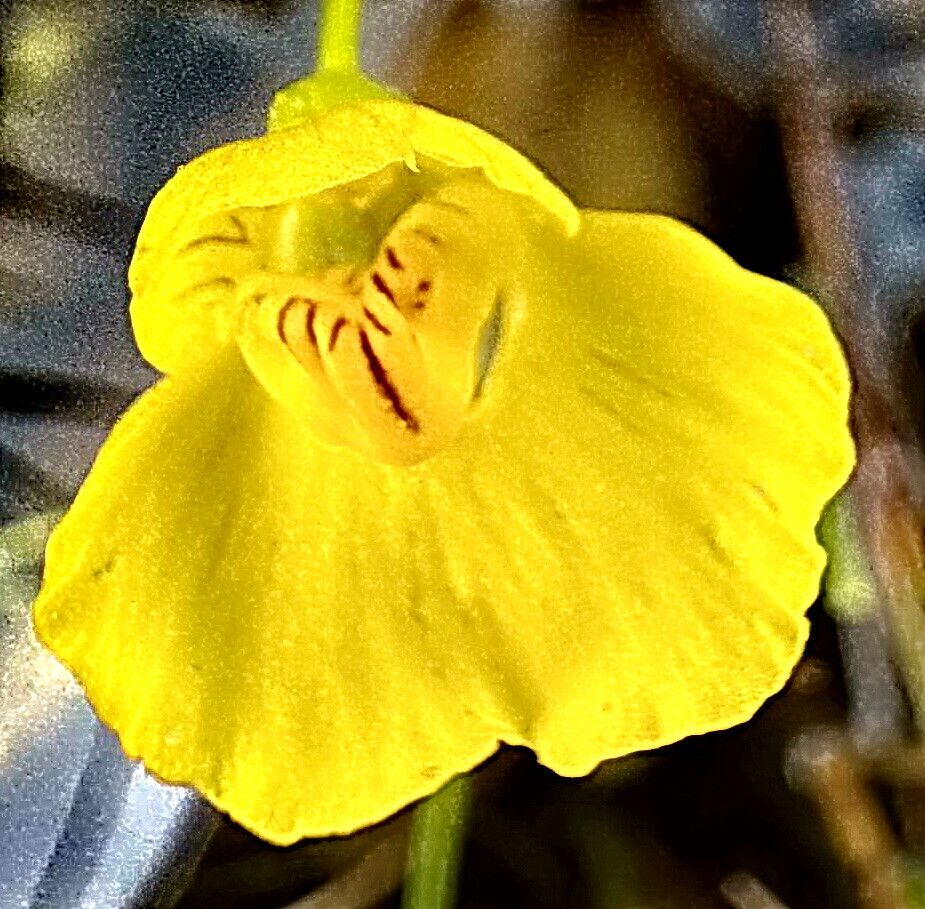
Oh, hello there! Grab a mug, because we’re about to dive into the fascinating world of Utricularia intermedia, also known as the intermediate bladderwort. If you’ve ever marvelled at its delicate, ground-hugging foliage and the intriguing little traps that give it its name, you’re in for a treat. Propagating these beauties is incredibly rewarding, and while they might seem a tad exotic, I find them surprisingly approachable, even for those just starting out in the world of carnivorous plants. It’s a wonderful way to multiply your collection without breaking the bank!
The Best Time to Start
For Utricularia intermedia, the sweet spot for propagation is generally during its active growing season. This usually means late spring through early summer. You’ll know it’s happy and ready to share when you see lots of new growth, particularly those pretty little tendrils and leaves forming. Starting when the plant is vigorous means you’re working with healthy material, which always translates to better success.
Supplies You’ll Need
You don’t need a fancy lab to get these going. Here’s what I usually have on hand:
- Peat moss and perlite or sand: A very airy, nutrient-poor mix is key. Think a 1:1 ratio. Avoid anything with added fertilizers!
- Distilled or rainwater: Essential for keeping your Utricularia happy. Tap water often contains minerals that can harm them.
- Small pots or trays: Even deli containers with holes poked in the bottom work perfectly.
- Sharp scissors or a razor blade: For clean cuts when dividing.
- Tweezers: Handy for manipulating those tiny pieces.
- A spray bottle: For keeping humidity levels up.
Propagation Methods
Utricularia intermedia is quite generous, and there are a couple of ways you can coax new plants into existence.
Division
This is probably the easiest and most popular method. Your mature plant will naturally form runners and spread.
- Gently loosen the soil: Carefully tease apart the clump of Utricularia. You’re looking for distinct sections of the plant that have their own root system (though sometimes roots are minimal).
- Separate sections: Using your fingers or tweezers, carefully pull apart sections that look like they can stand on their own. Don’t be afraid to be a little firm, but avoid tearing anything excessively.
- Repot the divisions: Place each division into its own small pot filled with your prepared peat/perlite mix. Ensure the plant is nestled in the media, not buried too deeply.
- Water well: Water thoroughly with distilled or rainwater until the media is visibly moist.
Stem Cuttings (Runner Cuttings) are also quite effective.
- Identify healthy runners: Look for long, trailing stems that have developed leaves along their length.
- Make clean cuts: Using your sharp scissors or razor blade, carefully snip off a section of a runner that’s at least 1-2 inches long and has several leaves.
- Place on substrate: Gently lay the cutting on the surface of your moist peat/perlite mix in a shallow tray or pot. You can lightly press it down, but don’t bury it.
- Keep moist and humid: Mist the cuttings regularly and cover the pot or tray with a clear plastic dome or bag to maintain high humidity.
The “Secret Sauce”
Here are a couple of things I’ve learned over the years that make a real difference:
- Don’t let the leaves touch the water: When you’re watering your divisions or cuttings, aim to keep the water level consistently high in the tray, but ensure the actual plant material isn’t sitting submerged. This helps prevent rot, which is the biggest enemy of these delicate beauties. A good water tray method where the pot sits in about an inch of water is ideal.
- Gentle bottom heat can work wonders: If you’re propagating in a cooler spell, placing your trays on a gentle seedling heat mat can really encourage root formation. Just make sure it’s not too hot – think lukewarm, not scorching!
Aftercare & Troubleshooting
Once your plants have settled in, consistent moisture is key. Keep the soil consistently damp but not waterlogged. A good rule of thumb is to keep about an inch of distilled or rainwater in the tray your pots are sitting in. High humidity is also important, so continue misting or keep them in a terrarium or under a dome.
Be patient! You might not see a huge amount of growth right away. Look for new tiny leaves or runners appearing as a sign of success. The most common problem you’ll encounter is rot, especially if the plant is too wet or not getting enough air circulation. If you see mushy, blackening leaves, gently remove them and try to improve air flow. Sometimes, even with the best care, a cutting might not take, and that’s okay. It’s just part of the gardening journey.
A Little Patience Goes a Long Way
Propagating Utricularia intermedia is a delightful way to connect with these unique plants. It’s a process that requires a bit of observation and a gentle touch, but the payoff of seeing new life emerge is truly special. Don’t be discouraged if your first attempt isn’t a roaring success; every gardener has had their share of learning curves! Enjoy the quiet satisfaction of nurturing your plants and watching them thrive. Happy growing!
Resource:
https://identify.plantnet.org/k-world-flora/species/Utricularia%20intermedia%20Hayne/data