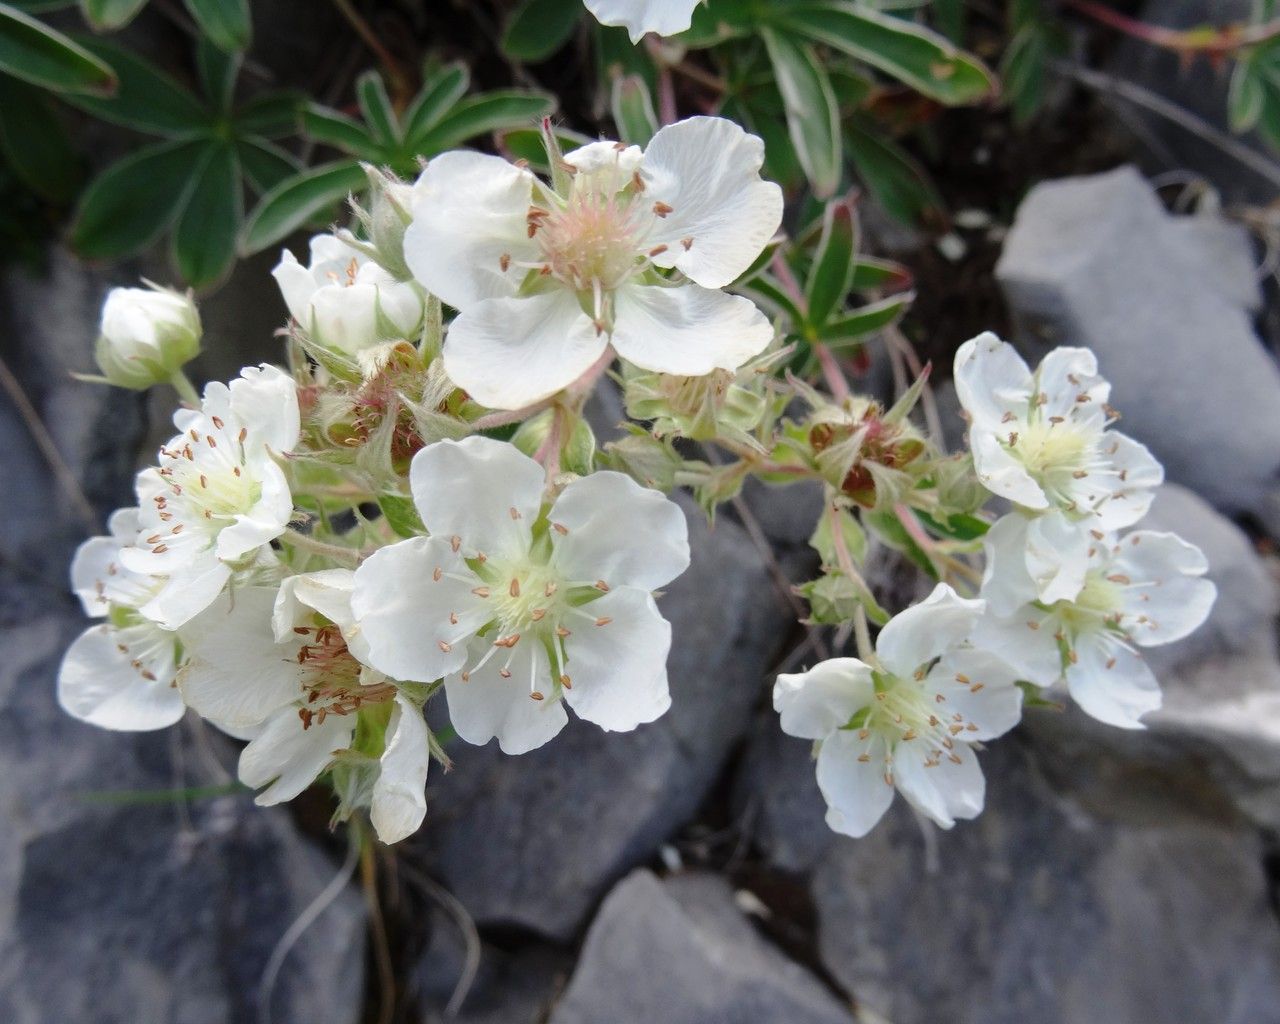
Hello, fellow garden enthusiasts! If you’ve ever admired those charming, low-growing Potentilla alchimilloides, with its delicate, silvery foliage and cheerful little yellow flowers, you’re not alone. I’ve spent many years with these beauties in my own garden, and let me tell you, the satisfaction of coaxing new life from an established plant is truly special. Propagating them might sound intricate, but honestly, I find them quite cooperative and rewarding, even for those just dipping their toes into the world of plant propagation.
The Best Time to Start
For Potentilla alchimilloides, I’ve found great success by taking softwood cuttings in late spring to early summer. This is when the plant is actively growing, and the new stems are pliable and full of vigor. Waiting until the stems have started to firm up a bit, but aren’t yet woody, is the sweet spot.
Supplies You’ll Need
Gathering your tools beforehand makes the whole process smoother. Here’s what I usually have on hand:
- Sharp pruning shears or a clean knife: For making clean cuts.
- Rooting hormone (optional but recommended): Helps encourage root development. A powder form works well.
- Small pots or seed trays: With drainage holes, of course!
- A good potting mix: I like a blend that’s well-draining. A mix of equal parts peat moss and perlite or a seed-starting mix is perfect.
- Trimming scissors or a small trowel: For preparing cuttings and filling pots.
- A plastic bag or clear propagator lid: To create a humid environment.
- Watering can or spray bottle: For gentle watering.
Propagation Methods: Stem Cuttings
This is my go-to method for Potentilla alchimilloides, and it’s quite straightforward.
- Take Your Cuttings: In your chosen timeframe, select healthy, non-flowering stems. Using yoursharp pruners, cut lengths of about 4-6 inches. Make the cut just below a leaf node – that little bump where a leaf attaches to the stem.
- Prepare the Cuttings: Gently remove the leaves from the bottom half of each cutting. If the remaining leaves are very large, you can cut them in half to reduce water loss.
- Apply Rooting Hormone: Dip the cut end of each stem into your rooting hormone, tapping off any excess. This step really gives your cuttings a boost.
- Plant Your Cuttings: Fill your pots or trays with your well-draining potting mix. Make small holes in the soil with a pencil or your finger, and then insert the cuttings about an inch deep. Gently firm the soil around them to ensure good contact.
- Create Humidity: Water the soil gently until it’s moist but not waterlogged. Then, cover the pots with a clear plastic bag or a propagator lid to maintain high humidity. This is crucial for preventing the cuttings from drying out before they can root.
The “Secret Sauce” (Pro Tips)
After years of getting my hands dirty, a few little tricks have become second nature for me.
- Cleanliness is Kin: Always use sterilized tools. This might sound a bit fussy, but it significantly reduces the risk of diseases taking hold in your delicate cuttings. A quick wipe with rubbing alcohol does wonders.
- Less is More with Leaves: When you’re preparing your cuttings, it’s tempting to leave as many leaves as possible. However, don’t let the leaves touch the soil. This can lead to rot. If you have leaves hanging down, trim them off or position the cutting so they are above the soil surface.
- Patience and Placement: While bottom heat is often recommended for some plants, I find Potentilla alchimilloides is usually happy with good indirect light. Just be patient! They’re not the fastest rooters, so don’t get discouraged if you don’t see much happening for a few weeks.
Aftercare & Troubleshooting
Once your Potentilla alchimilloides cuttings have successfully rooted – you’ll know this when you feel a gentle tug when you try to lift them slightly, or you might see new leaf growth – it’s time to transition them.
Carefully remove the plastic covering and gradually introduce them to slightly less humid conditions over a few days. Continue to water them regularly, letting the soil surface dry out a little between waterings. When they’ve grown a bit more substantial, you can transplant them into their own small pots.
The most common issue you’ll encounter is rot. If you see your cuttings turning black and mushy, it’s usually a sign of overwatering or poor drainage. Make sure your soil isn’t staying constantly soggy. If you catch it early, you might be able to trim away the affected parts and try to re-root, but sometimes, it’s best to start again with fresh cuttings and adjust your watering.
A Little Bit of Patience Goes a Long Way
There you have it! Propagating Potentilla alchimilloides is a wonderfully rewarding way to multiply these delightful plants for your garden or to share with friends. Don’t be afraid to experiment, and most importantly, enjoy the process of nurturing these tiny beginnings into thriving new plants. Happy gardening!
Resource:
https://identify.plantnet.org/k-world-flora/species/Potentilla%20alchimilloides%20Lapeyr./data