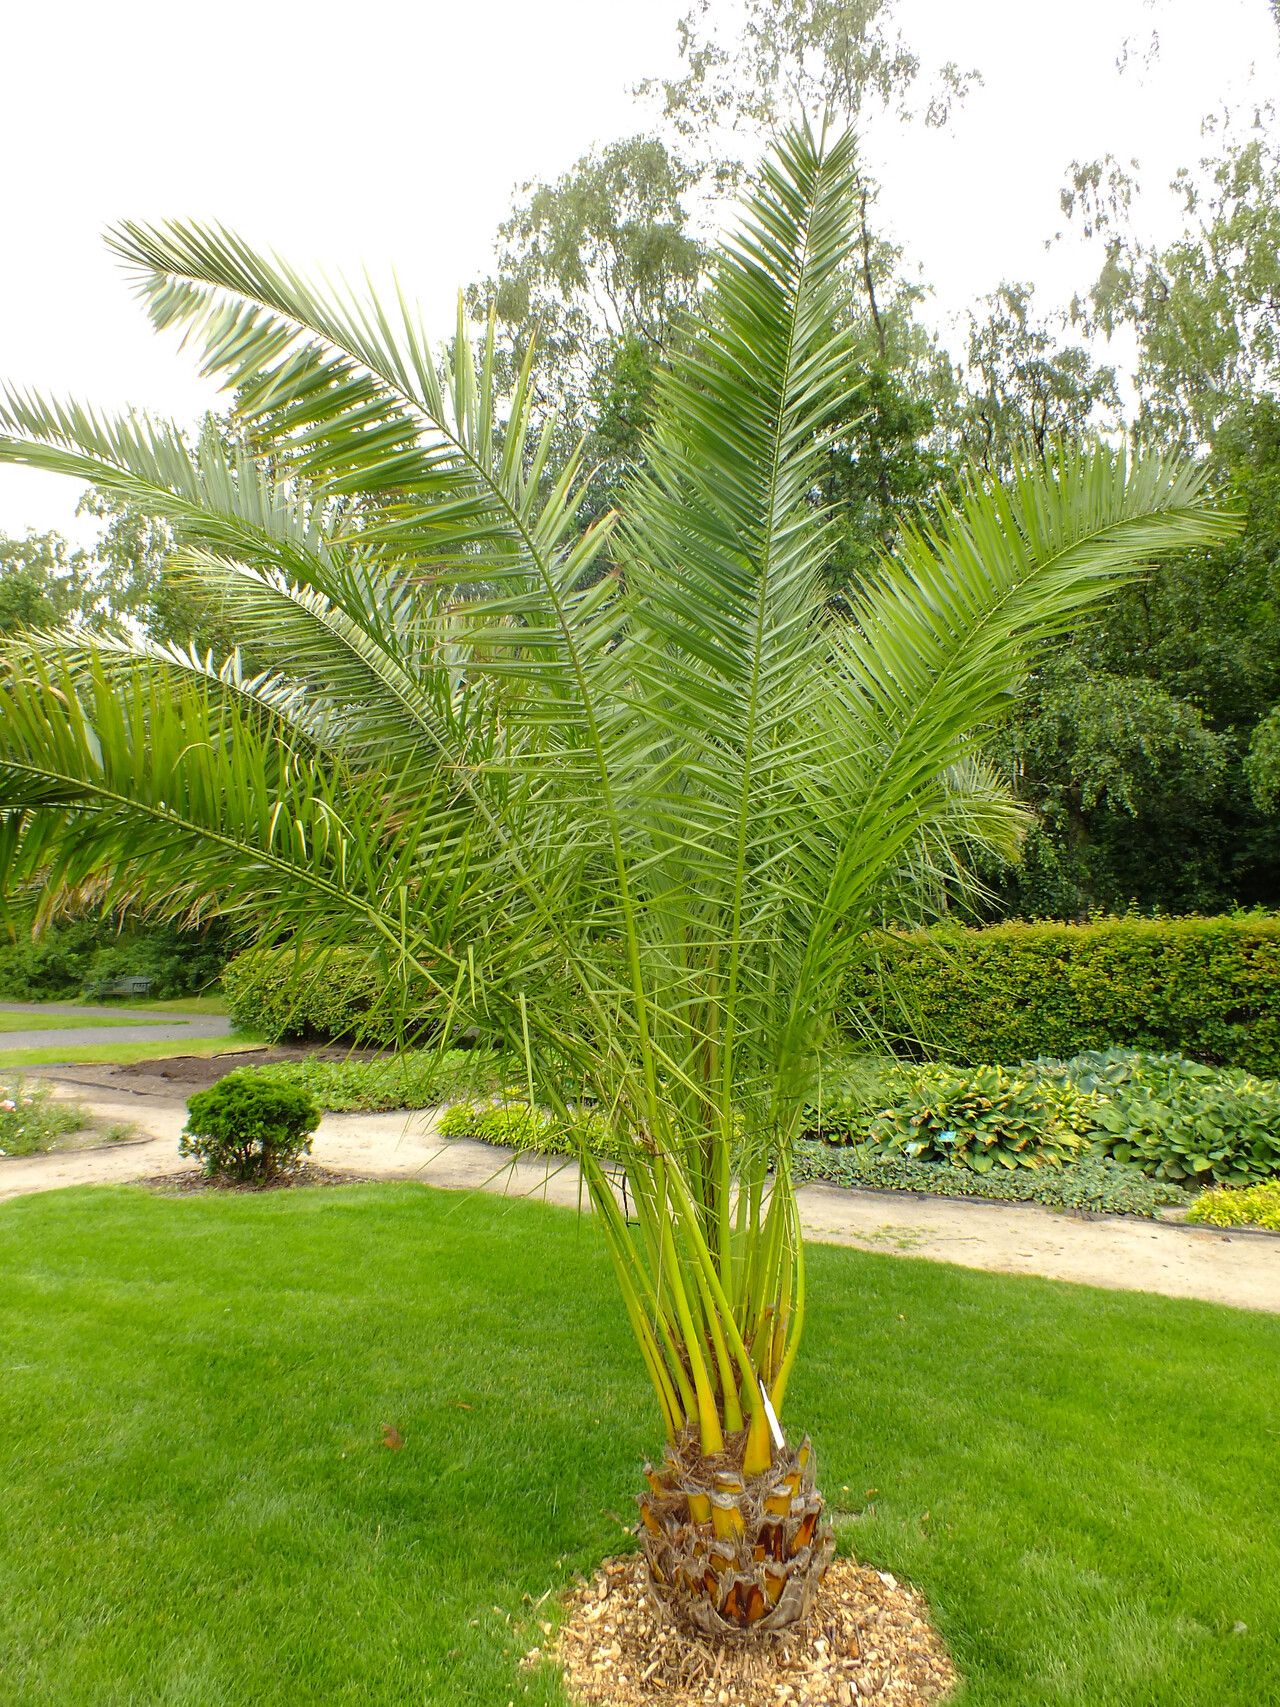
Hello fellow plant lovers! Today, we’re diving into something really special: propagating the Phoenix pusilla, or as it’s often affectionately called, the Little Wild Date Palm. There’s something so charming about this compact palm; its feathery fronds bring a touch of the tropics right into our spaces, and it’s incredibly rewarding to see a new life spring from your own efforts. While palms can sometimes feel a bit intimidating, I find Phoenix pusilla to be a wonderfully accessible plant for propagation, even for those just starting out. It’s a real joy to share this one.
When Do You Get Growing?
The best time to get started with your Phoenix pusilla propagation is generally during its active growing season, which typically falls in late spring through summer. This is when the plant is full of energy, making it more receptive to rooting and developing new growth. Starting then gives your new little palms ample time to establish a strong root system before cooler weather arrives.
What You’ll Need for Success
Gathering your supplies beforehand makes the whole process smoother. Here’s what I usually have on hand:
- Sharp Pruning Shears or a Clean Knife: For making clean cuts. A sterile tool is crucial to prevent disease.
- Well-Draining Potting Mix: A good blend is key! I often use a mix of peat moss, perlite, and coarse sand in roughly equal parts. You can also find specialized palm or cactus mixes.
- Small Pots or Trays: For your cuttings or divisions to start their new life. Make sure they have drainage holes.
- Rooting Hormone (Optional but helpful): This can significantly speed up the rooting process. Look for a powdered or liquid formula.
- Plastic Bags or a Propagator: To create a humid environment for stem cuttings.
- Watering Can or Spray Bottle: For gentle watering.
Bringing New Palms to Life: My Favorite Methods
Phoenix pusilla is usually propagated through division or seed, but I’ve had great success with stem cuttings from mature plants, though it’s a bit more of a patience game.
Method 1: Division (Best for Pups)
This is often the easiest and most successful route for Phoenix pusilla if your plant has produced “pups” or offshoots at its base.
- Gently Remove the Plant: Carefully take your Phoenix pusilla out of its pot.
- Identify the Pups: Look for smaller plants that have emerged from the base of the mother plant, with their own roots.
- Separate the Pups: Using a clean, sharp knife or your fingers, carefully separate the pup from the mother plant, ensuring it has some of its own roots attached. If a pup is very small and lacks roots, you can still try it; it might just take a little longer to establish.
- Pot Them Up: Plant each separated pup in its own small pot filled with your well-draining potting mix.
- Water Lightly: Give them a gentle watering.
Method 2: Stem Cuttings (More Advanced)
This method works best with a mature, healthy plant and requires a bit more patience.
- Choose a Healthy Stem: Look for a healthy, non-flowering stem on your Phoenix pusilla. It should be firm and have good leaf structure.
- Make the Cut: Using your sterilized pruning shears or knife, make a clean cut about an inch or two below a leaf node. You want a piece that is at least 4-6 inches long with a few leaves attached.
- Remove Lower Leaves: Strip away the lower leaves from the cutting, leaving just a few at the top to aid in photosynthesis.
- Apply Rooting Hormone (Optional): Dip the cut end into rooting hormone, tapping off any excess.
- Plant the Cutting: Insert the cut end into a pot filled with your pre-moistened potting mix. You can plant a few cuttings in one pot, leaving space between them.
- Create a Humid Environment: This is crucial! Cover the pot with a clear plastic bag, securing it around the pot with a rubber band, or place it inside a propagator. Make sure the leaves do not touch the sides of the plastic if possible.
- Keep it Damp and Warm: Place the pot in a warm spot with bright, indirect light. Misten the soil and the inside of the bag occasionally to maintain high humidity.
My Little “Secret Sauce” Tips
Over the years, I’ve learned a few tricks that make a big difference.
- Bottom Heat is Your Friend: When propagating by cuttings, popping the pot onto a gentle heat mat can dramatically speed up root development. Palms love warmth, and this mimics the cozy soil temperatures they’d find in their native habitats.
- Don’t Drown Your Secrets: For cuttings in water (which I’m a bit more hesitant to recommend for palms), ensure that only the cut stem touches the water, and never let the leaves or the crown of the plant sit in water. Rot is the enemy here! If you must use water, change it every few days to keep it fresh.
- Patience for Palms: Palms, in general, are slower growers and rooters than many other plants. Don’t be discouraged if you don’t see immediate results. Patience is truly a virtue in palm propagation!
Aftercare and Troubleshooting Blunders
Once you see signs of roots – usually a gentle tug on the cutting will reveal resistance, or you might see new leaf growth – it’s time to ease them into their new life.
- Acclimatize Slowly: If you’ve used a plastic bag or propagator, gradually remove the cover over a week or two to allow the plant to adjust to normal humidity levels.
- Gentle Watering: Continue to water moderately, letting the top inch of soil dry out between waterings. Avoid overwatering, as this is the most common culprit for root rot.
- Bright, Indirect Light: Keep your new plants in a location with bright, indirect light. Direct sunlight can scorch delicate new growth.
Now, what if things go wrong? The most common issue you’ll encounter is rot. If your cutting or pup turns mushy, black, and smells unpleasant, it’s a sign of rot, usually due to too much moisture and poor air circulation. Unfortunately, once rot sets in, it’s often too late to save. The key is prevention – ensure excellent drainage, don’t overwater, and provide good airflow. Yellowing leaves on a pup can sometimes mean it’s struggling to establish, but if you’ve provided good care, they often perk up.
Keep Planting, Keep Growing!
Propagating your Phoenix pusilla is a journey, and like all gardening, it’s about the process as much as the outcome. Be patient with yourself and your little palms. Enjoy the quiet satisfaction of nurturing new life, and soon you’ll have more of these delightful palms to share or keep for yourself. Happy propagating!
Resource:
https://identify.plantnet.org/k-world-flora/species/Phoenix%20pusilla%20Gaertn./data