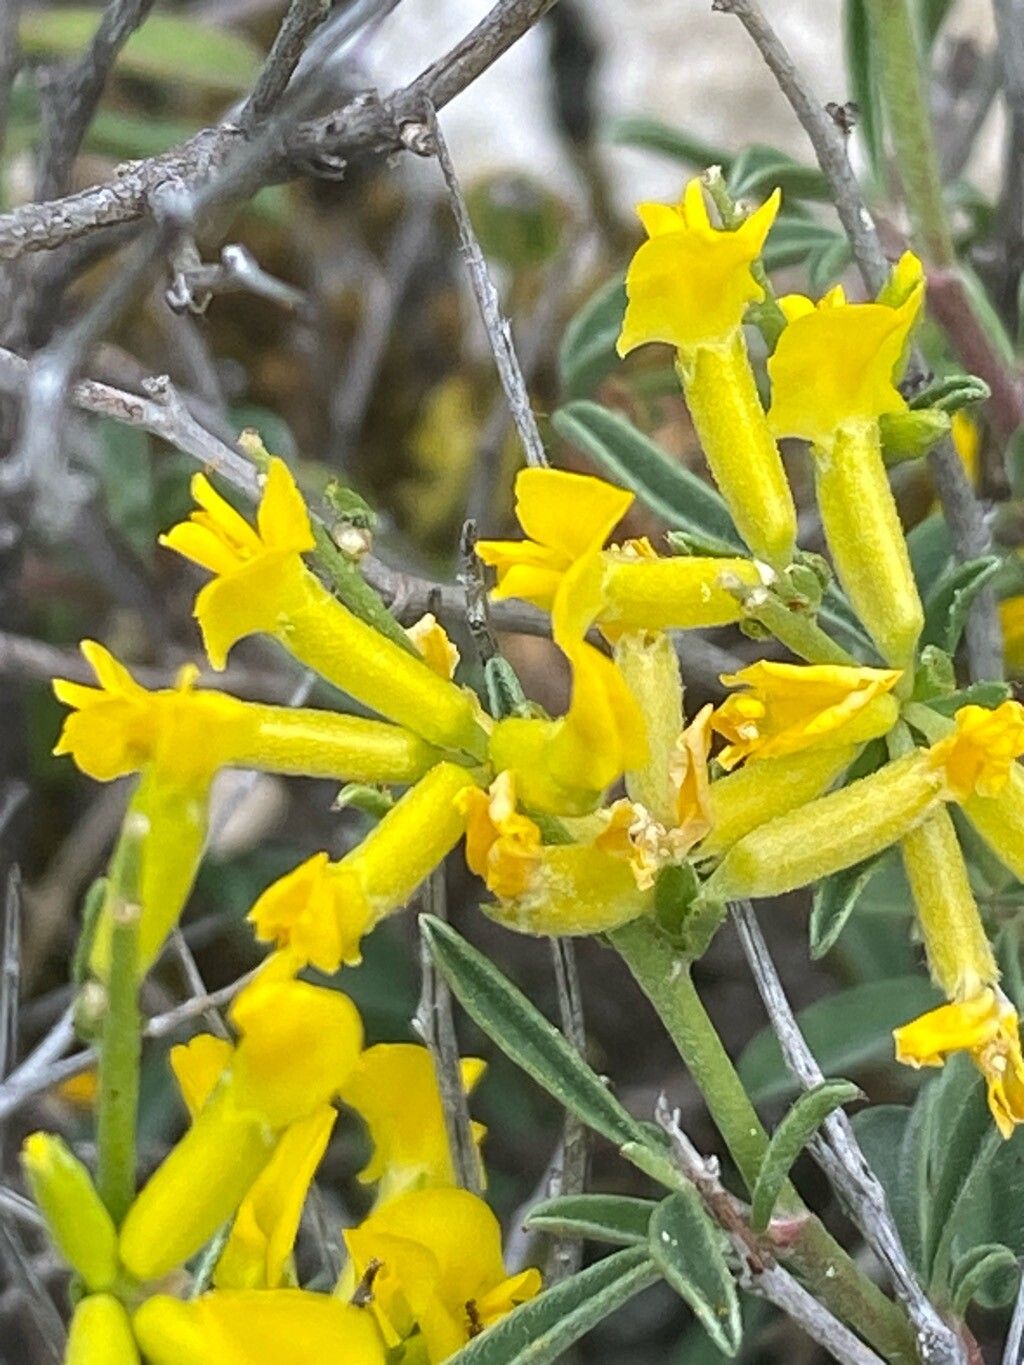
Hello fellow garden enthusiasts! I’m so glad you’ve stopped by for a chat. Today, we’re going to dive into the wonderful world of propagating Anthyllis hermanniae, a charming little shrub that brings such a sunny disposition to any garden. Its delicate, pea-like flowers and silver-green foliage are just lovely, and there’s something truly special about nurturing a new plant from a tiny piece. If you’re looking to expand your collection or share this beauty with friends, propagating it yourself is incredibly rewarding. Now, is it easy for beginners? I’d say Anthyllis hermanniae falls into a comfortable middle ground. It’s not notoriously difficult, but it does appreciate a little attention to detail.
The Best Time to Start
For the best chance of success with Anthyllis hermanniae, I always recommend taking cuttings in late spring to early summer. This is when the plant is actively growing and has plenty of energy to put into developing new roots. Look for stems that are semi-hardwood – they’ll snap cleanly when bent, but won’t be completely floppy like brand new growth.
Supplies You’ll Need
Gathering your supplies beforehand makes the whole process so much smoother. Here’s what you’ll want to have on hand:
- Sharp pruning shears or a clean knife: For taking precise cuttings.
- Rooting hormone (optional but recommended): A powder or gel that encourages root development.
- Well-draining potting mix: A 50/50 blend of seed starting mix and perlite or coarse sand is excellent.
- Small pots or trays: Clean containers with drainage holes are essential.
- Plastic bags or a propagation dome: To maintain humidity around the cuttings.
- Watering can or spray bottle: For gentle watering.
- Labels and a marker: To keep track of what you’ve propagated.
Propagation Methods
While you might find a few different ways to approach this, for Anthyllis hermanniae, stem cuttings are my go-to method, and remarkably successful.
- Taking the Cuttings: Head out to your Anthyllis plant with your clean shears. Select healthy, semi-hardwood stems that are about 4-6 inches long. Make your cut just below a leaf node (where a leaf attaches to the stem).
- Preparing the Cuttings: Gently remove the lower leaves from your cuttings, leaving just a few at the top. If the leaves are quite large, you can even trim them in half to reduce water loss.
- Applying Rooting Hormone (Optional): Dip the cut end of each stem into your rooting hormone. Tap off any excess. This step really gives the cuttings a head start.
- Planting the Cuttings: Fill your small pots or trays with your well-draining potting mix. Make a hole with a pencil or your finger in the center of the soil. Insert the cuttings into the holes, ensuring the nodes where you removed the leaves are below the soil surface. Gently firm the soil around the stems.
- Creating a Humid Environment: Water the soil gently. Then, cover the pots or trays with a plastic bag or a propagation dome. This traps humidity, which is crucial for preventing the cuttings from drying out before they can form roots. You can prop up the bag with a few small sticks if it looks like it might touch the leaves.
The “Secret Sauce” (Pro Tips)
Here are a couple of things I’ve learned over the years that really make a difference:
- Never let the leaves touch the water: Even if you’re tempted by water propagation (which I generally avoid for shrubs like this), ensure no leaves are submerged. They’ll quickly rot, sabotaging your efforts. With soil propagation, this means removing lower leaves diligently.
- Consider bottom heat: If you have a seedling heat mat, placing your pots on it can significantly speed up root development. It mimics the warmth of the soil during the growing season and gives those roots an extra boost. It’s not absolutely essential, but it’s a fantastic advantage.
Aftercare & Troubleshooting
Once your cuttings are planted and covered, the waiting game begins! Place them in a bright, indirect light location. Avoid direct, hot sun, which can scorch them under the plastic. Check the soil moisture every few days. It should always feel evenly moist, but not waterlogged. Gently mist the foliage occasionally if it looks a bit thirsty.
You’ll know your cuttings have rooted when you see new leaf growth starting at the top, or when you gently tug on a stem and feel resistance. This can take anywhere from 4 to 8 weeks, sometimes longer.
The most common sign of failure you’ll encounter is rot. If your cutting turns mushy and dark, or if you see mold developing, it’s likely gone. This usually happens from too much moisture and not enough air circulation. Ensure your soil is well-draining and remove any sick-looking cuttings immediately to prevent the spread.
A Gentle Closing
Propagating plants is a journey of patience and observation. Don’t be discouraged if not every cutting takes. Each attempt is a learning experience. Celebrate the successes, learn from the setbacks, and most importantly, enjoy the process of bringing new life into your garden. Happy propagating!
Resource:
https://identify.plantnet.org/k-world-flora/species/Anthyllis%20hermanniae%20L./data