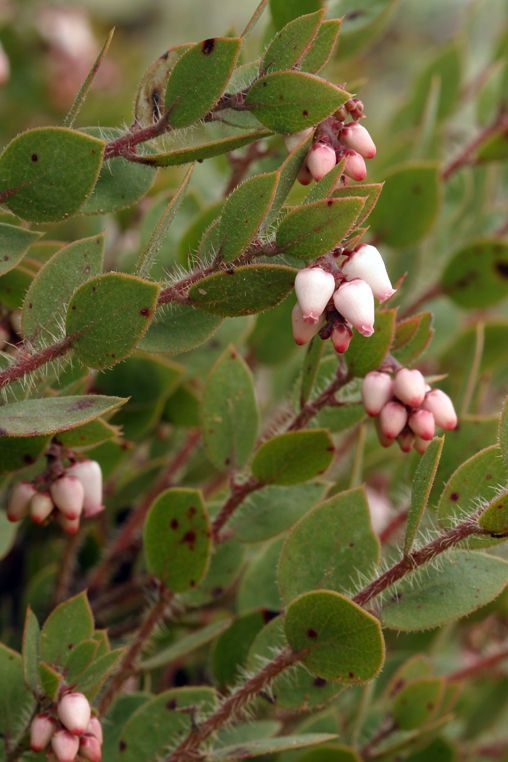
Oh, hello there, fellow plant lover! Pull up a chair and let’s chat about one of my absolute favorites: Arctostaphylos myrtifolia, the Myrtle-leaf Manzanita. These stunners, with their elegant, sometimes sculptural branches and lovely pinkish-white flowers that turn into those iconic red berries, are just a joy to have in the garden. And the best part? We can actually make more of them ourselves! Propagating them is a truly rewarding endeavor, a chance to watch life unfold in your own hands. Now, I won’t sugarcoat it – Arctostaphylos myrtifolia can be a little bit fussy compared to, say, a pothos, but with a bit of know-how and patience, it’s entirely achievable.
The Best Time to Start
For the best shot at success with Arctostaphylos myrtifolia cuttings, early summer is your golden ticket. Think late May through July. The plant is actively growing then, and those brand-new, soft shoots have a better chance of rooting than old, woody growth. You’re looking for stems that are still a bit pliable, not completely hardened off.
Supplies You’ll Need
Here’s what I like to have on hand before I get started:
- Sharp, clean pruning shears or a sharp knife: This is non-negotiable! Clean cuts prevent disease.
- Rooting hormone: A powdered or gel form specifically designed for woody cuttings. This really gives them a boost.
- A well-draining potting mix: A standard perlite/peat moss or coco coir mix works well, but I often add extra perlite or pumice. You want it to drain like a sieve.
- Small pots or propagation trays: Clean ones, of course!
- A misting bottle: For keeping things humid.
- Plastic bags or a propagation dome: To create that humid environment.
- A shaded, protected spot: Out of direct sun!
Propagation Methods
For Arctostaphylos myrtifolia, stem cuttings are my go-to method. It’s reliable and yields the best results for me.
Stem Cuttings:
- Take Your Cuttings: In early summer, select healthy, non-flowering stems. Look for those new, semi-hardwood shoots. Using your clean shears, cut pieces about 4-6 inches long. Make your cut just below a leaf node. This is where rooting hormones tend to work best.
- Prepare the Cuttings: Gently remove the lower leaves from the cutting, leaving just a few at the top. If there are any flower buds, snip those off too – the plant’s energy should go into roots, not flowers.
- Apply Rooting Hormone: Dip the cut end of each cutting into your rooting hormone, tapping off any excess.
- Plant Your Cuttings: Fill your small pots or trays with your well-draining potting mix. Make a little hole with a pencil or your finger and gently insert the prepared cutting. Firm the mix gently around the base.
- Water Gently: Water thoroughly but gently so you don’t dislodge the cuttings.
- Create a Humid Environment: Water them in, then cover the pots with a plastic bag or place them under a clear propagation dome. Try to ensure the leaves don’t touch the plastic, as this can encourage rot.
- Provide Consistent Moisture and Shade: Place your cuttings in a bright, but indirectly lit spot. Keep the soil consistently moist, but not soggy. Misting the leaves daily can also be beneficial, especially if you’re not using a dome.
The “Secret Sauce” (Pro Tips)
Here are a couple of things I’ve learned over the years that make a real difference:
- Bottom Heat is Your Friend: If you can, place your propagation trays on a gentle heating mat. This warm soil really encourages root development from below and is a game-changer for many woody plants. Arctostaphylos likes that warmth to get things going.
- Don’t Disturb Them Too Soon: Resist the urge to tug on your cuttings to see if they have roots! You won’t know for sure until you see definite new growth, a sign the plant is actively trying to establish itself. For Arctostaphylos, this can take several weeks, sometimes even a couple of months. Patience is key!
Aftercare & Troubleshooting
Once you see signs of new leaf growth or feel a gentle resistance when giving a cutting a very light tug, it’s time to start acclimating them. Gradually remove the plastic bag or dome over a week or so, allowing them to adjust to normal humidity. Continue to keep them in bright, indirect light and water when the top inch of soil feels dry. Overwatering is the quickest way to lose a new cutting, so err on the side of caution. Signs of failure include wilting that doesn’t perk up with watering, blackening stems, or a mushy base. If you see these, unfortunately, that cutting is likely lost.
A Gentle Reminder
Growing plants from cuttings is a journey, not a race. There will be successes, and there might be a few setbacks – that’s part of the fun of gardening! Don’t get discouraged. Keep experimenting, keep learning, and most importantly, enjoy the process of nurturing new life. Happy propagating!
Resource:
https://identify.plantnet.org/k-world-flora/species/Arctostaphylos%20myrtifolia%20Parry/data