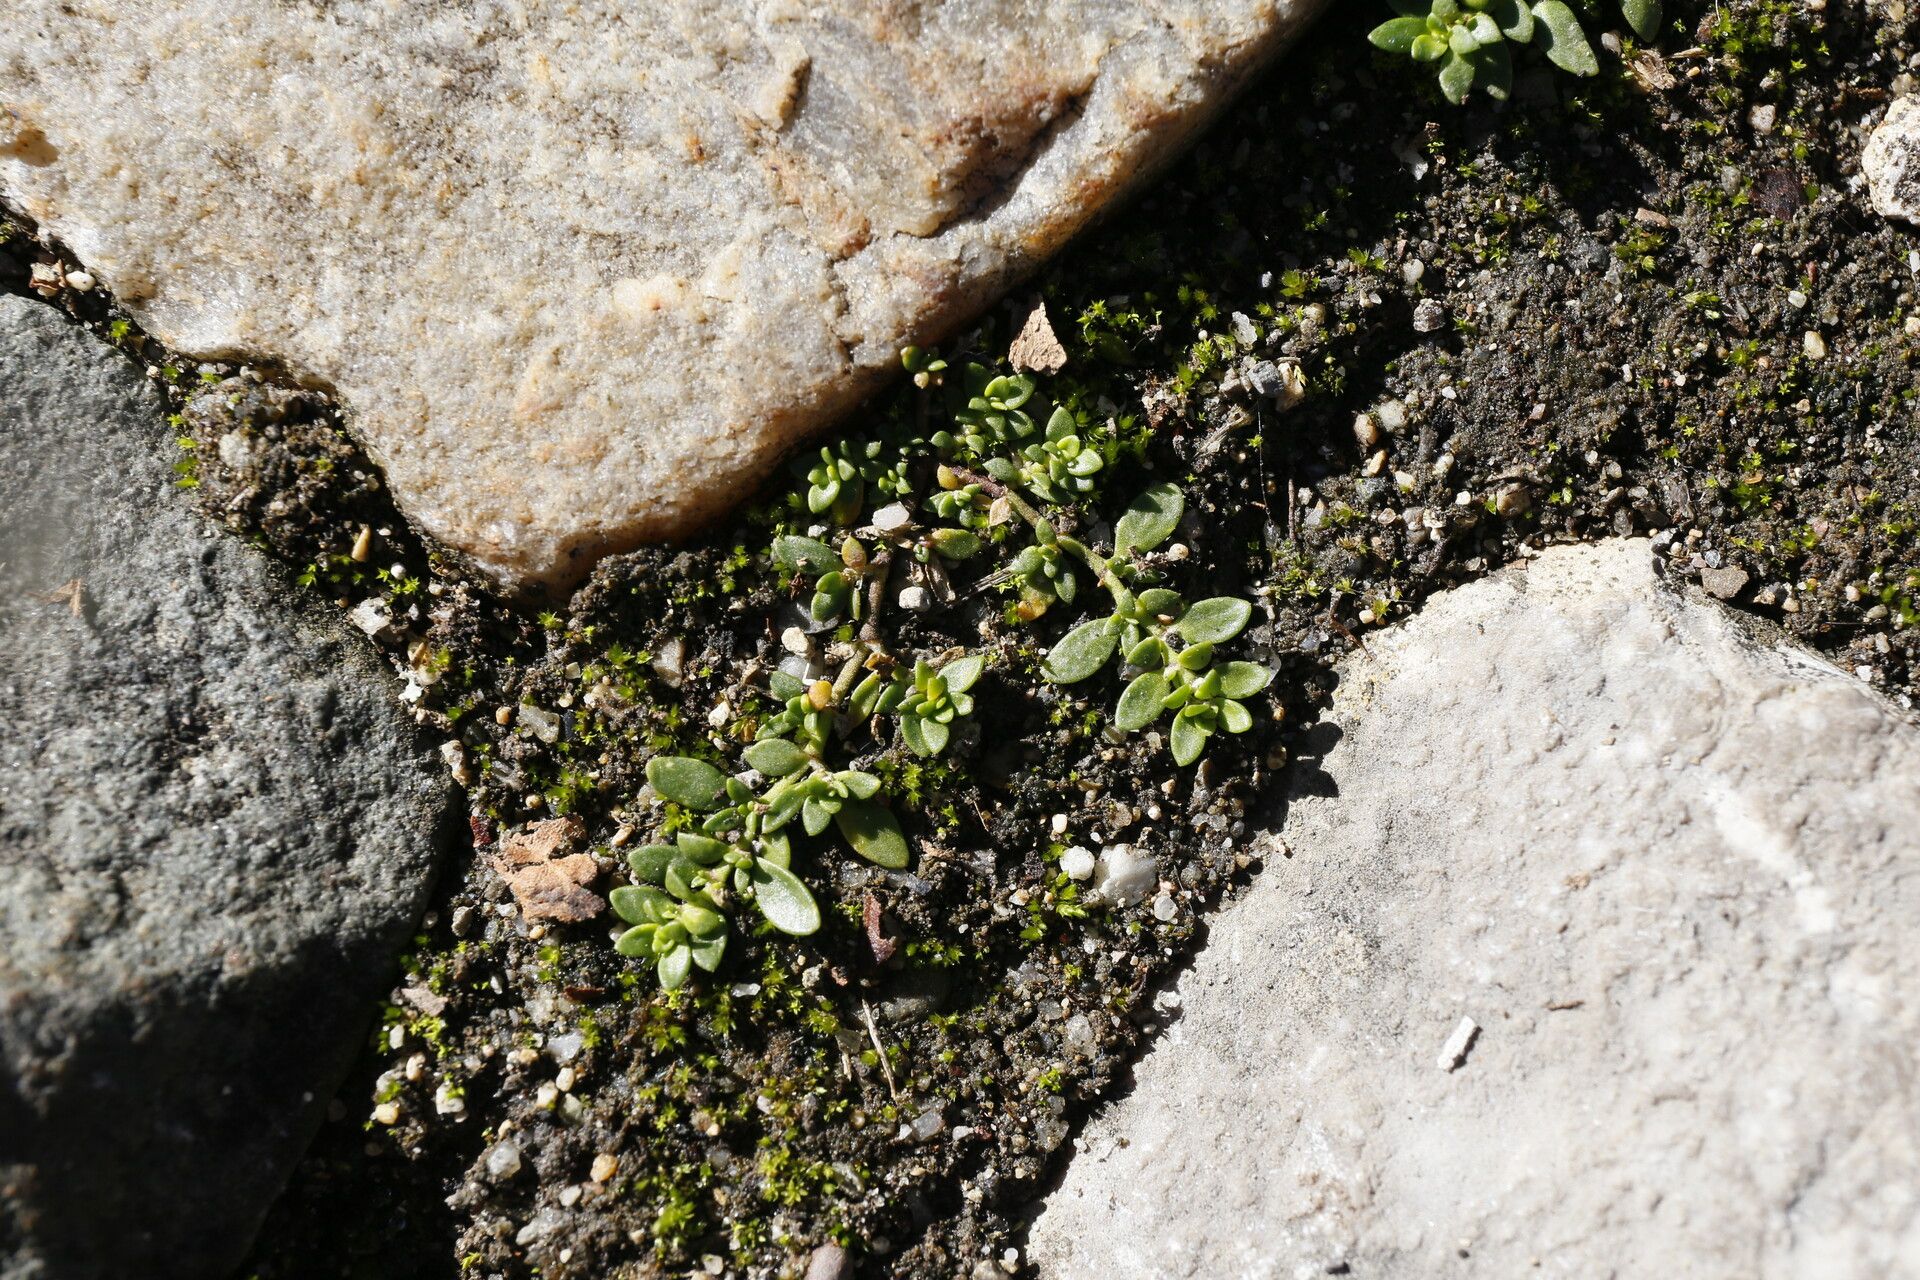
Hello, fellow garden lovers! Today, let’s talk about a really charming little groundcover that many of you have probably admired: Herniaria glabra, also known as Rupturewort or Irish Moss. Its tiny, bright green leaves form a dense, moss-like carpet that’s perfect for filling in those tricky bare spots or softening the edges of pathways. If you’ve ever wished you could have more of this lovely plant gracing your garden, you’re in luck! Propagating Herniaria glabra is surprisingly straightforward, and honestly, it’s a very rewarding process. I’d say it’s a fantastic plant for beginners looking to get their hands dirty with propagation.
The Best Time to Start
For the highest success rate, I always recommend taking cuttings in the late spring or early summer. This is when the plant is actively growing and has plenty of energy to put into developing new roots. You’re looking for stems that are somewhat firm but not yet woody. Think of it as capturing the plant at its peak vigor!
Supplies You’ll Need
To get your new Herniaria glabra plants started, here’s a handy list of what you’ll want to have on hand:
- Sharp pruning shears or a clean craft knife: For making clean cuts.
- A small pot or tray: With drainage holes – this is crucial!
- A well-draining potting mix: I like a blend of equal parts peat moss or coco coir and perlite. You can also use a specialized seed starting mix.
- Rooting hormone (optional but helpful!): A powder or gel to give your cuttings a little nudge.
- A plastic bag or clear plastic dome: To create a mini-greenhouse effect.
- A watering can with a fine rose: For gentle watering.
- Labels: To remember what you’ve planted and when!
Propagation Methods
Herniaria glabra is easily propagated from stem cuttings. It’s my go-to method, and it works beautifully.
- Take Your Cuttings: In late spring or early summer, select a healthy, non-flowering stem from your mother plant. Using your sharp pruning shears or craft knife, take a cutting that is about 3-4 inches long. Make the cut just below a leaf node (where a leaf attaches to the stem).
- Prepare the Cuttings: Gently remove the lower leaves from the cutting, leaving just the top two or three leaves intact. This prevents them from rotting in the soil.
- Apply Rooting Hormone (Optional): If you’re using rooting hormone, dip the cut end of the stem into the powder or gel. Tap off any excess.
- Plant Your Cuttings: Fill your pot or tray with your prepared potting mix. Make a small hole in the center with your finger or a pencil. Insert the cut end of the stem into the hole, making sure at least one leaf node is buried. Gently firm the soil around the cutting to ensure good contact.
- Water and Cover: Water the soil gently until it’s evenly moist, but not waterlogged. Then, cover the pot with a plastic bag or a clear dome. This is going to create a humid environment that encourages rooting.
The “Secret Sauce” (Pro Tips)
Now, here are a couple of things I’ve learned over the years that can really boost your success:
- Don’t let those bottom leaves touch the soil! I can’t stress this enough. They’ll absorb moisture and practically invite rot before your cutting even has a chance to root. Pinch them off cleanly.
- Bottom Heat is Your Friend: If you have a heat mat designed for seedlings, place your pots on it. Herniaria glabra cuttings love a little warmth from below. It really speeds up the rooting process and makes a noticeable difference.
Aftercare & Troubleshooting
Once your cuttings are planted, here’s how to care for them:
- Placement: Place your pot in a bright spot that receives indirect sunlight. Avoid direct sun, especially during the hottest part of the day, as it can scorch the delicate cuttings.
- Humidity: Keep the plastic bag or dome on, but open it for a few minutes each day to allow for air circulation.
- Watering: Check the soil regularly. The soil should remain consistently moist but never soggy. If the top layer of soil feels dry, give it a gentle watering.
- Rooting: Be patient! It can take anywhere from 3 to 6 weeks for your cuttings to develop a good root system. You can gently tug on a cutting – if there’s resistance, it means roots have formed.
- Troubleshooting: The Rotting Sigh: The most common sign of trouble is wilting, yellowing, and then outright rot. This usually happens due to overwatering or poor drainage. If you see this, sadly, the cutting is likely lost. Learn from it and adjust your watering or drainage for the next batch.
A Encouraging Closing
Propagating plants is a journey, and there’s so much joy in watching a tiny cutting transform into a new, thriving plant. Don’t get discouraged if a few don’t make it – that’s all part of the learning process! Keep experimenting, keep caring for your little greenery, and enjoy the incredibly rewarding experience of growing your own Herniaria glabra. Happy gardening!
Resource:
https://identify.plantnet.org/k-world-flora/species/Herniaria%20glabra%20L./data