Hello fellow garden enthusiasts! It’s so lovely to have you join me today. We’re going to dive into the wonderful world of propagating Serjania atrolineata, also known as the Red-veined Balloon Vine. This plant is an absolute showstopper in my garden. Those delicate, airy balloons are truly captivating, and the red-veined leaves add such a unique touch. Plus, getting new plants from this beauty is incredibly satisfying and a fantastic way to share its charm. Now, if you’re new to propagating, Serjania atrolineata can be a little bit of a puzzle at first, but with a few key tricks, you’ll be a pro in no time.
The Best Time to Start
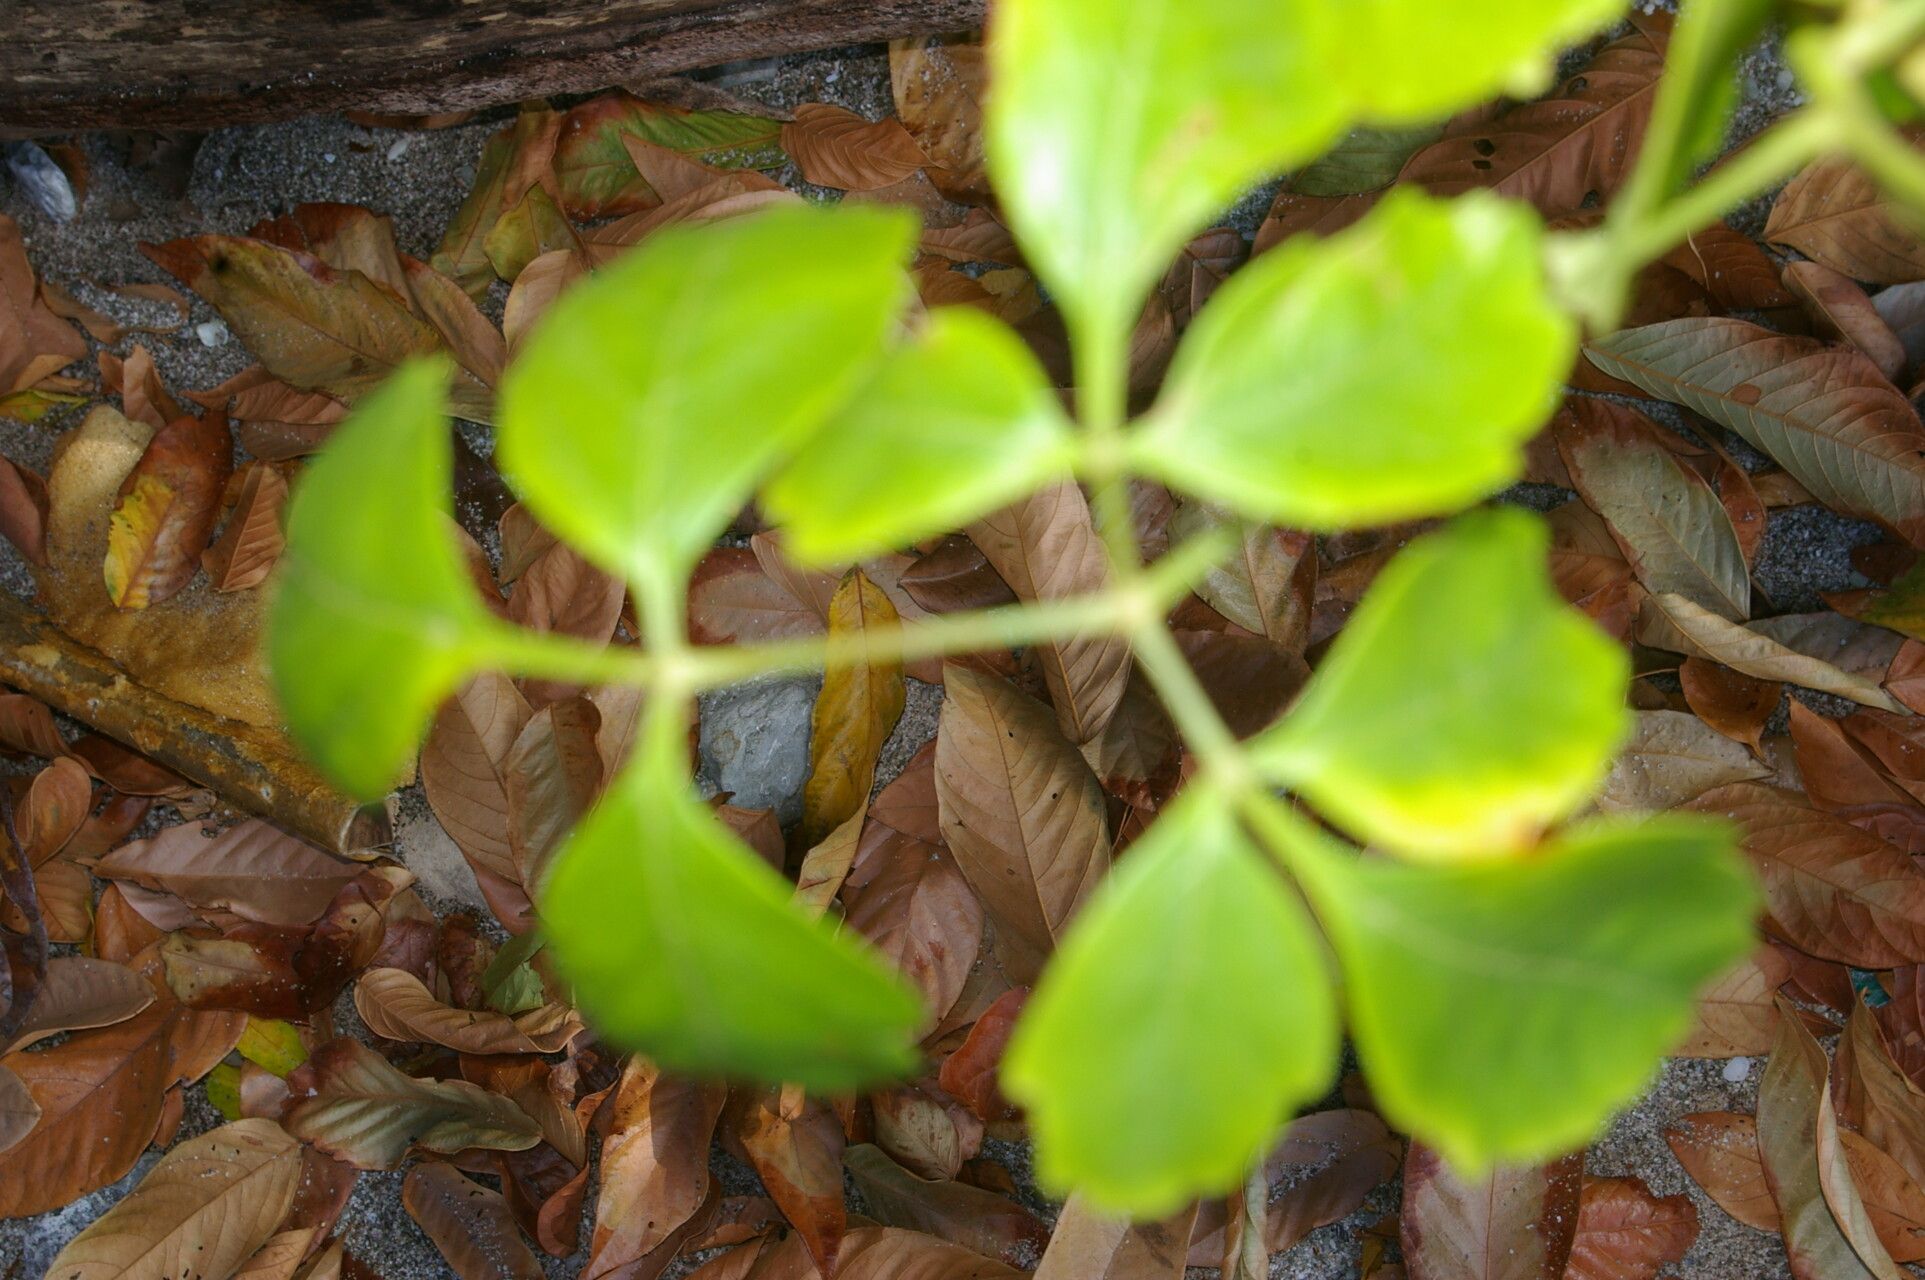
When it comes to getting the most bang for your buck with Serjania atrolineata, I’ve found that the late spring to early summer is your sweet spot. This is when the plant is actively growing and has plenty of energy to put into developing new roots. You want to look for new growth that is somewhat mature, not the super soft, floppy tips of brand new shoots, but also not woody, old stems. Think of it as being “firm but flexible.” It should snap cleanly when you bend it, not just bend over.
Supplies You’ll Need
Gathering your supplies beforehand makes the whole process so much smoother. Here’s what I always have on hand:
- Sharp, clean pruning shears or a sharp knife: Crucial for making clean cuts that heal well.
- Rooting hormone powder or gel: While not strictly mandatory for every plant, it gives Serjania a nice boost.
- Small pots or seed trays: About 3-4 inches in diameter are perfect for starting.
- Well-draining potting mix: A good blend of peat moss, perlite, and a bit of coarse sand works wonders. You can also buy a good quality seed-starting mix and amend it.
- Plastic bags or a propagator lid: To create a humid environment for your cuttings.
- Watering can with a fine spray nozzle: For gentle watering.
- Labels or plant markers: To keep track of what you’ve potted and when.
Propagation Methods
Serjania atrolineata is wonderfully amenable to stem cuttings. This is my go-to method, and it’s quite straightforward.
- Take Your Cuttings: Select healthy stems from your mature plant. With your clean shears, take cuttings that are about 4-6 inches long. Again, aim for that firm but flexible new growth. Make the cut just below a leaf node, which is the little bump where a leaf grows from the stem. This node is where roots are most likely to form.
- Prepare the Cuttings: Gently remove the lower leaves from the cutting, leaving just two or three at the top. This prevents them from rotting in the soil. If you’ve got very large leaves, you can even cut them in half horizontally to reduce water loss.
- Dip in Rooting Hormone: Dip the cut end of each stem into your rooting hormone, tapping off any excess. This step really encourages root development.
- Plant Your Cuttings: Fill your small pots with your prepared potting mix. Make a small hole in the center with your finger or a pencil. Insert the prepared cutting into the hole, ensuring the node where you removed the leaves is buried in the soil. Gently firm the soil around the cutting.
- Water and Cover: Water the potting mix gently using your fine spray nozzle until it’s evenly moist but not soggy. Then, cover the pot with a plastic bag or a propagator lid. This creates a mini-greenhouse effect, keeping the humidity high, which is vital for cuttings.
The “Secret Sauce” (Pro Tips)
Here are a couple of little tricks I’ve learned over the years that can really give your Serjania cuttings an edge:
- Bottom Heat is Your Friend: If you have it, place your pots on a gentle heat mat. This warmth from below encourages root growth much faster than ambient room temperature. Just aim for a comfortable warmth, not scorching hot!
- Don’t Let Leaves Touch the Soil: When you’re preparing your cuttings, be vigilant about removing those lower leaves. If they end up in contact with damp soil, they’re a prime spot for mildew and rot to set in, which can be the kiss of death for your nascent plant.
Aftercare & Troubleshooting
Once your cuttings are potted, place them in a spot with bright, indirect light. Avoid direct sun, which can scorch those tender cuttings. The key now is to maintain consistent moisture in the soil. Check it regularly – poke your finger in about an inch. If it feels dry, water gently. Keep that humidity up by occasionally misting the inside of the plastic bag or lid or ensuring it’s sealed well.
You’ll know your cuttings have rooted when you see little new leaves emerging or feel a gentle resistance when you lightly tug on the cutting to lift it. This can take anywhere from 4 to 8 weeks, sometimes longer. Be patient!
The most common culprit for failure is rot, which usually happens because the soil is too wet and there isn’t enough air circulation. If you see your cuttings turning brown and mushy, it’s likely rot. Unfortunately, these are usually lost causes. To prevent this, ensure your soil mix is very free-draining and don’t overwater. Yellowing leaves on an otherwise firm cutting can sometimes indicate it hasn’t rooted yet and is using up its stored energy. If this happens, just keep it moist and warm and hope for the best!
A Little Patience Goes a Long Way
Propagating plants is such a rewarding journey, and Serjania atrolineata is a lovely one to practice on. Remember to be gentle, observant, and patient. Each little seedling you nurture into a new plant is a testament to your green thumb and a beautiful way to share the joy of gardening. Happy propagating!
Resource:
https://identify.plantnet.org/k-world-flora/species/Serjania%20atrolineata%20C.Wright/data