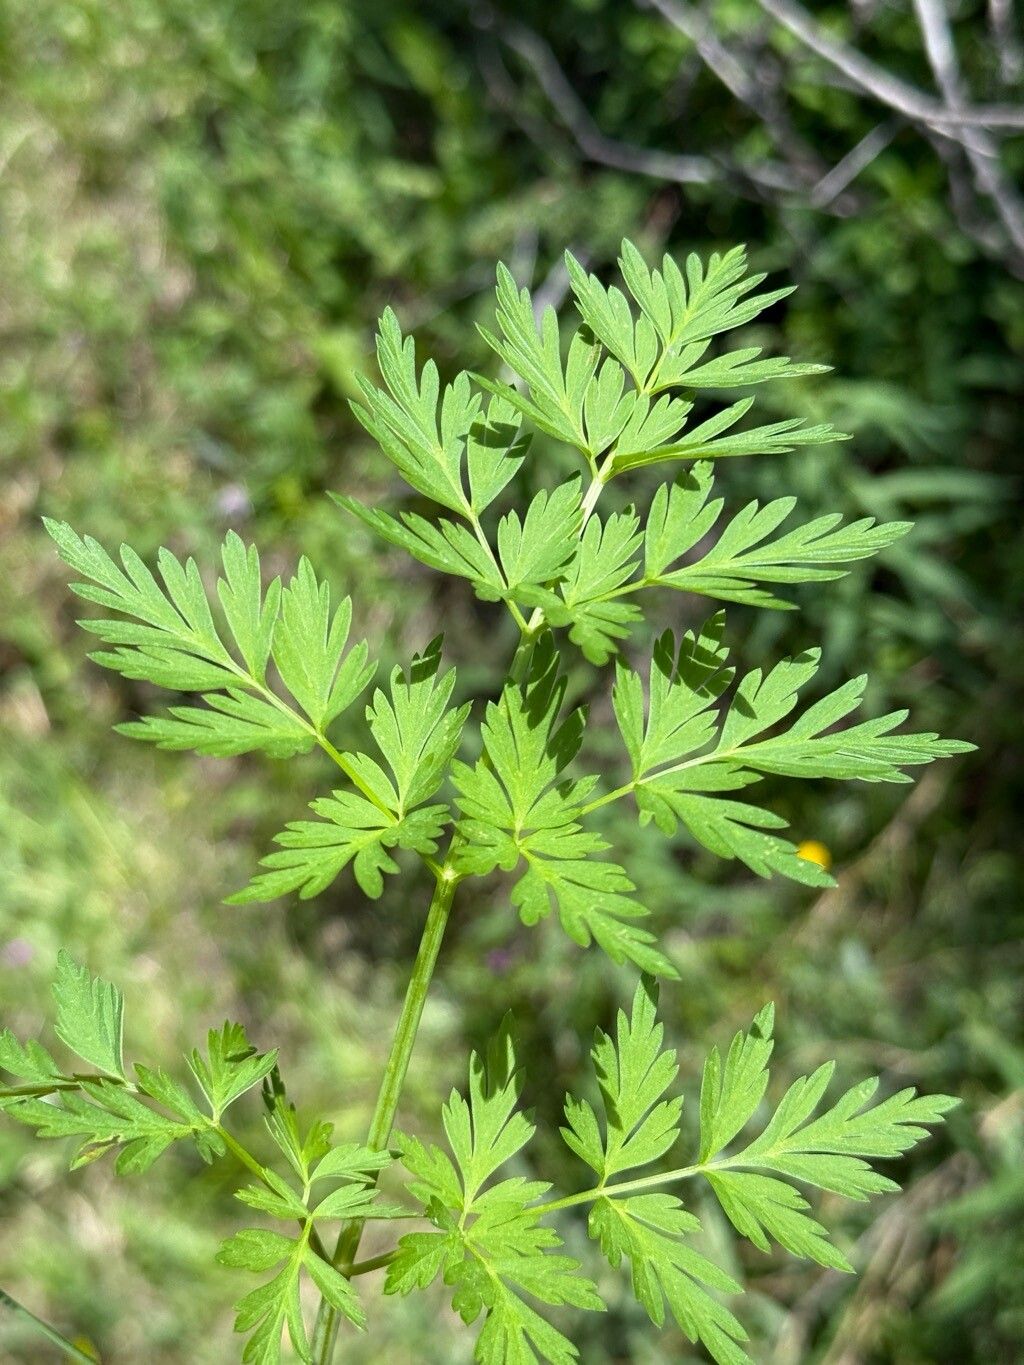
Ah, Conioselinum scopulorum, the Mountain Parsley! What a beauty. Its delicate, airy foliage and those lovely white umbels in late summer just call to me. Every time I see it gracing a wild hillside, I just think, “Wouldn’t it be wonderful to have more of that in my own garden?” And you know what? It’s absolutely doable.
Propagating this gem is a truly rewarding experience. It’s a way to connect with nature, to extend the beauty you already enjoy, and it’s surprisingly less intimidating than you might think. While not as quick as some of the more common annuals, Conioselinum scopulorum is a fantastic plant for the patient gardener to try their hand at increasing.
The Best Time to Start
For the highest success rate, I always recommend starting your propagation efforts in early spring. This is when the plant is just waking up from its winter dormancy. The new growth is vigorous and full of energy, making it much more receptive to rooting. If you miss that window, late summer, just as the flowers are starting to fade, can also work, but I find spring offers the most reliable results.
Supplies You’ll Need
Before we get our hands dirty, let’s gather our tools. Here’s what I usually have on hand:
- Sharp pruning shears or a clean knife: For making precise cuts.
- Well-draining potting mix: I often use a blend of peat moss, perlite, and a bit of compost. For Conioselinum, make sure it’s airy.
- Small pots or seed trays: Clean ones are a must to prevent disease.
- Rooting hormone powder (optional but recommended): This gives your cuttings a little boost.
- Watering can with a fine rose attachment: Gentle watering is key.
- Plastic bags or a clear propagation dome: To create a humid environment.
- Gravel or small stones (for water propagation): To support the cuttings.
Propagation Methods
Conioselinum scopulorum is most successfully propagated through division and stem cuttings. Let’s dive into each.
Division
This is perhaps the easiest method for Conioselinum.
- Dig Carefully: In early spring, gently dig up your existing Conioselinum scopulorum plant with a spade. Try to get as much of the root ball as possible.
- Shake Off Excess Soil: Gently shake off some of the loose soil so you can clearly see the root system and where the plant is naturally divided.
- Separate the Divisions: You’re looking for sections that have both roots and shoots. You can often pull these apart with your hands. If they’re a bit stubborn, use your clean knife or spade to make a clean cut. Make sure each division has at least a few healthy roots and a couple of shoots.
- Replant Immediately: Pot up your new divisions into their own pots filled with your well-draining potting mix. Water them thoroughly.
- Water Regularly: Keep them consistently moist but not waterlogged as they establish.
Stem Cuttings
This method takes a little more finesse, but it’s very satisfying.
- Take Cuttings: In early spring, select healthy, non-flowering stems from your mature plant. Use your sharp shears to take cuttings that are about 4-6 inches long. Make the cut just below a leaf node – that’s the point where the leaf attaches to the stem.
- Prepare the Cuttings: Gently remove the lower leaves from the cutting, leaving just a few at the top. You can dip the cut end in rooting hormone powder, tapping off any excess.
- Plant the Cuttings: Fill your pots with your prepared potting mix. Make a small hole with your finger or a pencil and insert the cutting, ensuring the lower nodes are below the soil surface. Gently firm the soil around the stem.
- Create Humidity: Water the soil gently. Then, cover the pots with plastic bags, making sure the leaves don’t touch the plastic, or place them under a clear propagation dome. This creates a mini-greenhouse effect.
- Provide Light and Warmth: Place the pots in a bright location, but out of direct, harsh sunlight. A bit of bottom heat, like a heating mat, can significantly speed up the rooting process.
The “Secret Sauce” (Pro Tips)
Here are a couple of tricks I’ve learned over the years that can really make a difference:
- Cleanliness is King: I can’t stress this enough. Always use clean tools and clean pots. This prevents fungal diseases and rot from taking hold, which is a common pitfall with cuttings.
- Don’t Drown Them: While cuttings need moisture, they absolutely cannot sit in water. Overwatering is the quickest way to kill them. If they’re in a pot, ensure good drainage. If you’re trying water propagation (which I find less reliable for this specific plant but can work for some), make sure the leaves stay well above the waterline.
Aftercare & Troubleshooting
Once you start to see signs of new growth on your cuttings or divisions, that’s a good sign that roots have formed!
- Gradual Acclimation: If you used a plastic bag or dome, start slowly removing the cover over a few days to allow the new plant to adjust to normal humidity.
- Continue Watering: Keep the soil consistently moist, especially during the first few weeks after you see new growth. As the plant matures, you can gradually move to a regular watering schedule.
- Watch for Rot: The most common problem is rot. If your cuttings turn black and mushy, or the soil surface looks slimy, it’s usually a sign of overwatering and poor air circulation. In this case, it’s best to discard the affected material and start fresh, paying close attention to those watering and humidity tips. Yellowing leaves can sometimes indicate too much direct sun or a nutrient deficiency, but for new propagations, it’s usually a moisture issue.
A Encouraging Closing
Growing plants from cuttings or divisions is a journey, not a race. Be patient with your new Conioselinum scopulorum babies. Each tiny sprout, each hesitant new leaf, is a victory. Enjoy the process, learn from any setbacks, and soon you’ll have more of this delightful plant to share and enjoy. Happy gardening!
Resource: