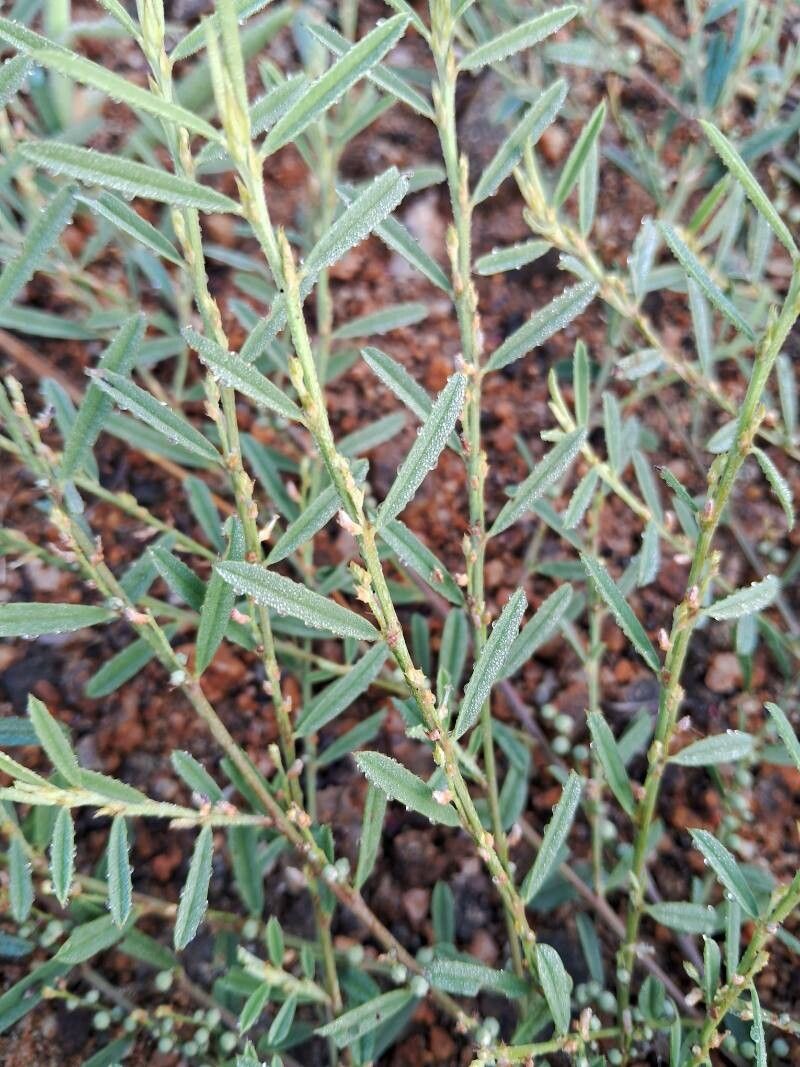
Oh, hello there! Come on in, grab a mug. I’m so glad you’re interested in Indigofera linifolia. It’s one of those little gems that, once you get to know it, you’ll wonder how you ever gardened without it. That splash of delicate, blue-green foliage and those lovely little pea-like flowers create such charming texture. And the best part? Sharing its beauty by propagating it yourself. It’s a truly satisfying journey, and I think you’ll find it’s quite achievable, even if you’re just starting out.
The Best Time to Start
For Indigofera linifolia, my favorite time to get propagating is in the late spring or early summer. This is when the plant is in its active growth phase. You’ll have plenty of healthy, new material to work with, and the warmer temperatures really give those cuttings the boost they need to root. Waiting until the plant has finished its initial spring flush of growth is key.
Supplies You’ll Need
Here’s what I usually gather before I dig in:
- Sharp pruning shears or a clean, sharp knife: For making clean cuts.
- A good quality potting mix: I like a blend that’s well-draining. A mix of peat moss, perlite, and a bit of compost works wonders.
- Small pots or seedling trays: About 3-4 inches in diameter are perfect.
- Rooting hormone (optional but recommended): A powder or gel that encourages root development.
- Plastic bags or a propagation dome: To create a humid microclimate.
- Watering can with a fine rose or a spray bottle: For gentle watering.
- Labels and a marker: To keep track of your precious new plants!
Propagation Methods
Let’s get our hands dirty! Stem cuttings are usually my go-to for Indigofera linifolia.
Method 1: Stem Cuttings
- Select your cuttings: Look for healthy, non-flowering stems. You want stems that are somewhat firm but still flexible – not too woody, not too soft and green. Aim for pieces that are about 4-6 inches long.
- Make the cut: Using your clean shears or knife, make a clean cut just below a leaf node. A leaf node is where a leaf stem attaches to the main stem. This is where the magic happens for rooting.
- Prepare the cutting: Gently remove the lower leaves, leaving just a couple of leaves at the very top. This prevents leaves from rotting in the soil. If the remaining leaves are very large, you can even snip them in half.
- Apply rooting hormone (optional): Dip the cut end of the stem into your rooting hormone. Tap off any excess so you have a thin, even coating.
- Plant your cuttings: Fill your pots with your prepared potting mix. Make a small hole in the center with your finger or a pencil. Gently insert the cut end of the stem into the hole, ensuring the leaf nodes are under the soil surface. Firm the soil gently around the cutting.
- Water and cover: Water the soil lightly. Then, cover the pot with a plastic bag or a propagation dome. This is crucial for maintaining humidity. Make sure the leaves don’t touch the plastic if possible.
The “Secret Sauce” (Pro Tips)
Here are a few things I’ve learned over the years that really make a difference:
- Don’t overcrowd: Give your cuttings a little breathing room in the pot. Too many packed together can lead to disease spreading if one gets a bit sad.
- Bottom heat is your friend: If you have it, placing your pots on a gentle heat mat can significantly speed up the rooting process. It mimics the warmth of the soil in summer.
- A little air circulation: While you want to maintain humidity, it’s also good to open the plastic bag or dome for a few minutes each day to allow for some air exchange and prevent mold.
Aftercare & Troubleshooting
Once your cuttings have taken root – and you’ll know this when you see new growth appearing or feel a gentle tug when you lightly pull on the cutting – it’s time for a bit of tender loving care.
- Gradually acclimate: Slowly start to remove the plastic bag or dome over a few days to get your new plant used to the drier air.
- Watering: Keep the soil consistently moist but not soggy. Overwatering is the quickest way to invite root rot.
- Light: Place your new plants in a spot with bright, indirect light. Avoid harsh, direct sun initially, as it can scorch young leaves.
Now, what if things go wrong? The most common issue is rot, where the stem turns mushy and dark. This is usually due to too much moisture and not enough air circulation. If you see this, sadly, that cutting is likely lost. Another sign of trouble is wilting that doesn’t perk up after watering. This could indicate the cutting never rooted. Don’t get discouraged! Gardening is a journey of trial and error, and every attempt teaches you something.
A Encouraging Closing
Propagating Indigofera linifolia is like nurturing little hopes for future beauty. Be patient, observe your cuttings closely, and celebrate every tiny success. Enjoy the process, and soon you’ll be sharing these lovely plants with friends – or just enjoying even more of their charm in your own garden. Happy growing!
Resource:
https://identify.plantnet.org/k-world-flora/species/Indigofera%20linifolia%20(L.f.)%20Retz./data