Well hello there, fellow plant lover! It’s so good to have you join me today. We’re going to dive into something really special: propagating Sabatia campestris, or as it’s often beautifully called, the Texas Star.
The Allure of the Texas Star
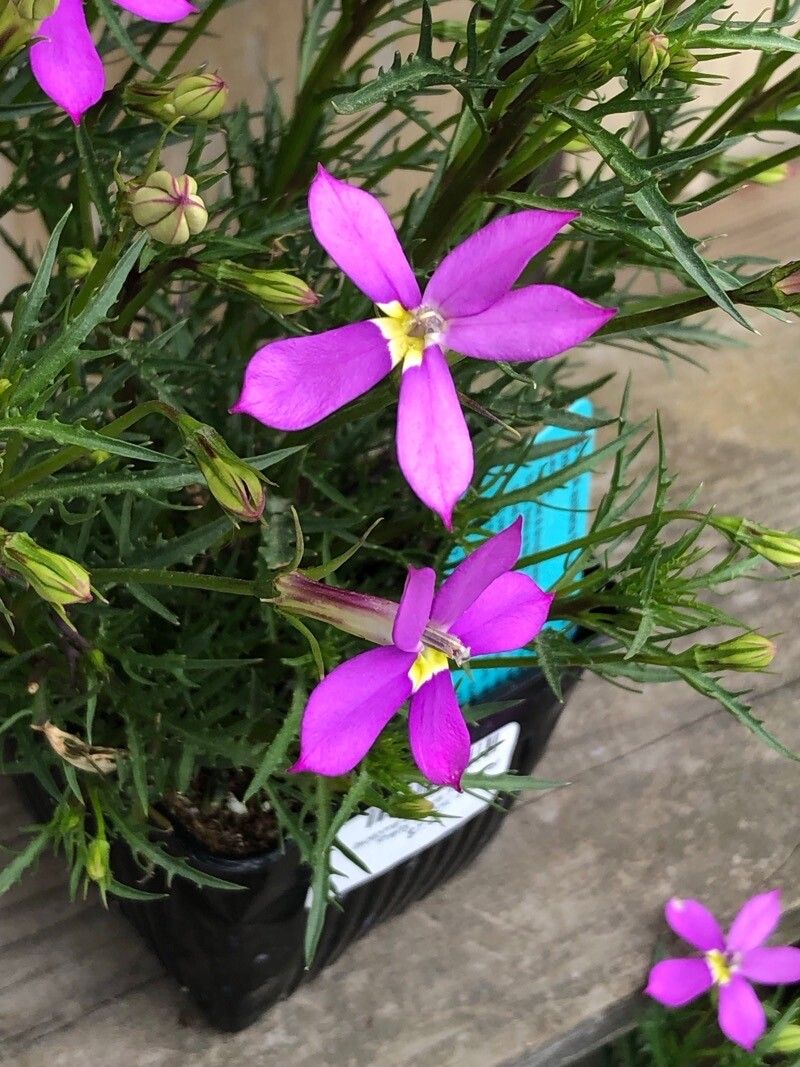
There’s something truly magical about the Texas Star. Its vibrant, star-shaped blossoms, usually a brilliant pink or rose, are a sight for sore eyes and a beacon for pollinators in the garden. Growing them from seed or cuttings feels like unlocking a little piece of nature’s magic, and honestly, the reward of seeing those first delicate shoots emerge is just immense. Now, if you’re new to the plant propagation world, I’ll be straight with you: Sabatia campestris can be a bit of a polite challenge, especially from seed. It’s not quite a “stick it in the ground and forget it” situation, but with a little care and attention, it’s absolutely achievable and so, so rewarding.
When Patience Meets Opportunity: The Best Time to Start
For the highest success rate with Sabatia campestris, I’ve found that starting propagation in late spring to early summer is your sweet spot. This is when the plant is in its active growth phase, meaning it’s full of vigor and ready to put energy into new roots. If you’re thinking about division, which we’ll get to, spring is also ideal, just as new growth is beginning to emerge.
Gathering Your Garden Toolkit
Before we get our hands dirty, let’s make sure we have everything we need. Think of this as your essential kit for bringing new life into the world.
- Well-draining potting mix: A good quality seed-starting mix or a blend of peat moss, perlite, and a little compost works wonderfully. You want something airy that won’t hold too much moisture.
- Sharp pruning shears or a clean, sharp knife: For making clean cuts.
- Small pots or seed trays: Clean ones, of course! Drainage holes are non-negotiable.
- Rooting hormone (optional but recommended for cuttings): A powder or gel can give those cuttings an extra boost in developing roots.
- Plastic wrap or a clear plastic dome: To create a humid microclimate.
- Watering can with a fine rose attachment: For gentle watering.
- Labels and a permanent marker: Crucial for remembering what you planted and when!
Bringing Forth New Life: Propagation Methods
Sabatia campestris is best propagated through stem cuttings or division. Seed propagation is also possible, but as I mentioned, it can be a bit trickier and often requires cold stratification. Let’s focus on the methods I’ve found most successful.
Stem Cuttings: A Gardener’s Favorite
This is my go-to method for many plants, and the Texas Star is no exception when done right.
- Select your parent plant: Find a healthy, vigorous Sabatia campestris that’s in bloom or just finishing.
- Take your cuttings: Using your sterilized pruning shears, snip off stem tips that are about 4-6 inches long. Aim for stems that are semi-hardwood – not too floppy and green, and not old and woody. Make your cut just below a leaf node (where a leaf attaches to the stem).
- Prepare the cuttings: Gently remove the lower leaves, leaving just a few at the top. This prevents them from rotting when buried.
- Apply rooting hormone (if using): Dip the cut end of each stem into the rooting hormone, tapping off any excess.
- Plant your cuttings: Fill your small pots with your well-draining potting mix. Make a small hole with a pencil or your finger. Insert the cut end of the stem into the hole, firming the soil gently around it.
- Water and cover: Water the soil thoroughly but gently. Then, cover the pot with plastic wrap or a clear plastic dome to create a humid environment. This is key to preventing the cuttings from drying out before they can root.
Division: Spreading the Love
If you have an established clump of Sabatia campestris, division is a fantastic way to get more plants and simultaneously rejuvenate your existing one.
- Excavate gently: In spring, when new growth is just appearing, carefully dig up the entire plant clump. Try to keep as much of the root ball intact as possible.
- Separate with care: Gently tease apart the root ball with your fingers or a trowel. You’re looking to find natural divisions, where new shoots are emerging from the base of older stems.
- Handle with tenderness: If the roots are tangled, a sharp knife or trowel can be used to divide them cleanly. You want each division to have at least one or two healthy shoots and a good portion of root.
- Replant immediately: Pot up each division into its own container filled with fresh, well-draining soil. Water them in well.
The “Secret Sauce”: My Insider Tips
Here are a few things I’ve learned over the years that can really make a difference.
- Humidity is your best friend for cuttings: Don’t underestimate the power of that plastic tent! It keeps the moisture in the air around your cuttings, mimicking the environment they’d find if they were still attached to the mother plant.
- Bottom heat works wonders: For cuttings, placing your pots on a propagation mat set to a gentle warmth (around 70-75°F or 21-24°C) can significantly speed up root development. It’s like giving your cuttings a cozy, encouraging environment to get started.
- Don’t let leaves touch the soil: I can’t stress this enough for stem cuttings. Any leaves dipping into the potting mix are prime real estate for rot, and we absolutely want to avoid that!
Nurturing Your New Sprouts and Spotting Trouble
Once your cuttings have taken root (you’ll know because you’ll see new growth and feel a slight resistance when you gently tug), or your divisions are settled, it’s time for a little continued TLC.
Gradually acclimate your new plants to drier air by opening up the plastic dome for increasing periods each day. Water them when the top inch of soil feels dry. If you’re using bottom heat, you can slowly reduce it as they establish.
The biggest sign of failure is rot. If your cuttings turn mushy and black, or if your divisions wilt dramatically and don’t recover, it often means they’re getting too much water and not enough air circulation. If you’re seeing this, you might need to repot into drier soil or ensure your pots have ample drainage. Sometimes, it’s just a matter of trial and error, and that’s okay! Don’t be discouraged.
The Joy of Growing On
Propagating plants is a journey, and Sabatia campestris is a beautiful one to embark on. Be patient with yourself and your little green charges. Each success, no matter how small, is a victory. Enjoy the process, learn from every sprout, and soon you’ll be surrounded by the charming blooms of your very own Texas Stars. Happy gardening!
Resource:
https://identify.plantnet.org/k-world-flora/species/Sabatia%20campestris%20Nutt./data