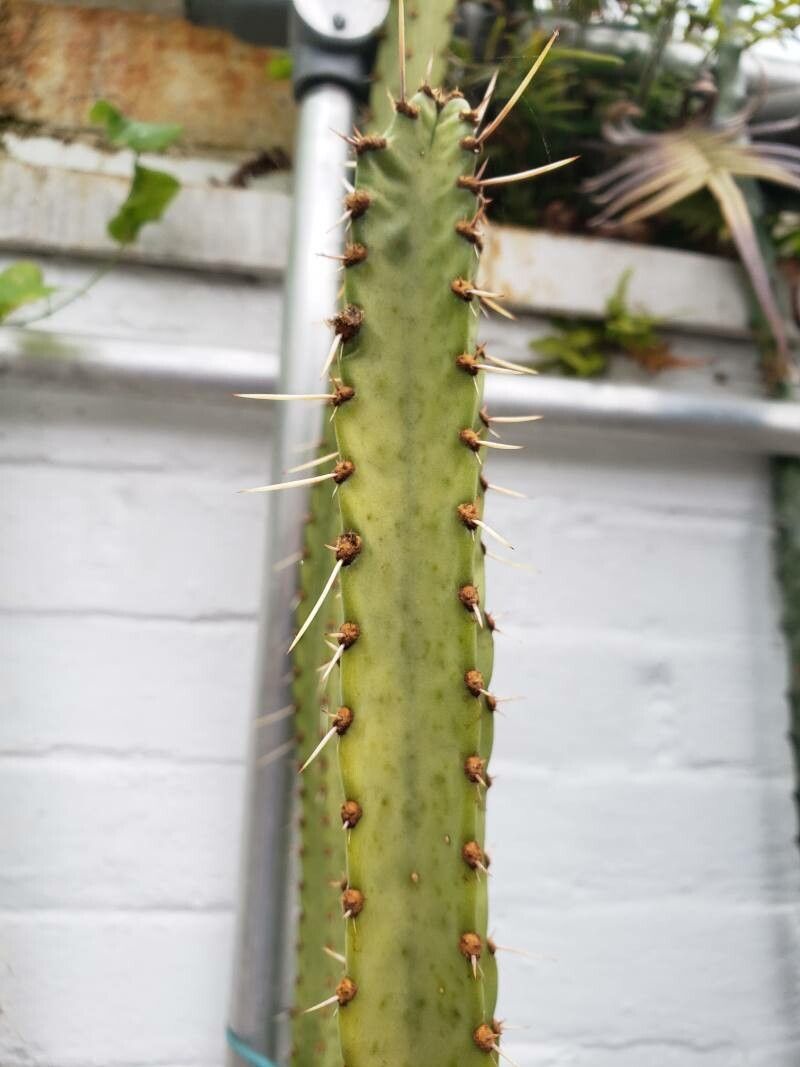
Hello there, fellow plant lovers! Today, I’m so excited to talk about a truly special cactus: Samaipaticereus corroanus. You might know it by its catchy common name, the “Spider Cactus,” and once you see its unique, often fuzzy, columnar growth, you’ll understand why. It’s a real statement piece for any succulent collection, and bringing a new one to life from a cutting feels like a bit of magic.
Now, for my aspiring cactus propagators, Samaipaticereus corroanus can be a tad more challenging than, say, a jade plant. It’s not a beginner’s free-for-all, but with a little care and patience, you’ll absolutely find success. The reward is so worth it, though!
The Best Time to Start
My personal favorite time for propagating Samaipaticereus corroanus is during its active growing season. For most of us, this means late spring through early summer. You’ll notice new growth on your established plant, and this is when cuttings are most vigorous and ready to put down roots. Trying in the cooler, dormant months can lead to disappointment and soggy cuttings.
Supplies You’ll Need
Getting your workspace ready is half the battle! Here’s what I always have on hand:
- Sharp, clean pruning shears or a knife: Sterilize them with rubbing alcohol to prevent disease.
- Rooting hormone (optional but recommended): A powder or gel form works wonders.
- Well-draining potting mix: I lean towards a cactus and succulent blend, often with added perlite or pumice for extra aeration.
- Small pots or containers: Terracotta is great as it breathes well.
- Gloves: Cacti can be prickly, even when you’re trying to be gentle.
- A spray bottle: For gentle misting.
- Labels and a marker: To keep track of your propagation projects.
Propagation Methods
Samaipaticereus corroanus is most successfully propagated through stem cuttings. It’s straightforward, so let’s dive in.
- Take Your Cutting: Using your sterilized shears or knife, carefully make a clean cut from your healthy, mature Samaipaticereus corroanus. Aim for a section that is at least 4-6 inches long. Try to get a piece with good vigor.
- Let it Callus: This is a crucial step for cacti. Place your cutting in a bright, dry spot away from direct sunlight for several days to a week. You want the cut end to dry out and form a callus, which is essentially a protective seal. This prevents rot when you plant it. Don’t skip this!
- Prepare for Planting: Once callused, you have a couple of options. You can dip the callused end into rooting hormone if you’re using it.
- Planting the Cutting: Fill your small pot with your well-draining potting mix. Make a small hole in the center with your finger or a pencil. Gently insert the callused end of your cutting into the mix, about an inch deep. Do not water immediately.
- Patience is Key: Place the potted cutting in a bright location with indirect sunlight. Wait at least a week or two, or even a month, before watering. When you do water, do so sparingly, allowing the soil to dry out completely between waterings.
The “Secret Sauce” (Pro Tips)
Here are a few things I’ve learned over the years that really make a difference:
- The “Sacrificial Limb” Trick: If your main plant is getting a bit too leggy or has an awkward branch, don’t be afraid to trim it. Those “waste” pieces are prime candidates for propagation! Treat them as you would a carefully chosen cutting.
- Warmth Encourages Roots: Cacti love a little warmth to get things going. If your environment is on the cooler side, consider placing your potted cuttings on a heat mat designed for seedlings. Just make sure it’s a gentle, bottom heat, not directly heating the cutting itself.
- Avoid Overwatering Like the Plague: This is the number one killer of cactus cuttings. It’s a desert plant, remember! It’s far better to err on the side of too dry than too wet. When in doubt, wait another day or two before watering.
Aftercare & Troubleshooting
Once your cutting has been in its new home for a few months, you can gently tug on it. If you feel resistance, congratulations! You’ve got roots!
- Gradual Watering: Once rooted, you can begin to water more regularly, but always let the soil dry out completely between waterings.
- Increasing Light: As the new plant establishes, you can gradually introduce it to brighter light, eventually moving it to its permanent spot where it will get plenty of sun.
- Signs of Trouble: The biggest culprit is rot, which looks like a mushy, discolored base on the cutting. This is usually a sign of too much moisture and not enough airflow. If you see this, try to cut away the rotted part with a clean knife and let the healthy section callus over again before replanting in dry soil. Sometimes, though, it’s just too far gone.
A Gentle Closing
Propagating Samaipaticereus corroanus is a journey. There might be a few setbacks, but each one is a learning opportunity. Be patient with your cuttings, trust your instincts, and most importantly, enjoy the process of nurturing new life. Happy propagating!
Resource:
https://identify.plantnet.org/k-world-flora/species/Samaipaticereus%20corroanus%20Cárdenas/data