Hello, fellow garden enthusiasts!
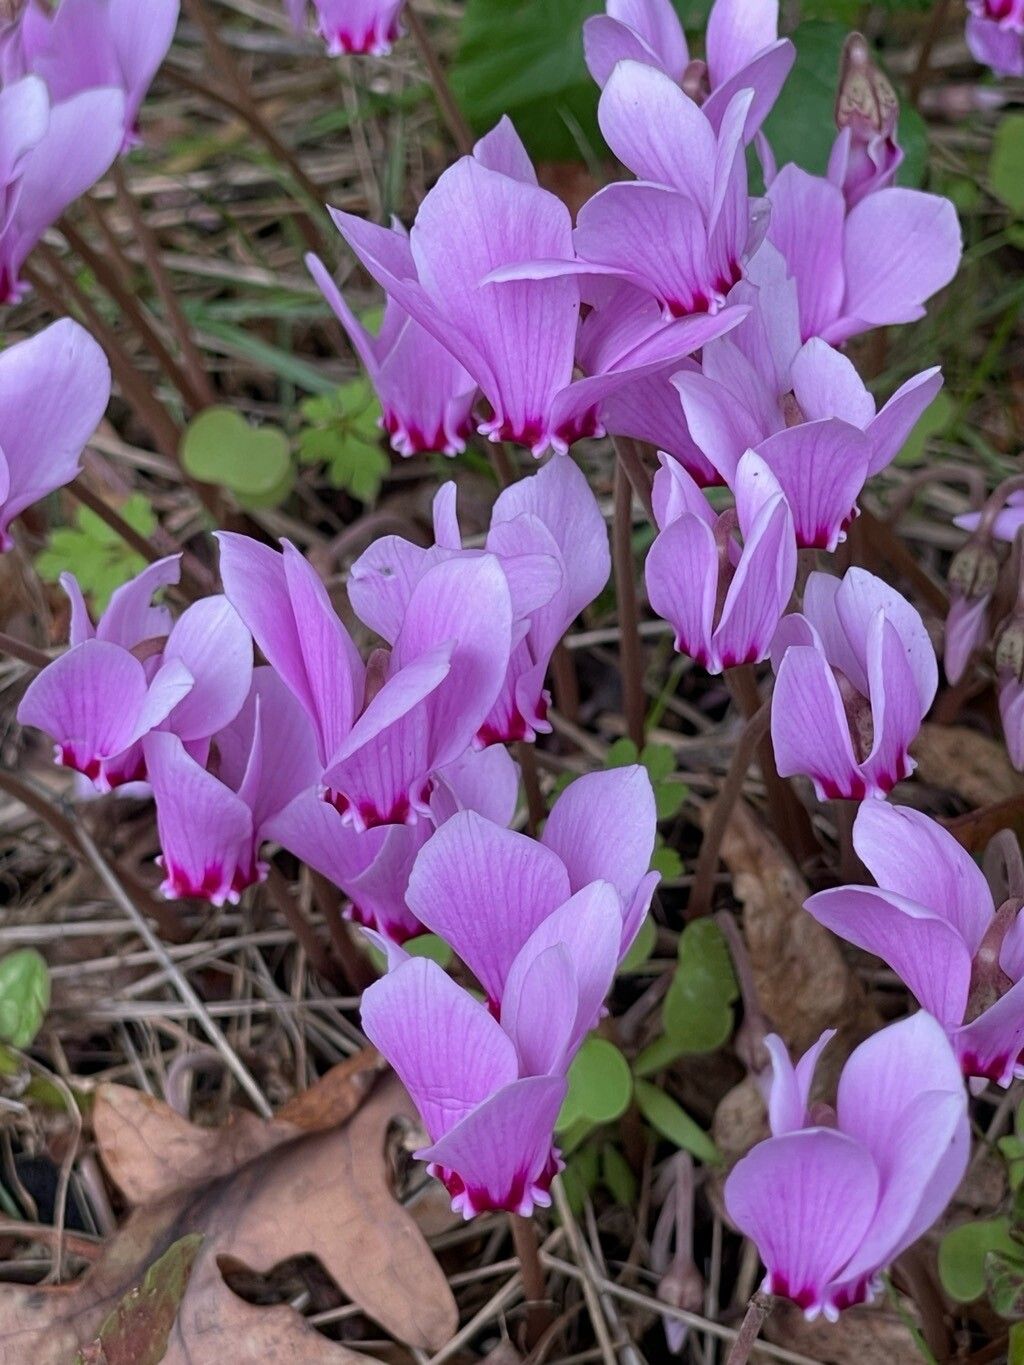
It’s me again, your friendly neighborhood horticulturalist, ready to dive into another delightful plant propagation project. Today, we’re talking about Cyclamen hederifolium, often called the hardy cyclamen or ivy-leaved cyclamen. Aren’t they just charming? Their delicate, fairy-like flowers erupting from the soil in autumn, followed by those beautifully patterned leaves that persist through winter and spring, make them a true treasure.
I find propagating cyclamen incredibly rewarding. It’s a chance to multiply the beauty you already enjoy, or to share a little bit of that garden magic with friends. Now, for the good news: Cyclamen hederifolium is surprisingly easy to propagate, even for those of you just starting your gardening journey. Don’t be intimidated by their delicate appearance!
The Best Time to Start
Timing is everything, right? For our Cyclamen hederifolium, the absolute sweet spot for propagation is in late summer to early autumn. This is when the plant is naturally transitioning out of its summer dormancy and preparing to send up those gorgeous flowers. You’ll see vigor returning, which is exactly what we want when we’re taking cuttings or dividing.
Supplies You’ll Need
Gathering your tools beforehand makes the whole process smoother. Here’s what I always have on hand:
- Clean, sharp pruning shears or a small, sharp knife: For making clean cuts.
- Rooting hormone (optional but recommended): A good rooting powder or gel can give your cuttings a boost.
- Well-draining potting mix: A mix of peat moss, perlite, and a bit of compost works beautifully. You can also use a commercial seed-starting mix.
- Small pots or trays: Clean containers for your cuttings.
- Labels: Little stakes to mark what you’ve planted!
- Watering can or spray bottle: For gentle watering.
- A bright, indirect light location: Your new starts will appreciate it.
Propagation Methods
There are a couple of very effective ways to get more Cyclamen hederifolium plants from your established ones. The most common and successful method for this particular cyclamen is through division.
Division: The Heart of the Matter
This is how I usually boost my cyclamen collection. It’s best done just as the plant is waking up from its summer slumber, usually around August or September.
- Gently unpot your cyclamen: Carefully slide the entire plant out of its pot. If it’s planted in the ground, dig it up with a garden fork, being careful not to damage the tubers.
- Shake off excess soil: Gently brush away as much of the old soil as you can. You’ll see the tuber, which looks a bit like a flattened disk.
- Identify the growing points: Look closely at the tuber. You’ll see little buds or growth points from which the leaves and flowers emerge, usually on the top side. You might also see where old leaf stems attached.
- Make the divisions: Using your clean, sharp knife, carefully cut the tuber into sections. Make sure each section has at least one good bud or growth point. Don’t worry if some sections look small; as long as they have a bud, they have a good chance. It’s okay if you break off a piece or two; just discard any that look mushy or diseased.
- Pot up your divisions: Plant each division in its own small pot filled with your well-draining potting mix. Position the tuber so the bud or growth points are facing upwards, just barely covered by the soil.
- Water gently: Give them a light watering.
Seed Propagation (A Longer Game)
While division is faster, you can grow cyclamen from seed. This is a much slower process and not typically what people mean when they want more plants from their existing ones. Seeds are usually sown in autumn after stratification (a period of cold).
The “Secret Sauce” (Pro Tips)
Here are a few things I’ve learned over the years that can really help your cyclamen divisions thrive:
- DON’T OVERWATER! This is the number one killer of cyclamen tubers, especially when they’re stressed from division. Keep the soil barely moist, not soggy. It’s better to err on the side of too dry than too wet initially.
- Give them a little warmth: Placing your newly potted divisions in a spot with gentle bottom heat can encourage root development. A heating mat designed for seedlings is perfect, but even just a warm windowsill can help.
- Air circulation is key: Make sure your pots have good drainage holes, and avoid overcrowding. Good airflow helps prevent fungal issues, which cyclamen can be prone to.
Aftercare & Troubleshooting
Once your divisions are planted, keep them in a bright spot with indirect light and that slightly moist, but never wet, soil. Growth might be slow to appear – be patient! You might see new leaves unfurling in a few weeks or even months.
The most common problem you’ll encounter is rot. If a division starts to look soft, mushy, or turns black, it’s likely succumbing to excess moisture. Sadly, this is usually the end for that particular piece. If you notice this happening, pull it out immediately and check the moisture levels of your other pots.
If after several months you see no sign of life, don’t despair! Sometimes they just take their sweet time waking up. Ensure they aren’t in direct hot sun and that the soil is staying just slightly damp.
A Little Patience Goes a Long Way
See? Propagating Cyclamen hederifolium isn’t a dark art at all. It’s a wonderfully rewarding way to expand your garden’s autumnal charm. Be patient, keep an eye on that moisture level, and trust the process. Soon enough, you’ll have beautiful new cyclamens to admire and, perhaps, share. Happy gardening!
Resource:
https://identify.plantnet.org/k-world-flora/species/Cyclamen%20hederifolium%20Aiton/data