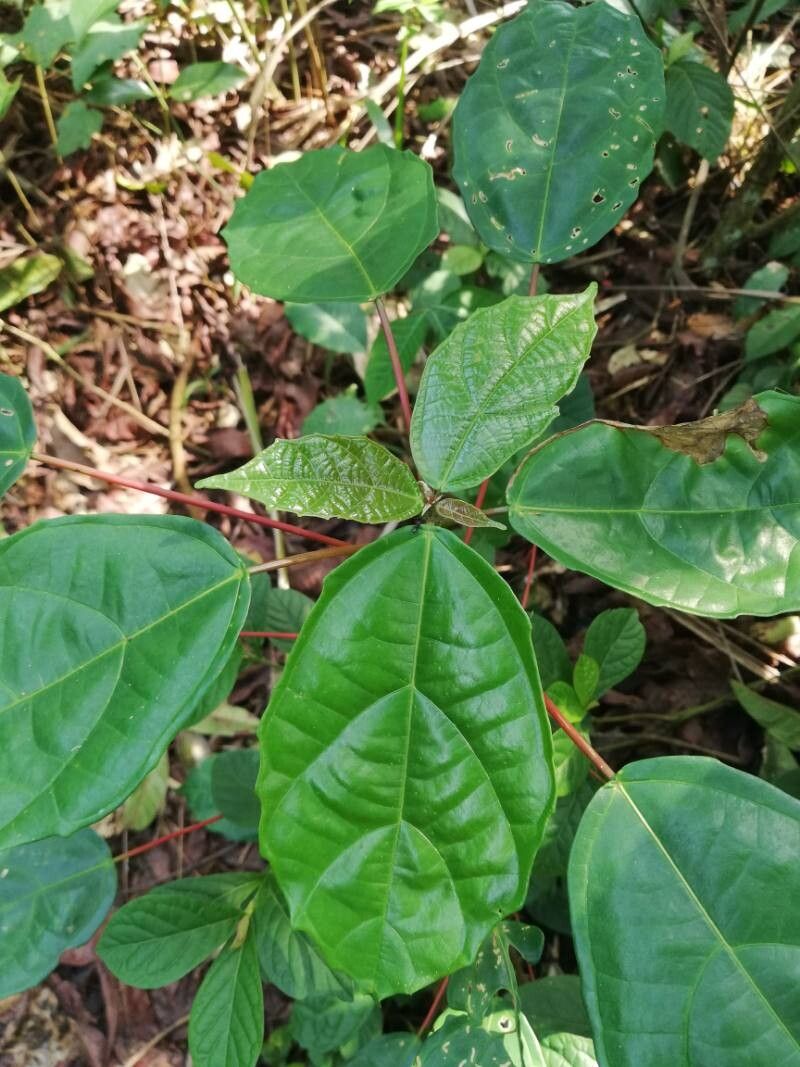
Hello, fellow plant lovers! If you’ve ever admired the striking foliage and unique growth habit of Macaranga spinosa, you’re not alone. These beauties, often with their wonderfully textured leaves and architectural presence, bring such a lively touch to any space. The good news? They’re surprisingly rewarding to propagate!
Now, I know what some of you are thinking – is this a tricky one for beginners? Honestly, I’d say Macaranga spinosa falls into a pretty comfortable middle ground. With a little know-how and patience, you’ll be well on your way to creating new plants to admire and share.
The Best Time to Start
For the highest chance of success with your Macaranga spinosa cuttings, I always reach for my secateurs in late spring or early summer. This is when the plant is in its active growth phase. You’ll find that new, healthy stems are readily available, and they have the energy reserves to push out roots much more readily than, say, a plant dormant in winter.
Supplies You’ll Need
Before we get our hands dirty, let’s gather our tools. Having everything ready makes the process so much smoother!
- Sharp Pruning Shears or a Knife: Clean cuts are key to preventing disease. Give them a good wipe with rubbing alcohol before you start.
- Rooting Hormone (Optional but Recommended): This can give your cuttings a real boost. Look for a powder or liquid formulation.
- A Well-Draining Potting Mix: I find a mix of equal parts perlite and peat moss works wonderfully. Some people also add a bit of horticultural charcoal.
- Small Pots or Containers: Yogurt cups with drainage holes work in a pinch, or you can use nursery pots.
- Plastic Bags or a Clear Propagator Lid: To create a humid environment for your cuttings.
- Watering Can with a Fine Rose: For gentle watering.
- Labeling Stakes: So you don’t forget what you’ve propagated and when!
Propagation Methods: Let’s Get Growing!
I’ve found two main methods yield the best results with Macaranga spinosa: stem cuttings and water propagation.
Stem Cuttings
This is my go-to method for Macaranga spinosa.
- Select Your Cuttings: Look for healthy, semi-hardwood stems. These are stems that are not brand new and floppy, but also not old and woody. They should be about 4-6 inches long. Gently bend a stem; if it snaps cleanly, it’s likely a good candidate.
- Make the Cut: Using your sterilized pruners, make a clean cut just below a leaf node (where a leaf attaches to the stem). This is where roots are most likely to form.
- Prepare the Cutting: Remove the lower leaves, leaving only the top 2-3 leaves. If your leaves are very large, you can even cut them in half horizontally to reduce water loss through transpiration.
- Apply Rooting Hormone: Dip the cut end of the stem into your rooting hormone. Tap off any excess.
- Plant Your Cuttings: Fill your small pots with your well-draining potting mix. Make a small hole with your finger or a pencil and gently insert the cutting. Firm the soil around the stem. Make sure no leaves are touching the soil surface.
- Water Gently: Water your cuttings thoroughly but gently, allowing excess water to drain away.
- Create Humidity: Place a clear plastic bag over the pot, securing it with a rubber band loosely around the rim, or cover it with a clear propagator lid. This creates a mini-greenhouse.
- Find the Right Spot: Place the pots in a bright location but out of direct sunlight. And if you have a heat mat, now’s the time to use it! Bottom heat can significantly speed up root development.
Water Propagation
This method is fuss-free and satisfying to watch develop.
- Select and Cut: Choose similar semi-hardwood stems as you would for soil propagation, about 4-6 inches long. Make your cut just below a leaf node.
- Prepare the Stem: Remove all leaves from the lower half of the stem.
- Place in Water: Find a clean jar or glass and fill it with room-temperature water. Submerge the cut end of the stem in the water. Crucially, make sure none of the leaves are submerged. Leaves in water will rot quickly and can take your cutting with them.
- Location, Location, Location: Place the jar in a bright spot away from direct sun.
- Change Water Regularly: This is important! Change the water every 2-3 days to keep it fresh and prevent bacterial growth. You’ll start to see tiny white roots emerge from the nodes.
The “Secret Sauce” (Pro Tips)
Here are a few tricks I’ve learned over the years that really make a difference:
- Cleanliness is King: I can’t stress this enough. Sterilize your tools after every few cuts, especially if you’re working with a plant that might have any issues. It’s the best defense against transmitting diseases.
- The Power of Bottom Heat: If you plan on propagating plants regularly, investing in a heated propagator or a seedling heat mat is a game-changer. It provides a consistent, gentle warmth at the root zone, mimicking ideal conditions and drastically improving success rates, especially when you need that extra boost.
- Patience with the Leaves: For cuttings in soil, I often give the remaining leaves a light misting every couple of days. However, if your environment is already quite humid (like in a propagator), this might not be necessary. Observe your cuttings – if they look plump and happy, don’t overdo it. Too much moisture can be as detrimental as too little.
Aftercare & Troubleshooting
Once you see new root growth (which can take anywhere from a few weeks to a couple of months, depending on the method and conditions), it’s time to give your new Macaranga spinosa some focused attention.
- For Water Propagations: When your roots are at least an inch long, you can carefully transplant them into your well-draining potting mix. Treat them like a sensitive seedling, watering gently and keeping them in bright, indirect light.
- For Soil Cuttings: You can test for roots by giving the cutting a very gentle tug. If you feel resistance, roots have formed! Continue to keep the soil consistently moist but not waterlogged. Gradually wean them off the plastic bag or propagator lid over a week or two to acclimate them to normal room humidity.
Now, what if things don’t go as planned?
- Rotting: This is the most common issue, usually caused by too much moisture and poor drainage. If you see mushy stems or leaves turning yellow and dropping right away, it’s likely rot. You might need to discard the affected cuttings and start again with drier soil and better ventilation.
- No Roots: Sometimes, they just don’t take. This can happen due to unhealthy parent material, the wrong time of year, or insufficient humidity/warmth. Don’t get discouraged! It’s part of the learning process. Just try again.
A Little Encouragement
Propagating plants is a wonderful way to connect with nature and multiply your green friends. It requires a bit of patience, a keen eye, and a willingness to learn from each attempt. Trust your instincts, observe your plants, and most importantly, enjoy the journey of watching new life emerge. Happy propagating!
Resource:
https://identify.plantnet.org/k-world-flora/species/Macaranga%20spinosa%20Müll.Arg./data