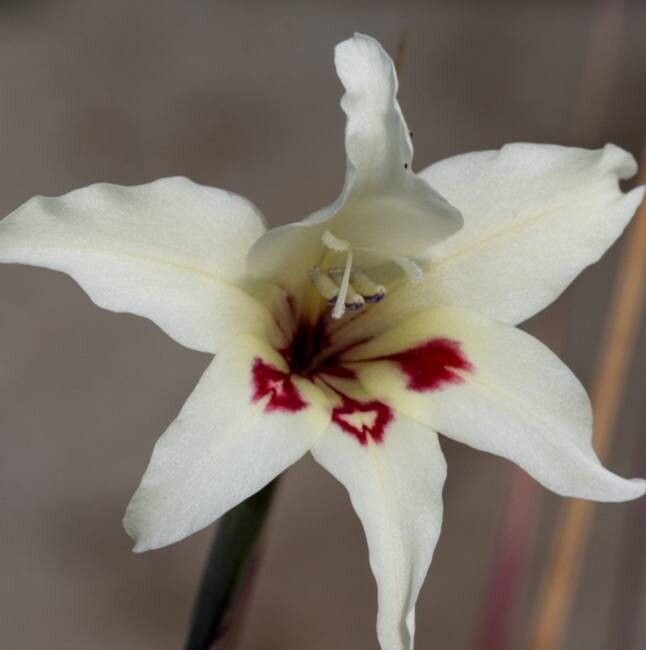
Hello, fellow plant lovers! If you’ve ever admired the delicate, charming blooms of Gladiolus carneus, or painted lady, you know why it’s such a special plant. Those soft pinks and whites, often with a touch of dusky rose, are truly delightful. And guess what? You absolutely can multiply this beauty for your own garden (or to share with friends!). It’s a wonderfully rewarding process, and while it might seem a tad intricate at first glance, I promise, it’s quite achievable, even for those just dipping their toes into the gardening world.
The Best Time to Start
For Gladiolus carneus, the magic happens after it has finished flowering and the foliage starts to yellow and die back. This signals that the plant is storing energy in its underground structures, making it the perfect time for propagation. Think late summer or early autumn – a time when the gardening season might be winding down, but this little project is just getting started.
Supplies You’ll Need
Gathering your tools beforehand makes the whole process so much smoother. Here’s what I keep on hand:
- Sharp pruning shears or a clean knife: For making precise cuts.
- Well-draining potting mix: A blend of peat moss, perlite, and sand works wonders. You can also find specialized bulb or corm mixes.
- Small pots or trays: With drainage holes, of course!
- Rooting hormone (optional but recommended): Especially for stem cuttings, it gives them a good start.
- Watering can or spray bottle: For gentle hydration.
- Labels and a marker: To keep track of your hard work.
- Gloves: Always a good idea to keep your hands clean.
Propagation Methods
Gladiolus carneus is primarily propagated through division of its corms. This is the most straightforward and successful method for this particular plant.
Division of Corms:
- Digging Up: When the foliage has yellowed, gently dig around the base of the plant. Use a trowel or garden fork, and work your way outwards to avoid damaging the corms. Lift the entire cluster carefully from the soil.
- Cleaning: Gently brush away as much of the old soil as you can. You’ll see the main corm from the current year, and likely smaller cormels attached to its sides or base. These are your new baby plants!
- Separating: Examine the corms. You’re looking for corms that have at least one “eye” or growing point. Sometimes, the cormels will naturally detach. If they are still firmly attached, use your clean knife or pruning shears to carefully separate them from the mother corm. Ensure each cormel has a bit of the basal plate attached – this is where the roots will emerge.
- Drying (Optional but helpful): Let the separated corms or cormels sit in a dry, shady spot for a day or two. This helps the cut surfaces heal and reduces the risk of rot once planted.
- Planting: Fill your small pots with your well-draining mix. Plant the corms or cormels about 2-3 inches deep, ensuring the pointy end (where the shoot will emerge) is facing upwards. Space them out adequately in the pot.
- Watering: Water gently. You don’t want to waterlog them.
The “Secret Sauce” (Pro Tips)
- Don’t Rush the Dig: Seriously, wait for that foliage to really start dying back. That yellowing is a signal from the plant that it’s ready to play nicely and share its bounty. Trying to dig them up too early can mean smaller, weaker corms.
- Think Air Circulation: When you’re drying the corms after division, make sure they have good airflow all around them. Lay them out on a screen or a flat tray in a well-ventilated area. Stagnant air is an invitation for mold.
- Label Everything! I know it sounds simple, but trust me on this. If you’re dividing multiple plants, or even just a few corms from one, label each pot with the plant variety and the date you planted. You’ll thank yourself later when spring rolls around and you know exactly what’s what.
Aftercare & Troubleshooting
Once your corms are planted, give them a light watering. Keep the soil lightly moist but never soggy. You can place the pots in a cool, dry spot, like a garage or a sheltered corner of the garden, until planting time in spring.
If you notice any mold on the corms before planting, gently brush it off and let them dry a little longer. Once planted, if you see mushy, decaying corms, it’s a sign of too much moisture and potential rot. Don’t be discouraged if not every single corm sprouts; it’s a natural part of the process, especially with the smaller cormels. Sometimes they just need a little more time or a bit of luck to get going.
Gardening is all about patience and observation, isn’t it? Enjoy the process of nurturing these new life forms. Even if it takes a little time and a couple of tries, the joy of seeing your Gladiolus carneus multiply and bloom will be absolutely worth it. Happy propagating!
Resource:
https://identify.plantnet.org/k-world-flora/species/Gladiolus%20carneus%20D.Delaroche/data