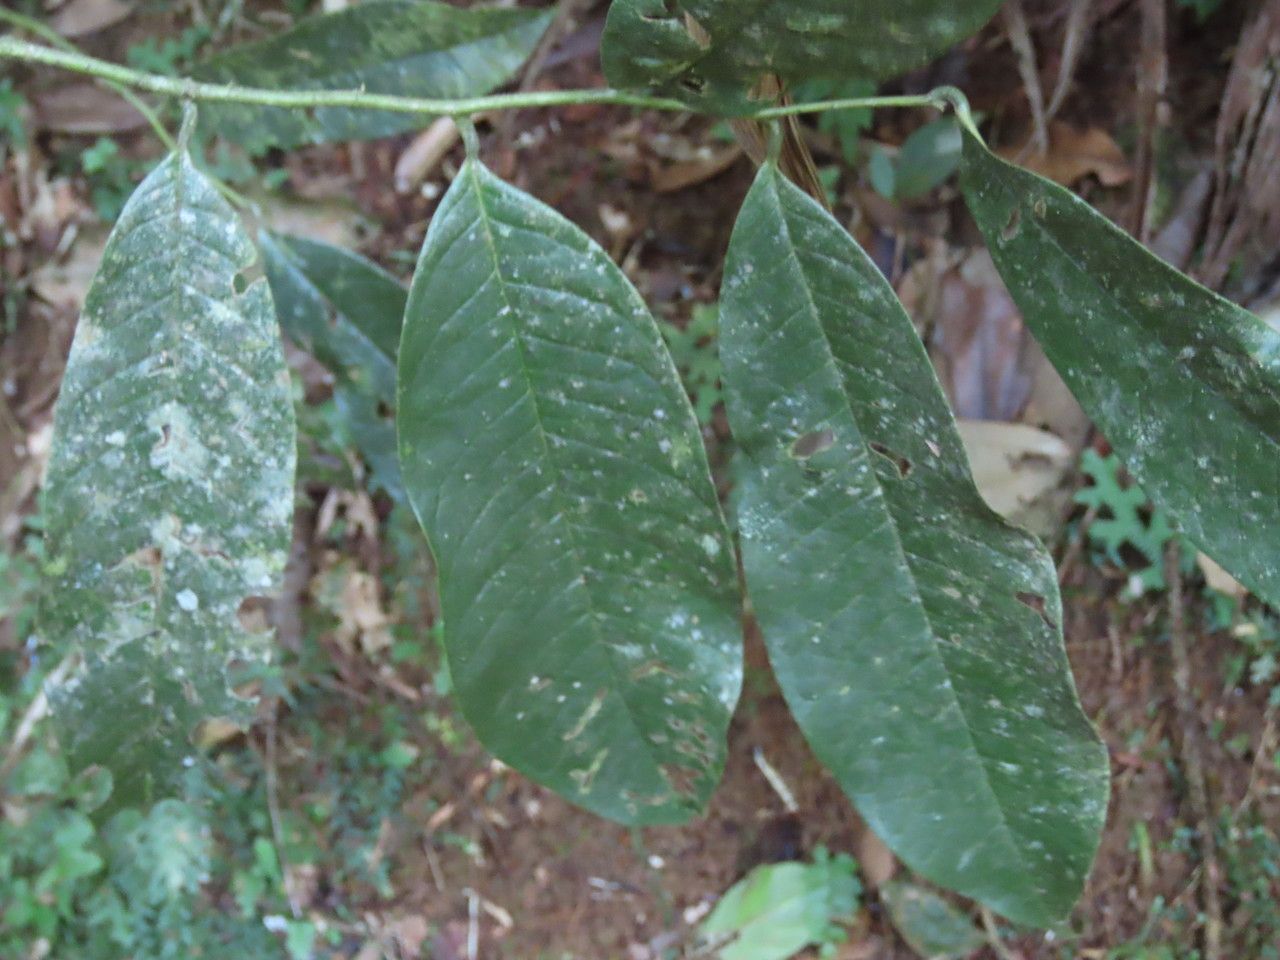
Hey there, fellow garden enthusiasts! Let’s talk about a plant that’s been silently charming my garden for years: Guatteria amplifolia. You might know it for its beautifully lush, glossy leaves and that subtle, sweet fragrance that drifts through the air on a warm evening. It’s a stunner, truly, and there’s something incredibly satisfying about coaxing new life from a beloved plant. If you’re new to the plant propagation game, I’ll be honest, Guatteria amplifolia can be a little bit of a diva, but with a bit of know-how and patience, you’ll be rewarded with a whole new collection of these beauties.
The Best Time to Start
For Guatteria amplifolia, spring and early summer are your golden ticket. This is when the plant is hitting its stride, actively growing and brimming with energy. You want to take cuttings from new, supple growth, not old, woody stems. Think of it like picking a fresh, vibrant salad – that’s the kind of growth that’s most eager to root!
Supplies You’ll Need
Grab these essentials before you start, and you’ll be well on your way:
- Sharp, sterilized pruning shears or a clean craft knife.
- A good well-draining potting mix. I like a blend of peat moss, perlite, and a bit of compost.
- Rooting hormone (optional, but can give you a boost).
- Small pots or seed trays.
- A clear plastic bag or propagation dome for humidity.
- An enclosed space like a bright window or a warm bench.
Propagation Methods: Stem Cuttings
This is my go-to method for Guatteria amplifolia. It’s reliable and gives you the best chance for success.
- Select your cutting: Find a healthy stem that has just finished its vigorous growth spurt. You’re looking for stems that are green and flexible, not stiff and woody.
- Make the cut: Using your sterilized shear or knife, make a clean cut just below a leaf node. A leaf node is where a leaf attaches to the stem. Aim for cuttings that are about 4-6 inches long.
- Prepare the cutting: Gently remove the lower leaves from your cutting, leaving just two or three at the very tip. This prevents leaves from rotting in the soil.
- Apply rooting hormone (if using): Dip the cut end of the stem into your rooting hormone. Tap off any excess.
- Plant the cutting: Make a small hole in your prepared potting mix with your finger or a pencil. Insert the cutting into the hole, making sure the leaf nodes (where you removed the leaves) are below the soil surface. Gently firm the soil around the stem.
- Create a humid environment: Water the soil lightly, just enough to moisten it. Then, cover the pot with a plastic bag or place it inside a propagation dome. This traps moisture, which is crucial for rooting.
The “Secret Sauce” (Pro Tips)
Here are a couple of things I’ve learned over the years that really seem to make a difference:
- Bottom heat is your friend. If you can, pop your potted cuttings onto a gentle seedling heat mat. Guatteria amplifolia absolutely loves a bit of warmth from below. It encourages root development much faster than just ambient room temperature.
- Don’t overwater, but keep it consistently moist. This is a fine line, I know! You don’t want that soil to be soggy, as that’s a fast track to rot. But consistently moist (not wet) is key. The trapped humidity from the bag will help keep things perfectly balanced.
Aftercare & Troubleshooting
Once your cuttings are nestled in their cozy environment, resist the urge to constantly peek! You want to keep the humidity high and the soil consistently moist. After a few weeks, you should start to see new leaf growth at the tip of the cutting. That’s a fantastic sign that roots are forming!
If things aren’t looking so rosy, the most common culprit is rot. This usually happens from too much moisture and not enough air circulation. If you see your cutting looking mushy or discolored at the base, unfortunately, it might be too late for that particular one. Don’t get discouraged! It’s all part of the learning process.
A Little Patience Goes a Long Way
Propagating Guatteria amplifolia isn’t always the quickest process, and sometimes things don’t work out the first time. That’s okay! Gardeners are masters of patience, after all. Just keep experimenting, keep learning, and most importantly, enjoy the journey. There’s a unique thrill in watching a tiny cutting transform into a thriving new plant, ready to bring its beauty to your home. Happy propagating!
Resource: