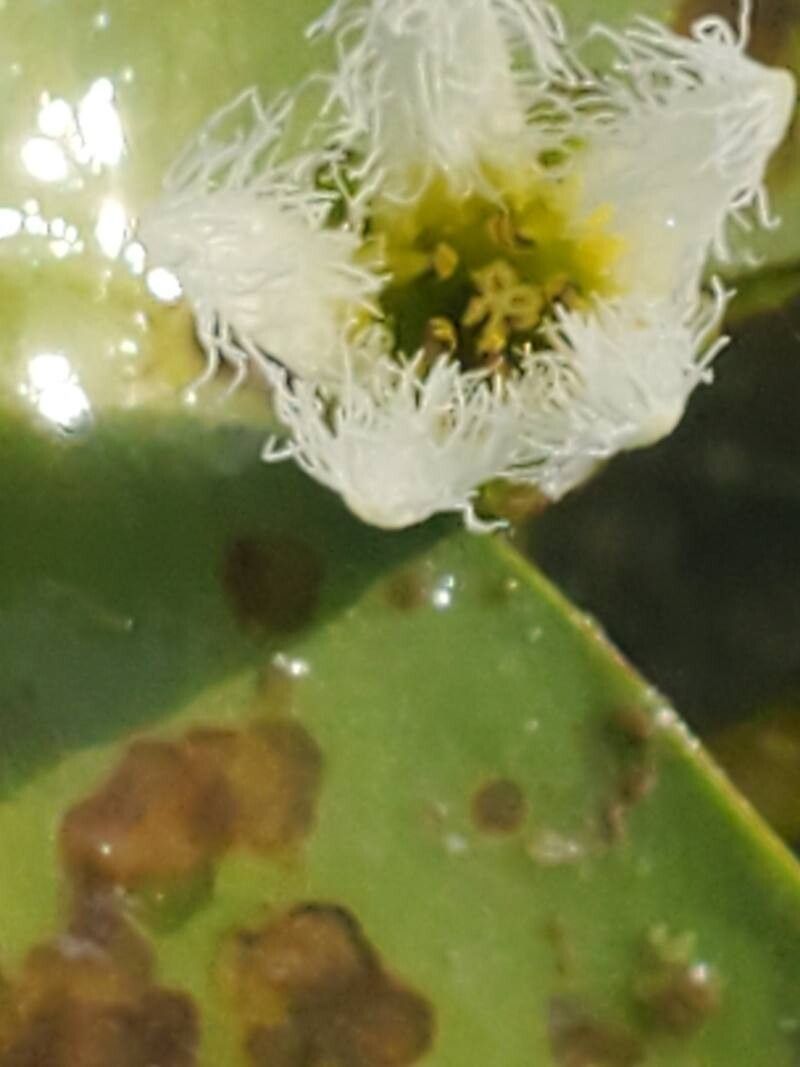
Hello fellow plant lovers! Today, we’re diving into the wonderfully aquatic world of Nymphoides senegalensis, sometimes called the Water Snowflake. If you’ve ever seen its delicate, star-shaped white flowers floating prettily on the water’s surface, you know exactly why it’s so appealing. It brings a touch of whimsical elegance to any water garden or even a simple aquarium. Propagating this beauty is a fantastic way to fill your water features or share these delightful plants with friends. For beginners, I’d say it’s a moderately easy plant to propagate, with a little patience and a few key steps.
The Best Time to Start
My favorite time to get started with propagating Nymphoides senegalensis is during its active growing season. This usually means late spring through summer. When the plant is really putting on new growth, it has more energy to dedicate to developing roots. You’ll often see new plantlets forming naturally on the parent plant, which is a dead giveaway that it’s ready for propagation.
Supplies You’ll Need
Before we get our hands wet, let’s gather our tools. You won’t need much, but having the right bits and bobs makes life so much easier:
- Sharp pruning shears or scissors: Clean cuts are crucial for healthy propagation.
- A clean container: For water propagation, a glass jar or small aquarium works perfectly.
- Rooting hormone (optional but helpful): A powder or liquid can give cuttings an extra boost.
- Substrate for potting: If you’re moving beyond water, a mix of aquatic soil or a coarse sand/aquatic plant substrate blend is ideal.
- Small pots or planting trays: For when your cuttings have developed roots.
- Tweezers (optional): For handling delicate plantlets.
Propagation Methods
Nymphoides senegalensis is quite generous and offers a few straightforward ways to create new plants.
Method 1: Stem Cuttings
This is my go-to method. It’s quick and usually gives excellent results.
- Locate a healthy stem: Look for a stem on your mature plant that has a good few leaves and ideally, a developing flower bud or a tiny plantlet at its node (where the leaf attaches to the stem).
- Make a clean cut: Using your sharp shears, cut the stem about 1-2 inches below the node where you want roots to form. Make sure the cut is clean.
- Prepare the cutting: Gently remove any leaves that would end up submerged in water. This prevents them from rotting.
- Apply rooting hormone (optional): If you’re using rooting hormone, dip the cut end of the stem into the powder or liquid.
- Place in water: Put the prepared cutting into a clean container filled with fresh water. Make sure the nodes where you removed the leaves are submerged, but try to keep the remaining leaves floating on the surface.
- Provide light: Place the container in a bright spot, but out of direct, harsh sunlight. A sunny windowsill is often perfect.
- Change the water regularly: About every 2-3 days, change out the water for fresh, room-temperature water to keep it clean and oxygenated.
You should start to see tiny white roots developing from the submerged nodes within a couple of weeks.
Method 2: Division of Plantlets
Sometimes, your Nymphoides senegalensis will produce little baby plants (plantlets) right on the older leaves or along the stems. These are essentially miniature versions of the parent plant, complete with a tiny root system.
- Identify a well-formed plantlet: Look for a plantlet that has developed a few leaves and seems to have a small root cluster attached.
- Carefully detach: Gently tug or snip the connection between the plantlet and the parent plant. Be as gentle as possible to avoid damaging the delicate roots.
- Immediate placement:
- For water: You can place these directly into fresh water, just like a stem cutting.
- For substrate: Alternatively, you can plant them directly into a small pot filled with your aquatic substrate. Gently press the roots into the soil.
This method often results in the quickest establishment, as you’re essentially transplanting a mini-plant.
The “Secret Sauce” (Pro Tips)
After years of playing with aquatic plants, I’ve picked up a few tricks that seem to make all the difference:
- Don’t let the leaves touch the water: I mentioned this earlier, but it bears repeating. Rotting leaves are the fast track to failure. If a leaf is at the waterline, try to angle it so it rests on the surface.
- Use bottom heat (if possible): While not strictly necessary for Nymphoides senegalensis, a little warmth from below can significantly speed up root formation, especially if your ambient room temperature is on the cooler side. A seedling heat mat placed under your propagation container can work wonders.
- Freshwater is key: Always use dechlorinated or aged tap water for your cuttings. Chlorine can be detrimental to new root growth.
Aftercare & Troubleshooting
Once your cuttings have developed a good network of roots (you’ll see them clearly in the water, or they’ll feel secure in the substrate), it’s time to think about their forever home.
- Transitioning to substrate: If you propagated in water, you can now gently pot your rooted cuttings into a small pot filled with your aquatic substrate. Anchor the base of the plantlet into the soil. You can then place this pot into your aquarium or water feature.
- Initial water level: For newly potted plants, keep the water level relatively low around them for the first few days. This allows the roots to adjust without being completely waterlogged.
- Signs of trouble: The most common issue you’ll encounter is rot. If a stem or leaf turns mushy and black, it’s usually a sign of too much stagnant water or a bacterial issue. Remove the affected part immediately and ensure fresh water and good circulation. If the entire cutting goes limp and doesn’t perk up after a water change, it might not have taken. Don’t be discouraged; just try again!
A Little Bit of Patience Goes a Long Way
Propagating plants is a journey, and sometimes the most beautiful things take a little time to unfurl. Don’t get discouraged if your first attempt isn’t a roaring success. Observe what happens, learn from it, and keep trying. Watching those tiny roots emerge and seeing your new Water Snowflakes grow is incredibly rewarding. Happy propagating!
Resource: