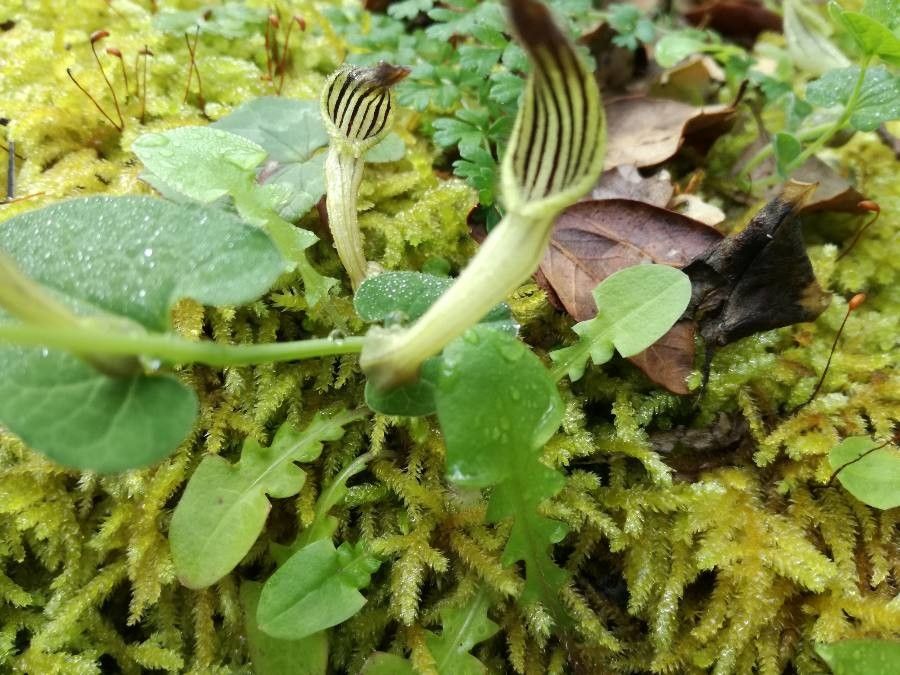
Oh, hello there! Come on in, pull up a chair. I’m so glad you’re interested in Aristolochia clusii, also known as the Pipevine. It’s a truly fascinating plant, isn’t it? Those intricate, trumpet-shaped flowers are just captivating, and the way they unfurl is pure magic. Plus, it’s a vital host plant for certain beautiful butterflies, like the Pipevine Swallowtail, so there’s a wonderful ecological reward to growing it yourself.
Now, about propagating it. Is it a breeze for absolute beginners? Honestly, I’d say Aristolochia clusii leans a little bit towards the intermediate side. It’s not impossible, not at all, but it does appreciate a bit of know-how and patience. But don’t let that deter you! With a few key steps, you’ll be well on your way to a whole new batch of these beauties.
The Best Time to Start
For the most success with Aristolochia clusii, I find the late spring or early summer to be your sweet spot. This is when the plant is in its active growing phase. You want to take cuttings from stems that are firm but not yet woody. Think of stems that are flexible enough to bend without snapping, but they’ve stopped being completely soft and herbaceous. This actively growing period means those cuttings have the energy reserves to kickstart root development.
Supplies You’ll Need
Here’s a little collection of bits and bobs that will make your propagation journey a bit smoother:
- Sharp Pruning Shears or a Clean Knife: For making clean cuts. A dull tool can crush the plant’s vascular tissue.
- Rooting Hormone (Optional but Recommended): A good quality rooting powder or gel can significantly boost your success rate.
- Well-Draining Potting Mix: I like a blend of perlite, vermiculite, and peat moss or coco coir. You want something that holds a bit of moisture but doesn’t become waterlogged. A sterile seed-starting mix is also a good base.
- Small Pots or Containers: Clean, with drainage holes, of course! 4-inch pots are usually a good size to start.
- Plastic Bags or a Propagation Dome: To create a humid environment for your cuttings.
- Labels and a Marker: To keep track of what you’ve planted and when!
- Watering Can with a Fine Rose: For gentle watering.
Propagation Methods
For Aristolochia clusii, stem cuttings are generally the most reliable method. Let’s dive in!
Stem Cuttings:
- Select Your Cuttings: As mentioned, aim for supple, semi-hardwood stems from late spring to early summer. Look for stems that have at least two to three leaf nodes (the little bumps where leaves emerge).
- Make the Cut: Using your sharp pruning shears or knife, take cuttings that are about 4-6 inches long. Make the cut just below a leaf node. This is where the plant tends to produce roots more readily.
- Prepare the Cuttings: Gently remove the lower leaves from the bottom half of the cutting. This prevents them from rotting when buried in the soil and also reduces moisture loss.
- Apply Rooting Hormone (If Using): Dip the cut end of the stem into your rooting hormone. Tap off any excess.
- Pot Them Up: Fill your small pots with your prepared potting mix. Make a small hole in the center of the soil with your finger or a pencil.
- Insert the Cutting: Carefully place the prepared cutting into the hole, ensuring the nodes where you removed leaves are below the soil surface. Gently firm the soil around the stem.
- Water Gently: Water thoroughly but gently to settle the soil around the cutting.
- Create Humidity: This is key! Cover the pot with a clear plastic bag (creating a ‘tent’ with stakes if needed so the bag doesn’t touch the leaves) or place it under a propagation dome. This will trap moisture and keep the humidity high, which is crucial for cuttings.
The “Secret Sauce” (Pro Tips)
Here are a couple of things I’ve learned over the years that make a difference:
- Bottom Heat is Your Friend: If you have a propagation mat, placing your potted cuttings on it can significantly speed up root development. The gentle warmth encourages the plant to send out roots from the bottom. It’s like giving them a little foot massage to get things going!
- Don’t Over-Water, But Don’t Let Them Dry Out: This is a delicate balance. The soil should feel consistently moist, but never soggy. Check the soil moisture regularly by feeling it with your finger. If it feels dry an inch down, it’s time for a gentle watering. The plastic cover will help maintain that consistent moisture.
Aftercare & Troubleshooting
Once your cuttings have been potted, place them in a bright, indirect light location. Avoid direct sun, as this can scorch the delicate cuttings.
You’ll know your cuttings are rooting when you start to see new leaf growth. This can take anywhere from 4-8 weeks, sometimes longer. You can also give them a very gentle tug – if there’s resistance, it means roots have formed.
The most common issue you’ll encounter is rot. This usually happens from overwatering or poor drainage, leading to mushy, black stems. If you see this, unfortunately, that cutting is likely lost. The best strategy is prevention: ensure your soil drains well, don’t waterlog it, and maintain good air circulation (open the plastic bag for a few hours a day once you see sign of life). Occasionally, cuttings might just fail to root, and that’s okay too! It happens to the best of us. Don’t get discouraged; just try again.
A Encouraging Closing
Propagating Aristolochia clusii is such a wonderfully rewarding experience. Watching those tiny stems transform into independent plants is truly special. Be patient with yourself and with the plants. Gardening is a journey, and each success, and even each learning experience, brings you closer to being a truly accomplished propagator. Happy gardening!
Resource:
https://identify.plantnet.org/k-world-flora/species/Aristolochia%20clusii%20Lojac./data