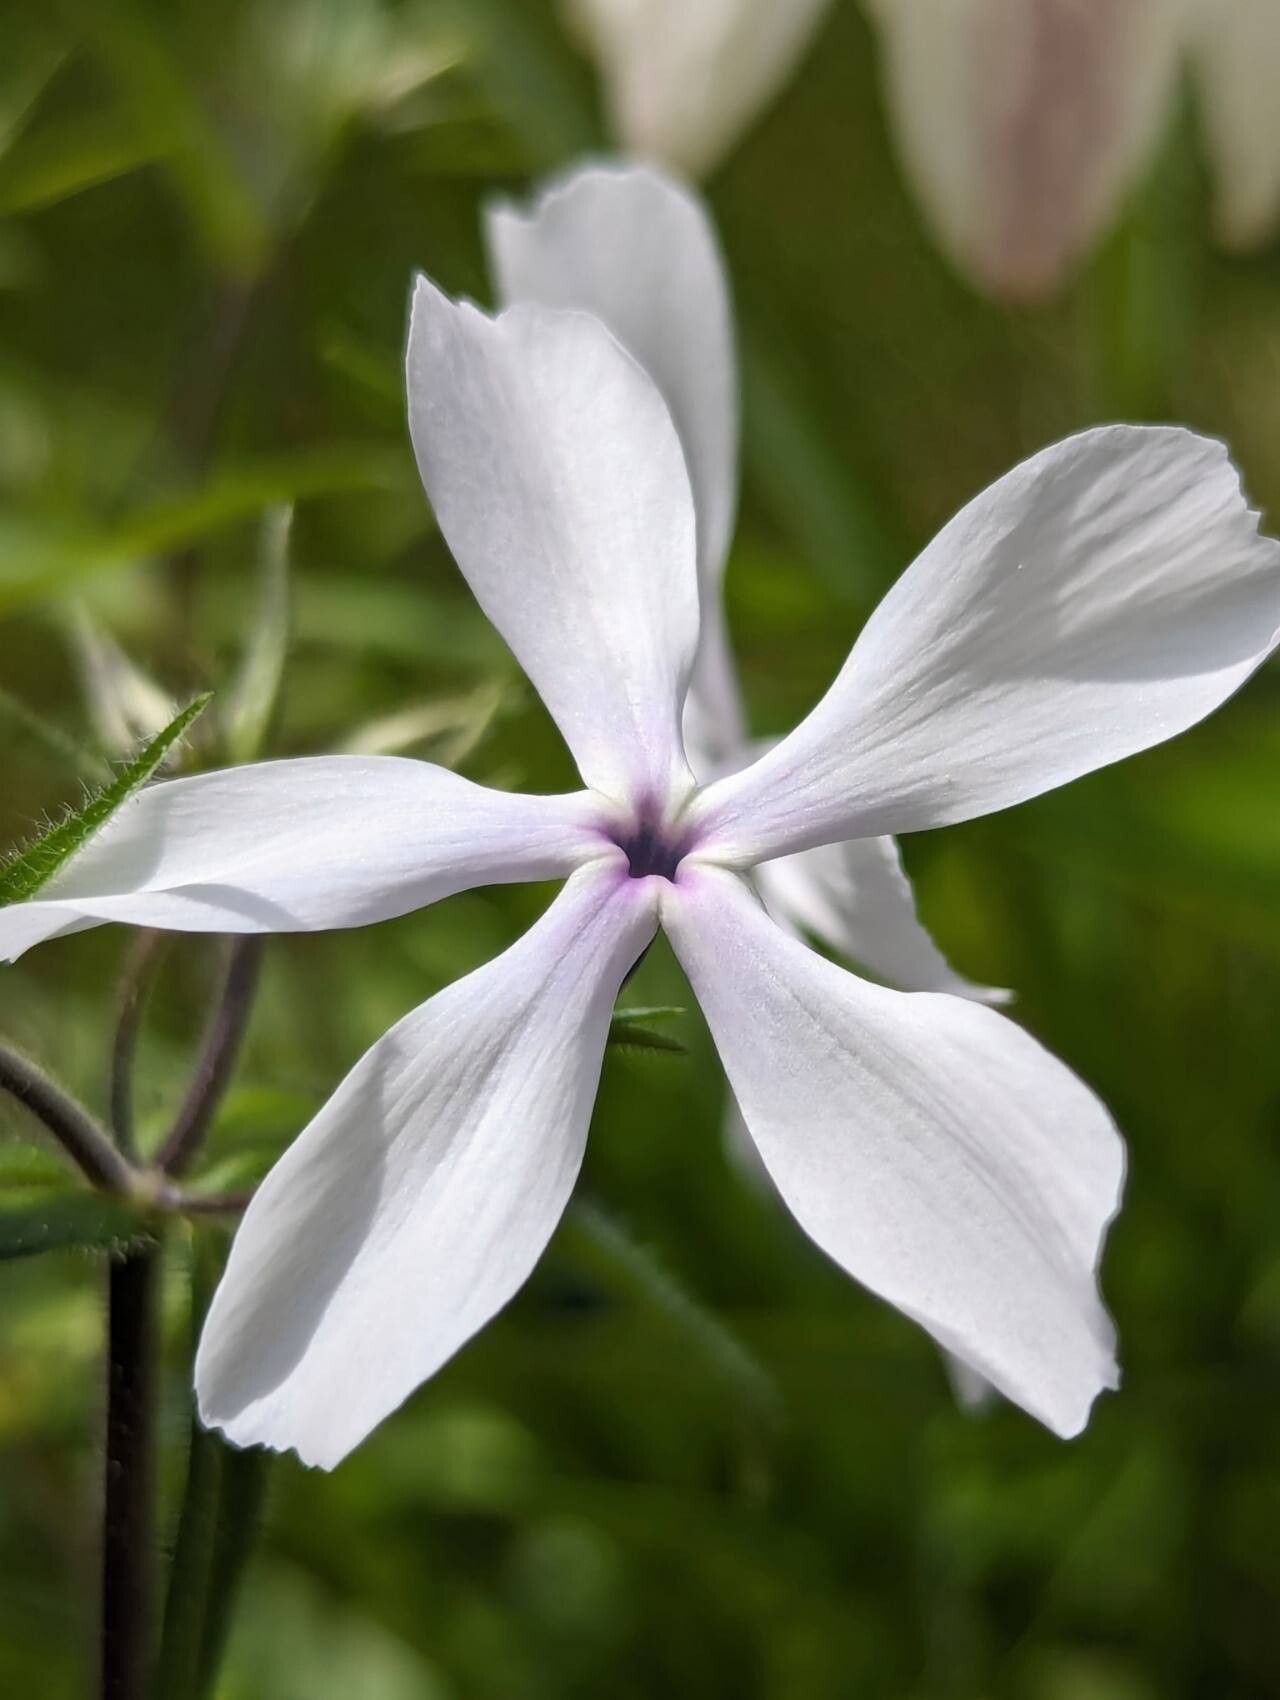
Hello, fellow garden enthusiasts! If you’re anything like me, you’ve probably fallen head over heels for the delicate charm of Phlox divaricata, also known as Woodland Phlox or Wild Blue Phlox. Its airy clusters of soft blue, lavender, or white flowers, often with a hint of sweetness in their fragrance, just make a shady corner bloom with life.
There’s something truly magical about coaxing new life from an existing plant, isn’t there? Propagating Phlox divaricata is a wonderfully rewarding endeavor, and I’m delighted to share my secrets with you. And for those of you just starting your propagation journey? Good news! This lovely phlox is quite forgiving and generally easy to propagate, making it a perfect plant to practice on.
The Best Time to Start
Timing is everything in the garden, and for Phlox divaricata, the late spring or early summer, after the plant has finished its main bloom, is simply the sweet spot. This is when the plant is actively growing and has plenty of energy to put into developing new roots. You can also have success in the early fall, as long as you give the new plants enough time to establish before winter’s chill sets in.
Supplies You’ll Need
Gathering your tools beforehand makes the whole process much smoother. Here’s what I usually have on hand:
- Sharp pruning shears or a clean knife: For making nice, clean cuts.
- Rooting hormone (optional but helpful): I like to use a powdered form.
- Small pots or seed trays: With drainage holes, of course!
- A good quality potting mix: I prefer a blend that’s light and airy, perhaps with some added perlite or vermiculite to ensure good drainage. A mix designed for seedlings or cuttings works wonderfully.
- Watering can with a fine rose attachment: To water gently without disturbing the delicate cuttings.
- Plastic bags or a propagation dome: To create a humid environment for your cuttings.
- A spray bottle: For misting.
Propagation Methods
While Phlox divaricata can be propagated through division (which I’ll touch on briefly!), my favorite and most reliable method for increasing my stock is through stem cuttings.
Stem Cuttings: My Go-To Method
- Select your stems: Look for healthy, non-flowering stems from your established plant. You want stems that are flexible but not woody – think of them as being about as thick as a pencil.
- Take your cuttings: Using your sharp shears or knife, make a clean cut just below a leaf node (where a leaf attaches to the stem). You want cuttings that are about 4 to 6 inches long. Remove any flowers or flower buds – they just drain energy!
- Prepare the cuttings: Gently remove the lower leaves from your cuttings, leaving just a few at the top. This helps prevent them from rotting in the soil and also reduces water loss.
- Dip in rooting hormone (optional): If you’re using rooting hormone, dip the cut end of each cutting into the powder. Tap off any excess. This step can significantly boost your success rate by encouraging root development.
- Pot them up: Fill your small pots or trays with your prepared potting mix, and lightly moisten it. Make a small hole in the center of the soil for each cutting.
- Insert the cuttings: Gently push the cut end of each phlox cutting into the hole, ensuring the lower leaf nodes are buried in the soil. You can fit several cuttings into one pot, giving them a little space between each.
- Create humidity: Water the soil gently once more. Then, cover the pots with a clear plastic bag (making sure the leaves don’t touch the sides or top too much) or place them under a propagation dome. This creates a mini-greenhouse effect, keeping humidity high, which is crucial for cutting success.
- Place them in a bright spot: Find a location that receives bright, indirect light. Avoid direct sun, as this can scorch your delicate cuttings.
A Quick Note on Division: In the early spring, before new growth really takes off, you can also gently dig up your Phlox divaricata and divide the root ball into smaller clumps. Make sure each division has roots and a few shoots. Replant them immediately in well-prepared soil. This is a great way to rejuvenate older plants and get more phlox for your garden!
The “Secret Sauce” (Pro Tips)
After years of muddling through, I’ve picked up a few little tricks that really make a difference:
- Avoid letting the leaves touch the water: When you water your potted cuttings, be sure to water the soil, not the foliage. If leaves sit in standing water, especially inside that humid bag, they’re far more prone to developing fungal issues and rot.
- Bottom heat is a game-changer: If you have the means, placing your pots on a gentle seedling heat mat can dramatically speed up root formation. Phlox divaricata seems to absolutely love a little warmth from below, encouraging those roots to get going. Just a few degrees above room temperature is perfect.
- Be patient with your stem selection: If you’re taking cuttings, choose those that snap cleanly when bent, rather than just flopping over. These “semi-hardwood” cuttings are typically the most responsive and have the best chance of rooting.
Aftercare & Troubleshooting
Once your cuttings have been potted, the real waiting game begins! Keep an eye on the soil moisture – it should be consistently moist but never soggy. Gently mist the foliage every day or two, especially if you don’t have a dome.
You’ll know your cuttings are rooting when you feel a slight resistance when you gently tug on a stem, or when you start to see new leaf growth emerge. This usually takes anywhere from 3 to 6 weeks, sometimes a bit longer depending on the conditions.
The most common issue you might encounter is rot. If you see your cuttings looking yellow, mushy, or developing dark spots, it’s usually a sign of too much moisture and not enough air circulation. If this happens, I recommend removing the affected cuttings immediately, checking your watering habits, and perhaps improving the drainage of your potting mix. Sometimes, a quick spray with a fungicide can help if the problem is widespread.
Once roots have developed and you see good new growth, you can gradually harden them off before planting them out into their permanent garden homes. This means opening up the plastic bag a little more each day, or removing the dome for longer periods.
A Warm Encouraging Closing
Growing plants from cuttings is a journey of patience and observation. It’s so satisfying to watch those tiny stems transform into vibrant new plants. Don’t be discouraged if not every single cutting takes – that’s a natural part of the process! Celebrate each success, learn from any setbacks, and most importantly, enjoy the quiet magic of nurturing life in your own hands. Happy gardening!
Resource:
https://identify.plantnet.org/k-world-flora/species/Phlox%20divaricata%20L./data