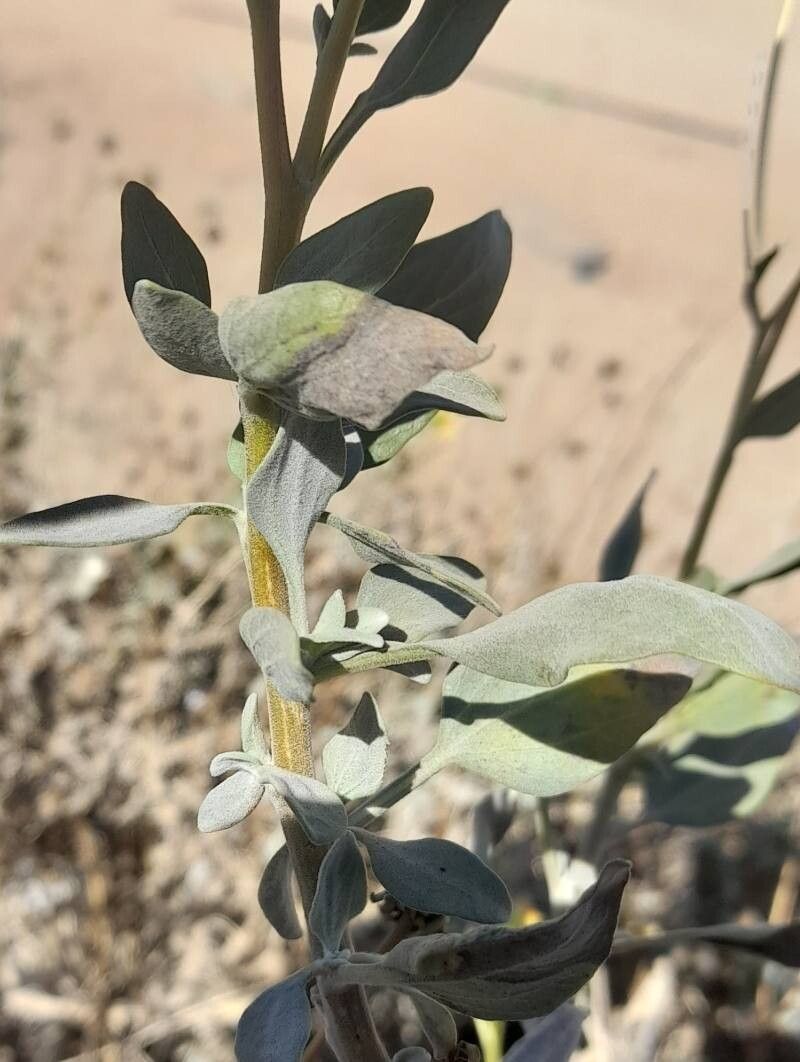
Hello fellow garden enthusiasts! It’s so wonderful to connect with you today. I’ve got a real treat for you: a deep dive into propagating Encelia canescens, often called California brittlebush. This beauty is a desert native with stunning, bright yellow daisy-like flowers that will absolutely liven up any sunny spot. Plus, its silvery foliage has such a lovely texture.
There’s a special kind of joy that comes from nurturing a plant from a tiny cutting or a division. It’s incredibly rewarding, and Encelia canescens is a great plant to practice your propagation skills on. For beginners, I’d say it’s moderately easy – a few key things to get right, and you’ll be well on your way!
The Best Time to Start
For the highest success rate with Encelia canescens, I always aim to propagate in late spring or early summer. This is when the plant is actively growing and has plenty of energy to put into establishing new roots. You’re looking for healthy, vigorous new growth, not old, woody stems.
Supplies You’ll Need
Here’s what you’ll want to have on hand before you get started:
- Sharp, clean pruning shears or a sharp knife: To make clean cuts without crushing the stems.
- Rooting hormone (optional, but recommended): A powder or gel to encourage root development.
- Well-draining potting mix: A cactus or succulent mix works wonderfully, or you can make your own with equal parts potting soil, perlite, and coarse sand.
- Small pots or trays: With drainage holes, of course!
- Plastic bags or a propagation dome: To create a humid environment for cuttings.
- Watering can or spray bottle: For gentle watering.
- Labeling stakes: To keep track of your propagated plants.
Propagation Methods
I’ve found two primary methods work best for Encelia canescens.
Stem Cuttings
This is my go-to method for this plant.
- Take your cuttings: Select healthy, non-flowering stems about 4-6 inches long. Make a clean cut just below a leaf node. A leaf node is where a leaf emerges from the stem. This is where roots are most likely to form. Remove the lower leaves, leaving just a few at the top.
- Apply rooting hormone (optional): Dip the cut end of the stem into rooting hormone, tapping off any excess.
- Plant the cuttings: Fill your small pots with your well-draining mix. Make a small hole in the center with your finger or a pencil. Gently insert the cutting into the hole, ensuring the nodes are buried. Firm the soil gently around the stem.
- Water gently: Water the soil thoroughly until it’s evenly moist.
- Create humidity: Cover the pots with a plastic bag or a propagation dome to maintain high humidity. You can prop up the bag with stakes so it doesn’t touch the leaves.
- Provide bright, indirect light: Place the pots in a warm location with plenty of bright, indirect sunlight. Avoid direct sun, which can scorch the delicate cuttings.
Division
If you have an established Encelia canescens clump, division is a simple way to get more plants.
- Gently remove the plant: Carefully dig up the entire plant from its pot or the ground.
- Inspect the root ball: Gently shake off excess soil to expose the roots. You’re looking for separate crowns or sections of the plant that can be easily separated.
- Divide the plant: Using your hands or a sharp trowel, gently pull or cut the root ball into sections. Each section should have ample roots and at least one healthy shoot or stem.
- Replant immediately: Plant each division into its own pot filled with well-draining soil. Water it in well.
The “Secret Sauce” (Pro Tips)
Over the years, I’ve picked up a few tricks that seem to make a big difference.
- My absolute favorite tip for cuttings is to use bottom heat. A propagation mat set to around 70-75°F can work wonders for encouraging root development. It really speeds things up!
- When you’re watering your cuttings or divisions, always err on the side of less rather than more. Soggy soil is the quickest way to rot out a new plant. Let the top inch of soil almost dry out before watering again.
- For stem cuttings, never let the leaves sit directly in water, especially if you’re using a humidity dome or bag. This can lead to fungal issues. Ensure good air circulation.
Aftercare & Troubleshooting
Once your Encelia canescens cuttings have started to develop roots (you’ll know when you see new growth or feel slight resistance when gently tugging on the stem), it’s time to transition them.
- Gradually acclimate: Slowly remove the humidity dome or plastic bag over a week or so to let the new plants adjust to normal humidity levels.
- Continue bright light: Keep them in bright, indirect light.
- Water as needed: Water when the top inch of soil is dry.
- Pot up: Once the root system is well-established and filling the pot, you can transplant them into slightly larger pots.
The most common issue you’ll face is rot, which usually stems from overwatering or poor drainage. If you see a stem turn black and mushy, unfortunately, that cutting is likely lost. Don’t be discouraged! Just remove it and adjust your watering practices. Another sign of struggle might be wilting, which could indicate not enough water or a lack of roots to support the foliage.
A Encouraging Closing
Propagating Encelia canescens is such a rewarding journey. It might take a little patience, and you might have a few that don’t make it – that’s perfectly normal, even for us experienced gardeners! The key is to keep trying, learn from each attempt, and most importantly, enjoy the process of creating new life for your garden. Happy propagating!
Resource:
https://identify.plantnet.org/k-world-flora/species/Encelia%20canescens%20Lam./data