Hello there, fellow plant lovers! It’s so good to have you join me today. We’re going to dive into the wonderful world of propagating Fumaria munbyi.
The Allure of Fumaria munbyi
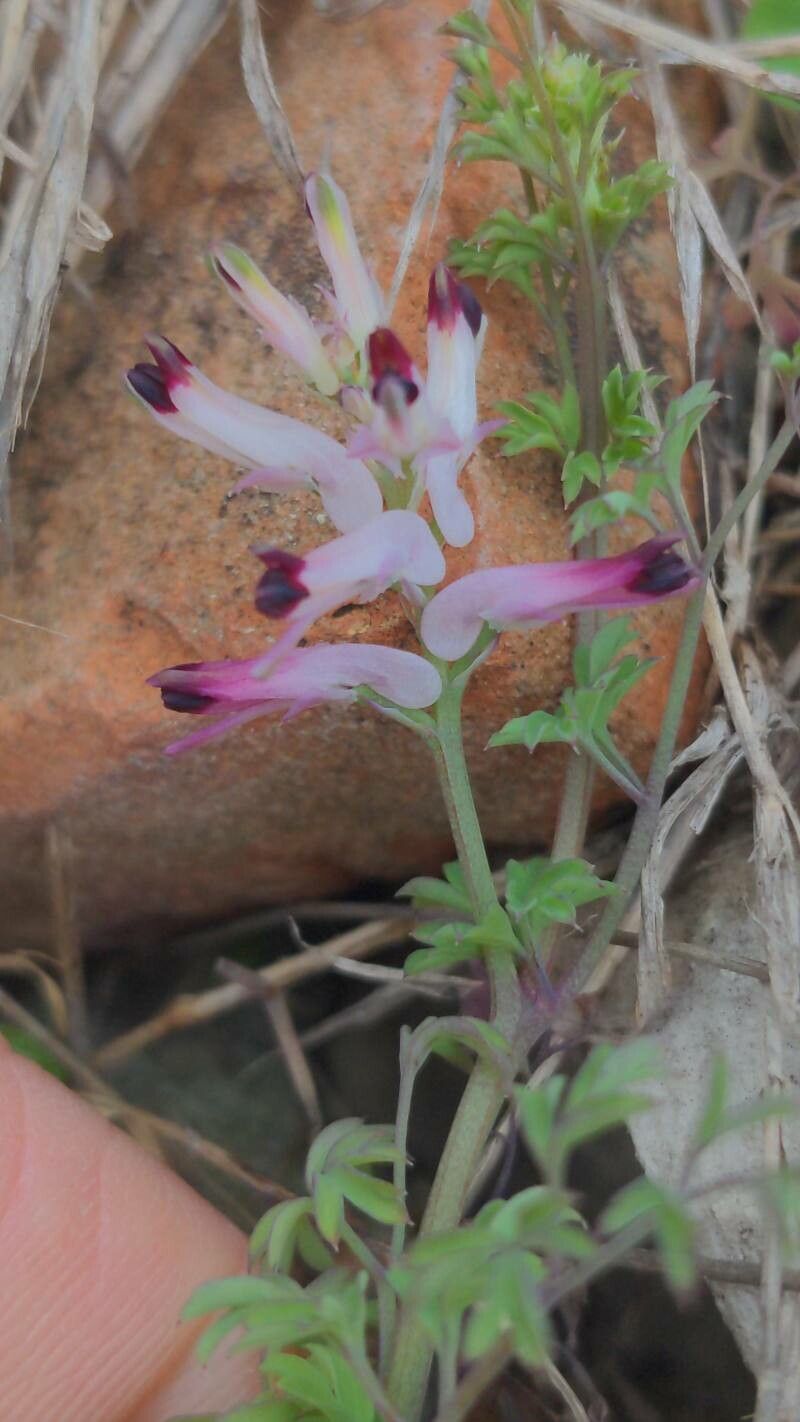
Oh, Fumaria munbyi! If you haven’t met this beauty yet, prepare to be charmed. It’s a delightful little plant, often producing delicate, fern-like foliage and sometimes even charming little flowers, depending on the variety. It brings a touch of airy elegance to any garden space, weaving itself amongst other plants beautifully. And the joy of creating more of these beauties from a single parent plant? That’s a gardener’s true delight. For beginners, I’d say Fumaria munbyi can be a bit of a gentle challenge, but nothing insurmountable! With a few key tips, you’ll be well on your way.
When to Get Your Hands Dirty
The sweet spot for propagating Fumaria munbyi is generally in the late spring to early summer. This is when the plant is actively growing and has plenty of energy stored up. You’re looking for young, healthy stems that are pliable but not too soft. Think of it as the plant’s vigorous teenage years – full of life and ready for change!
Gathering Your Toolkit
Before we begin, let’s make sure we have everything we need. It’s always best to be prepared!
- Sharp Pruning Shears or a Craft Knife: Cleanliness is key here.
- Potting Mix: A well-draining mix is essential. I like a blend of equal parts peat moss or coco coir and perlite or coarse sand.
- Small Pots or Seed Trays: Clean ones, of course!
- Rooting Hormone (Optional but Recommended): A powder or gel can give your cuttings a helpful boost.
- Watering Can with a Fine Rose: For gentle watering.
- Plastic Bags or a Humidity Dome: To maintain moisture around your cuttings.
- Labels and a Marker: To keep track of what’s what!
The Art of Propagation
There are a few ways we can coax new life from our Fumaria munbyi.
Stem Cuttings: A Classic Approach
This is my go-to method for many plants, and Fumaria munbyi usually responds wonderfully.
- Take Your Cuttings: Using your clean shears or knife, take stem cuttings that are 4-6 inches long. Make your cut just below a leaf node (where a leaf attaches to the stem). Remove any lower leaves, leaving just a few at the top.
- Prepare the Cutting: If you’re using rooting hormone, dip the cut end of each stem into it, tapping off any excess.
- Plant Your Cuttings: Fill your small pots with your prepared potting mix. Make a small hole with your finger or a pencil and insert the cutting, ensuring the leaf nodes are buried. Gently firm the soil around the stem.
- Water Gently: Water the soil thoroughly but gently.
Water Propagation: Watching the Magic Unfold
This method is a bit more visual and incredibly satisfying.
- Prepare Cuttings: Similar to stem cuttings, take 4-6 inch cuttings with at least a couple of leaf nodes. Remove the lower leaves.
- Place in Water: Find a clean jar or glass. Fill it with clean water. Place your cuttings in the water, making sure that the leaf nodes are submerged, but none of the leaves are touching the water.
- Find a Spot: Place the container in a bright location, but out of direct sunlight.
The “Secret Sauce” – Insider Tips from My Garden
After years of tinkering, I’ve picked up a few tricks that can really make a difference.
- Bottom Heat Power: If you’re using stem cuttings, a gentle bottom heat source can be a game-changer. A propagation mat or even placing the pots on top of a warm (not hot!) appliance can significantly speed up root development. It mimics the warmth of the soil in spring.
- Don’t Over-Crowd: When planting stem cuttings, give them a little breathing room. Too many cuttings packed into one pot can lead to increased humidity, which can encourage fungal issues. Space them out so there’s good air circulation.
- The “Callusing” Trick: For slightly woodier stems (though Fumaria munbyi is usually quite herbaceous), some gardeners like to let the cut end “callus over” for a day or two in a dry, airy spot before planting or dipping in hormone. This helps prevent rot.
After You See Signs of Life
Once you start to see new growth or tiny roots emerging from your cuttings, it’s time for a bit of tender loving care.
For stem cuttings: Gently tug on a cutting. If you feel resistance, roots have formed! You can then transplant them into their own small pots with your regular potting mix. Water them well and keep them in a bright spot.
For water propagation: Once the roots are about an inch long, it’s time to pot them up. Gently place the rooted cutting into a pot with moist potting mix and water it in.
Troubleshooting is part of the journey! The most common sign of failure is rot. If your cuttings turn black and mushy, or look limp and discolored, it’s usually a sign of too much moisture and not enough air circulation, or a fungal issue. Don’t get discouraged! Sometimes, it’s just a learning curve. Try again with cleaner tools, a better-draining mix, or by adjusting the humidity.
Happy Propagating!
Watching a tiny cutting unfurl new leaves and develop its own strong root system is such a rewarding experience. Be patient with your Fumaria munbyi, enjoy the process of nurturing these new plants, and soon you’ll have a whole collection to share. Happy gardening!
Resource:
https://identify.plantnet.org/k-world-flora/species/Fumaria%20munbyi%20Boiss.%20&%20Reut./data