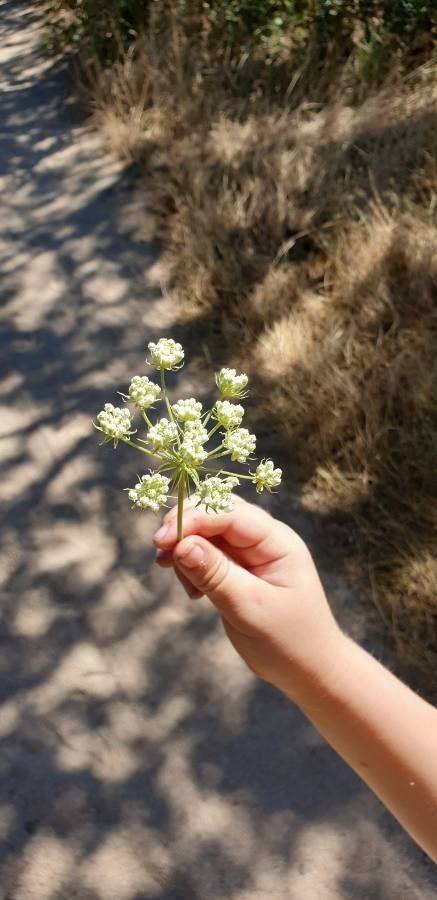
Hey there, fellow plant lovers! Today, we’re diving into the world of Perideridia kelloggii, also known as Kellogg’s yampah. This charming native wildflower, with its delicate, umbrella-like clusters of white flowers and edible, starchy roots, is a real gem to have in the garden. Propagating it yourself is not only incredibly rewarding but also a fantastic way to share its beauty and bounty with friends and family. Don’t let its wild origins fool you; while it has its quirks, with a little care, growing new Perideridia kelloggii plants from existing ones is definitely achievable, even for those newer to the gardening scene.
The Best Time to Start
For the highest chance of success with Perideridia kelloggii, your window of opportunity is usually late summer to early fall, after the plant has finished flowering and the energy has started to move back down into its roots. This is when the plant is naturally preparing for its dormant period, making it more receptive to propagation techniques. Trying to propagate too early in the season, when it’s actively growing and blooming, can stress the parent plant and reduce your success rate.
Supplies You’ll Need
Gathering your tools beforehand makes the whole process much smoother. Here’s what I like to have on hand:
- Sharp, clean pruning shears or a small knife: For precise cuts.
- Well-draining potting mix: A good blend for natives is often ideal. I often use a mix of equal parts compost, coarse sand, and perlite.
- Small pots or seed trays: With drainage holes, of course!
- Labels and a permanent marker: So you don’t forget what you planted where.
- Watering can or spray bottle: For gentle watering.
- Rooting hormone (optional but recommended for division): Helps encourage root development.
- Trowel or small shovel: For dividing larger clumps.
Propagation Methods
Perideridia kelloggii is primarily propagated through division, which is essentially splitting up its root system. This is the most reliable method for home gardeners.
Division Steps:
- Prepare the Parent Plant: Gently dig up the Perideridia kelloggii plant in late summer or fall. Loosen the soil around it carefully, trying not to damage the root system too much. You can also get a head start by loosening the soil in the ground where the plant is already growing.
- Inspect the Roots: Gently shake off excess soil to get a good look at the root ball. You’ll likely see a cluster of starchy tubers connected by roots.
- Separate the Divisions: Using your hands or a clean trowel, carefully separate the root clump into smaller sections. Each division should have at least one healthy tuber and some intact roots. Don’t worry if some roots break; just aim to salvage as much as possible. If you’re having trouble, a sharp, clean knife can help make a clean cut between sections.
- Pot Up the Divisions: Plant each division in its own pot filled with your well-draining potting mix. Bury the tuber so the top is just covered by soil.
- Water Gently: Water the newly potted divisions thoroughly but gently. Avoid waterlogging the soil.
The “Secret Sauce” (Pro Tips)
Now for a couple of little tricks I’ve picked up over the years that can really make a difference:
- Don’t be afraid to be a bit ruthless with division. Sometimes, a really dense clump needs a firm hand to separate. Just ensure each piece has a decent chunk of tuber and roots. Think of it like giving your plant a chance to grow more vigorously by uncluttering its roots.
- Consider a little bit of bottom heat. For divisions, especially if you’re doing this in cooler fall weather, placing the pots on a gentle heating mat can really encourage root formation. You don’t want it too hot, just a gentle warmth that mimics springtime soil temperatures.
Aftercare & Troubleshooting
Once your new Perideridia kelloggii divisions are potted up, keep them in a location that receives bright, indirect light. Water consistently, allowing the top inch of soil to dry out between waterings. You’re aiming for moist, not soggy, soil.
The biggest challenge you might face is rot. This usually happens if the soil stays too wet. If you notice mushy, discolored roots, or the leaves are wilting despite consistent watering, it’s a sign of rot. Unfortunately, once rot sets in, it’s hard to recover. The best defense is a good offense: ensure excellent drainage and avoid overwatering. Sometimes, a division might just fail to establish, and that’s okay too. Not every attempt will be a slam dunk, and that’s part of the gardening journey.
A Closing Thought
Propagating Perideridia kelloggii is a wonderful way to connect with this beautiful native plant and expand its presence in your garden and beyond. Be patient with your new divisions; it can take a little time for them to fully establish. Enjoy the process of nurturing them, and before you know it, you’ll have lovely new plants to admire. Happy gardening!
Resource: