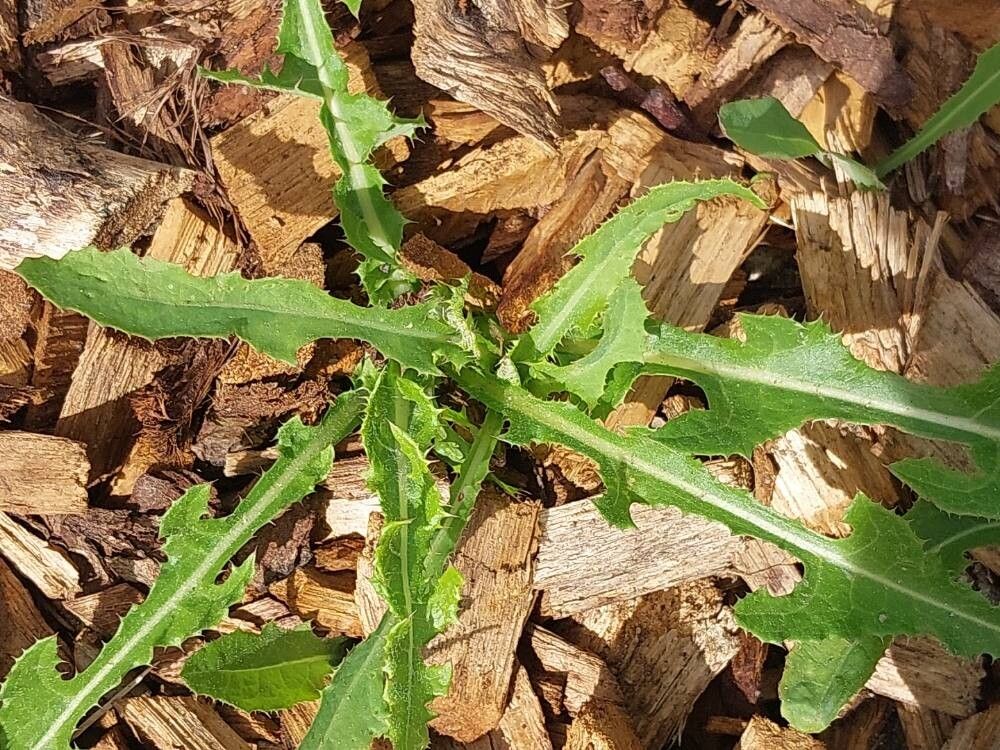
Hello there, fellow garden enthusiasts! Today, I want to introduce you to a plant that has brought so much joy to my garden beds: Stylophorum lasiocarpum, also known as the Woodland Poppy. Its cheerful yellow blooms against lush, lobed foliage are like little bursts of sunshine, even on the dreariest days. And guess what? Propagating this beauty is a truly rewarding experience, and I’m happy to say, it’s quite forgiving, even for those of you just starting out on your plant-parenting journey.
The Best Time to Start
For the highest success rate with Stylophorum lasiocarpum, I always find late spring or early summer to be the sweet spot. This is when the plant is actively growing and has plenty of energy to put into developing new roots. You can also try propagating divisions in early spring, just as the plant is waking up, but the cuttings tend to take off a bit more enthusiastically after the initial spring growth spurt.
Supplies You’ll Need
Gathering your tools beforehand makes the whole process smoother. Here’s what I usually have on hand:
- Sharp, clean pruning shears or a sharp knife: Essential for making clean cuts.
- A good quality, well-draining potting mix: I like a blend of peat moss, perlite, and a bit of compost. You can also find specialized succulent or cactus mixes that work wonderfully.
- Small pots or trays with drainage holes: Terracotta pots are great for us, but plastic works too.
- Rooting hormone (optional, but recommended): It gives cuttings a little boost. Look for one with IBA.
- A spray bottle filled with water: For keeping things consistently moist.
- A plastic bag or humidity dome: To create a mini greenhouse effect.
- Labels and a marker: So you don’t forget what you planted where!
Propagation Methods
Stylophorum lasiocarpum can be propagated successfully through a couple of easy methods. For me, stem cuttings are hands-down the most reliable and fun.
Stem Cuttings
- Take Your Cuttings: In late spring or early summer, select healthy, non-flowering stems. Using your sharp pruning shears, cut sections that are about 4-6 inches long. Make sure each cutting has at least two sets of leaves.
- Prepare the Cuttings: Gently remove the lower leaves from the bottom half of each cutting. This will expose the nodes where roots will form.
- Apply Rooting Hormone: If you’re using rooting hormone, dip the cut end of each stem into it. Tap off any excess.
- Plant Your Cuttings: Fill your small pots with your prepared potting mix. Make a small hole with your finger or a pencil in the center of the soil. Insert the cut end of the stem into the hole, ensuring the nodes are buried. Gently firm the soil around the stem.
- Create a Humid Environment: Water the soil gently until it’s evenly moist, but not soggy. Then, place a plastic bag over the pot, or cover it with a humidity dome. This traps moisture, which is crucial for root development.
Division (for Established Plants)
If you have a mature Stylophorum lasiocarpum that’s looking a bit crowded, dividing it is a great way to create new plants and give your established one a refresh.
- Dig Up the Plant: In early spring before new growth really kicks off, carefully dig up the entire plant. You can do this with a trowel or small shovel.
- Separate the Roots: Gently work your hands or a trowel to separate the root ball into smaller sections. Aim for sections with both roots and at least one or two healthy shoots. Sometimes, you might need to use your knife to cut through particularly dense root systems.
- Replant Immediately: Plant the divisions in their new locations or in pots as you would a regular plant. Water them well.
The “Secret Sauce” (Pro Tips)
Here are a couple of tricks I’ve learned over the years that really help boost success.
- Bottom Heat is Your Friend: While not strictly necessary, placing your pots on a heat mat can significantly speed up root formation. The warmth encourages those roots to get working faster.
- Patience with the “Bleed”: Like many poppies, Stylophorum lasiocarpum stems can ooze a milky sap when cut. Don’t worry about this! It’s perfectly normal. Give the cut end a minute to dry a bit before potting if you like, but it’s not a critical step.
- Don’t Overwater: This is the cardinal sin of propagation! Your cuttings need consistent moisture, but soggy soil leads to rot. The plastic bag or humidity dome will help keep the moisture in, so you won’t need to water as frequently as you might think. Check the soil every few days by gently touching it.
Aftercare & Troubleshooting
Once you start seeing new growth, that’s a great sign! It means roots are forming. Gradually acclimatize your new plants to drier air by opening the plastic bag or humidity dome for a few hours each day over a week. Once they look robust and you can feel some resistance when gently tugging them (they won’t come out easily), it’s time to pot them up into their own small containers if they aren’t already.
The most common issue you’ll encounter is rot. If your cuttings start to look mushy, yellow, or just sad and wilted, it’s usually a sign of too much moisture. Unfortunately, this is often hard to recover from. Ensure excellent drainage and avoid overwatering. If you see any signs of disease or pests, act quickly. However, with good practices, this is usually not a major problem.
Happy Propagating!
The magic of watching a tiny cutting transform into a flourishing new plant is one of the most satisfying parts of gardening. Be patient with your Stylophorum lasiocarpum, enjoy the process, and soon you’ll have even more of these cheerful yellow blooms gracing your garden. Happy planting!
Resource:
https://identify.plantnet.org/k-world-flora/species/Stylophorum%20lasiocarpum%20(Oliv.)%20Fedde/data