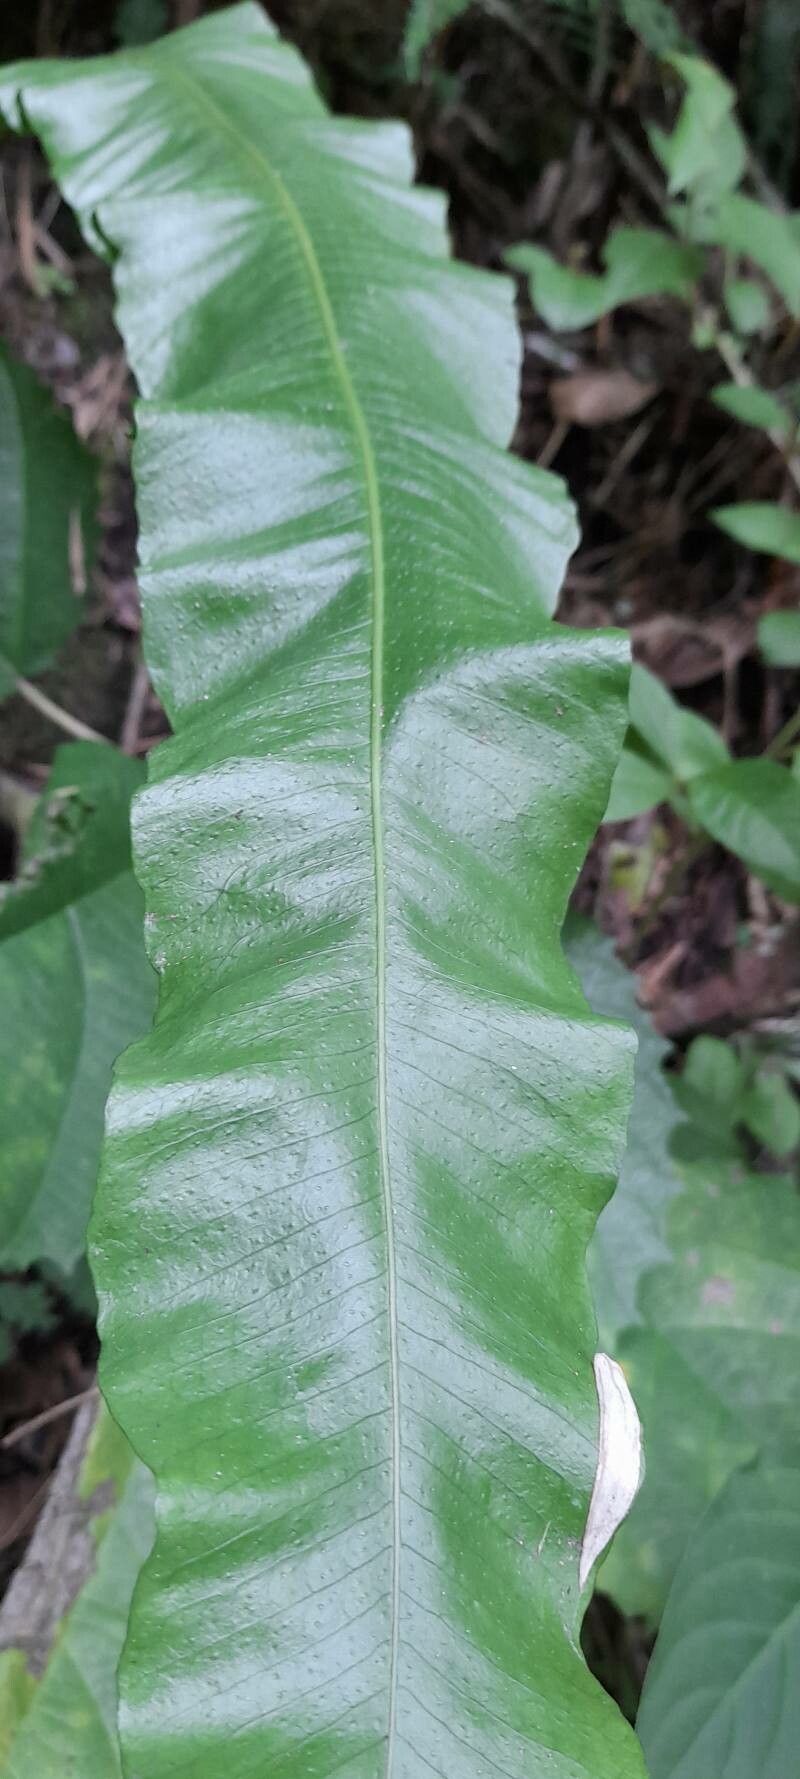
Oh, hello there! If you’ve ever admired the glossy, deep green leaves of Campyloneurum nitidissimum, you’re in for a treat. This fern, with its elegant fronds, brings such a sophisticated touch to any space, whether it’s brightening up a shady corner in the garden or adding a touch of lushness indoors. Propagating it yourself is a wonderfully rewarding experience, and while it might seem a little intimidating at first, I’m here to guide you. We’ll tackle this together, and soon you’ll have even more of these beauties to share or simply enjoy! For most gardeners, I’d say this one falls into the moderately easy category – a little patience goes a long way.
The Best Time to Start
The sweet spot for propagating Campyloneurum nitidissimum is definitely during its active growth phase. Think late spring through early summer. This is when the plant is really energized after its winter rest, sending out new shoots and leaves. Starting new propagation projects then gives them the best chance to establish themselves quickly. You want to work with healthy, vigorous material, so a plant that’s looking its best is your best bet.
Supplies You’ll Need
Gathering your tools before you start makes the whole process much smoother. Here’s what I usually have on hand:
- Sharp pruning shears or a clean knife: For making clean cuts.
- Seed-starting or propagation mix: A well-draining blend is key. I often use a mix of peat moss, perlite, and orchid bark.
- Small pots or trays: Clean containers are a must to prevent disease.
- Rooting hormone (optional but recommended): This can give your cuttings a helpful boost.
- Clear plastic bags or a propagator: To create a humid environment.
- Spray bottle: For misting.
- Water: Preferably filtered or rainwater if your tap water is very hard.
Propagation Methods
Campyloneurum nitidissimum is quite forgiving, and the most reliable way to multiply it is through division. This fern doesn’t typically produce easily separable offsets like some other plants, so dividing the parent plant is your best bet for success.
Here’s how I do it:
- Gently remove the parent plant from its pot. If it’s in the ground, carefully dig around it.
- Inspect the root ball. Look for natural separations where distinct clusters of fronds emerge from the rhizomes. You might see where the plant has naturally divided itself.
- Using your clean knife or shears, carefully separate the root ball. You want to ensure each section has a good portion of roots and at least a few healthy fronds. It’s better to have fewer fronds with ample roots than many fronds with barely any.
- Pot up each division. Use your well-draining propagation mix. Plant them in pots that are just slightly larger than the root ball.
- Water thoroughly. Make sure the soil is evenly moist, but not waterlogged.
- Provide humidity. Place the newly potted divisions in a bright spot out of direct sunlight. Cover them loosely with a clear plastic bag or place them in a propagator to maintain high humidity. This is crucial for ferns during this vulnerable stage.
The “Secret Sauce” (Pro Tips)
Here are a couple of things that have really made a difference for me over the years:
- Don’t skimp on drainage, ever! Ferns absolutely hate sitting in soggy soil. Even with excellent humidity, if the mix doesn’t drain well, you’re asking for root rot. I always add a generous amount of perlite or orchid bark.
- Consider a gentle bottom heat. If you’re propagating earlier in the season, or your home tends to be on the cooler side, a seedling heat mat can be a game-changer. It encourages root development without drying out the foliage. Just a little warmth can really speed things up!
Aftercare & Troubleshooting
Once your divisions are potted up, keep them consistently moist but not soggy. Misting the foliage occasionally can also help keep humidity levels high, especially if they aren’t covered. You’ll know they’re establishing when you see new frond growth appearing. This can take anywhere from a few weeks to a couple of months, so patience is truly a virtue here.
The most common sign of trouble is wilting or yellowing fronds. If you see this, check the moisture level – it could be too dry or too wet. Rot is a serious concern, and it usually looks like a mushy, dark base at the soil line. If you suspect rot, you might need to unpot, trim away the affected parts with sterile tools, and repot into fresh, dry mix. Sometimes, sadly, a division is just too weak to make it. Don’t be discouraged; learn from it and try again!
A Welcoming Garden
And there you have it! Propagating Campyloneurum nitidissimum is a journey, much like watching any plant grow. Be kind to yourself, the plants, and enjoy the process of creating more green beauty. Before you know it, you’ll have a small forest of these gorgeous ferns to admire. Happy propagating!
Resource: