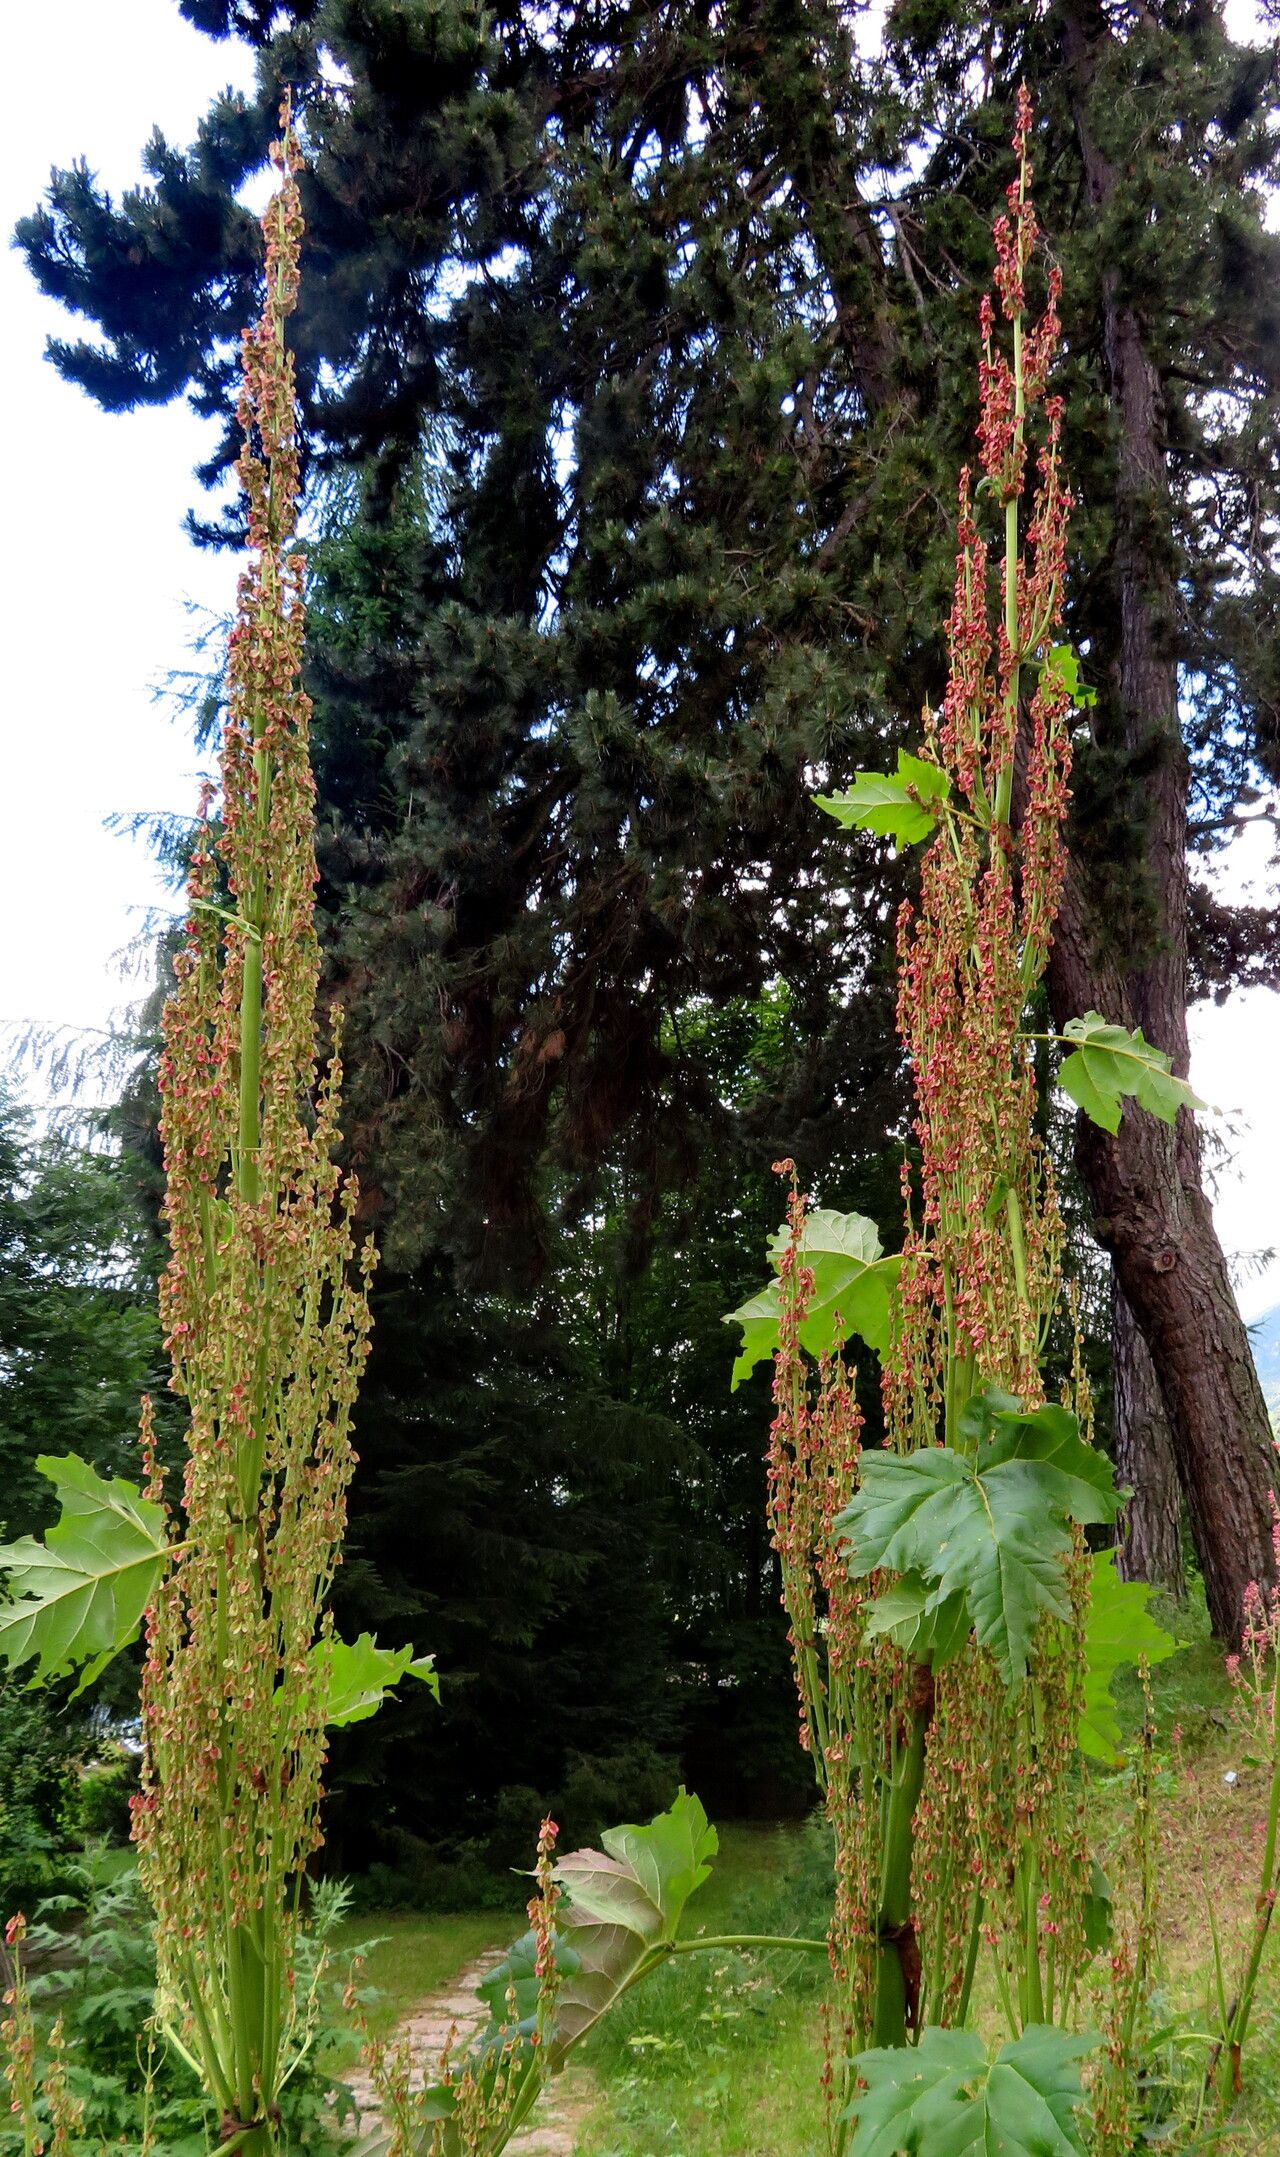
Hello there, fellow plant enthusiasts! Today, we’re diving into the wonderful world of propagating Rheum palmatum, or as it’s often called, Turkish Rhubarb. If you’ve ever admired its dramatic, architectural foliage and those beautiful, tall flowering stalks, you’re not alone. Growing your own Rheum palmatum from scratch is incredibly satisfying, and honestly, it’s not as tricky as you might think. For beginners, I’d say it’s moderately easy, especially if you choose the right method.
The Best Time to Start
For the best chance of success with your Rheum palmatum cuttings or divisions, late winter or early spring is your sweet spot. Think of it as giving your new plant a head start while the parent plant is still dormant or just beginning to stir. This is when the plant’s energy reserves are primed for new growth, making it more receptive to propagation.
Supplies You’ll Need
To get your Rheum palmatum propagating, gather these essentials:
- Sharp Pruning Shears or a Knife: Clean and sterilized to prevent disease.
- Potting Mix: A well-draining mix is crucial. I like a blend of regular potting soil with perlite or coarse sand.
- Pots or Trays: For your new cuttings or divisions. Make sure they have drainage holes.
- Rooting Hormone (Optional but Recommended): Especially helpful if you’re taking stem cuttings.
- Watering Can or Spray Bottle: For gentle watering.
- Labels and a Marker: To keep track of your efforts!
- A Spot with Indirect Light: Your new plants won’t appreciate direct sun initially.
Propagation Methods
Rheum palmatum is most commonly and successfully propagated through division. This involves splitting up the existing root system of a mature plant.
Division: The Most Reliable Method
- Choose Your Time: As mentioned, late winter or early spring is ideal. Wait until you see no sign of frost.
- Prepare the Parent Plant: Gently water the Rheum palmatum a day or two before you plan to divide it. This will make the soil softer and the plant less stressed.
- Carefully Excavate: Using a sharp spade or garden fork, carefully dig around the base of the plant. You want to loosen the entire root ball. Gently lift the whole plant out of the ground.
- Clean the Roots (Gently!): Shake off excess soil. You need to be able to see the root structure clearly. You might need to rinse some soil away with water, but be gentle – those roots are precious.
- Identify Natural Divisions: Look for points where the crown (where the leaves emerge from the roots) naturally splits. You should be able to see distinct sections, each with its own roots and at least one healthy bud or eye.
- Make the Cut: Using your sterilized pruning shears or knife, carefully cut or pry apart the root ball into smaller sections. Each section needs to have a healthy root system and at least one strong bud. Don’t be afraid to make clean cuts.
- Replant Immediately: Pot up your new divisions into well-draining potting mix. Ensure the bud or crown is just at soil level. Water thoroughly after planting.
The “Secret Sauce” (Pro Tips)
Here are a couple of tricks I’ve learned over the years that really help:
- Don’t Drown Your Divisions: After you plant your divisions, water them well, but then let the soil dry out slightly between waterings. Soggy soil is the quickest way to invite rot, and we want happy roots, not unhappy ones!
- Give Them a Cozy Spot: New divisions can be a bit sensitive. Find them a partially shaded or lightly dappled sun location outdoors, or a bright spot with no direct sun indoors. This protects them from harsh elements while they establish.
Aftercare & Troubleshooting
Once your divisions are planted, the real parenting begins!
- Water Consistently: Keep the soil consistently moist but not waterlogged. Check the soil moisture regularly by sticking your finger about an inch deep.
- Watch for New Growth: The first sign of success will be the emergence of new leaves from the buds. This can take a few weeks, so be patient!
- Signs of Trouble: The most common issue is rot, which usually shows up as blackening or mushy roots and a wilting plant. This is almost always due to overwatering. If you suspect rot, carefully unpot the division, trim away any rotten parts with your sterilized tool, and repot in fresh, dry, well-draining mix. Let it dry out more before watering again. Drooping leaves without any other visible issues might just mean it needs a drink, but always check the soil first!
A Little Encouragement
Propagating Rheum palmatum can be a wonderfully rewarding experience. It allows you to multiply the beauty in your garden and share it with friends. Remember to be patient. Nature works on its own schedule! Enjoy the process, learn as you go, and soon you’ll be admiring your brand new, home-grown rhubarb. Happy gardening!
Resource:
https://identify.plantnet.org/k-world-flora/species/Rheum%20palmatum%20L./data