Let’s Grow More of That Wonderful Figwort!
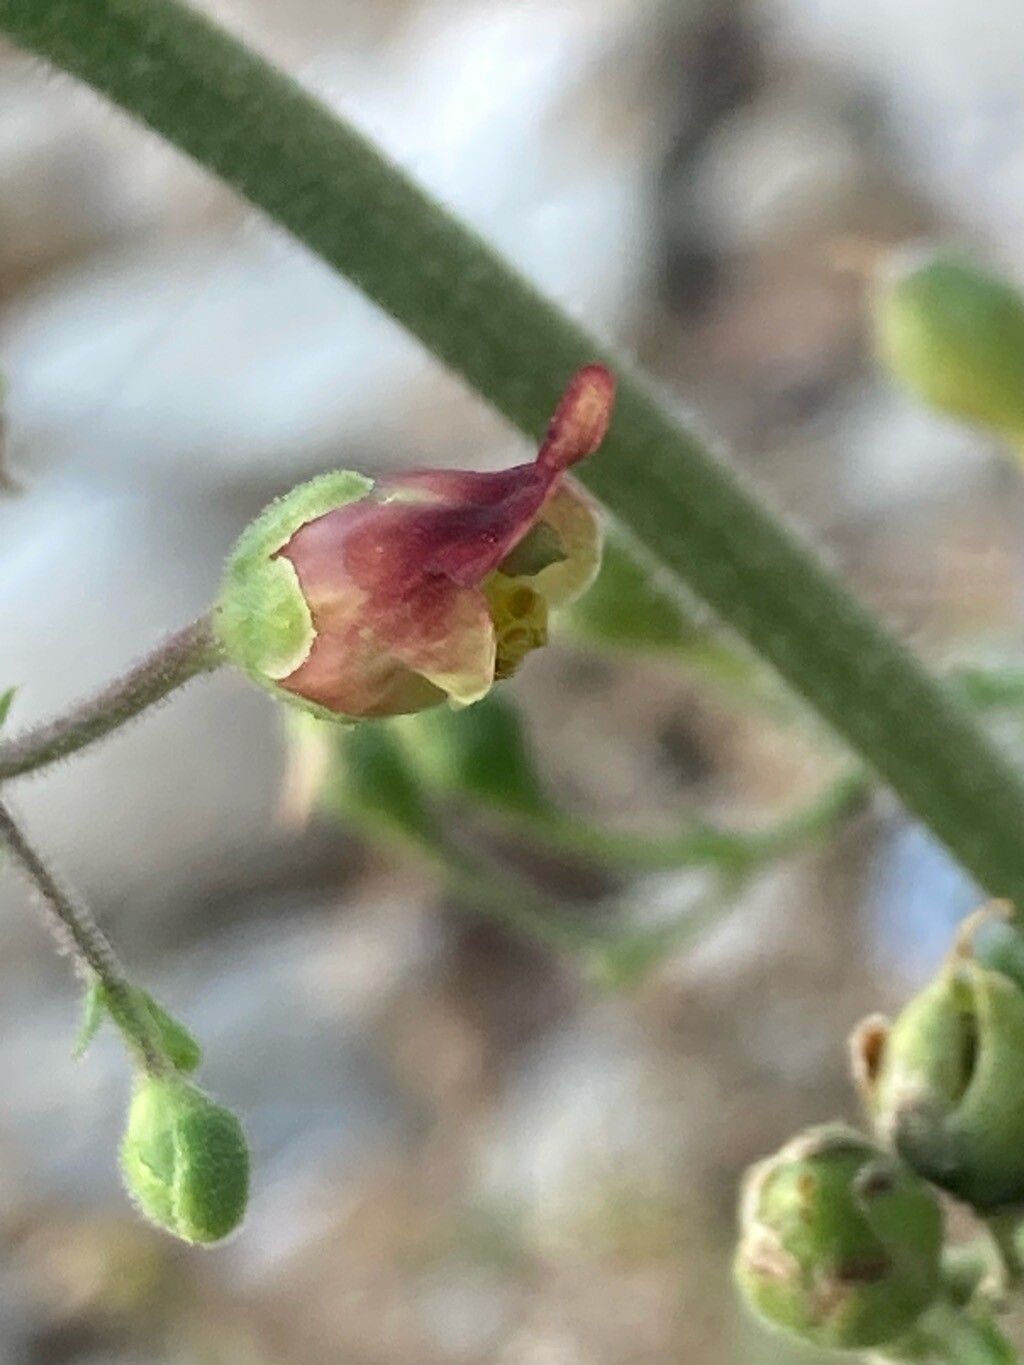
There are certain plants that just make you smile. For me, Scrophularia scorodonia, often called Figwort or Bee Balm (though not to be confused with the Monarda kind!), is one of them. Its delicate, often airy, foliage and intriguing, subtle flowers are quite charming. It brings a lovely, understated texture to the garden, and it’s a magnet for pollinators. And the best part? It’s remarkably easy to propagate! This is one of those lovely plants that’s a joy to share and expand your own collection with. Don’t be intimidated; if you’ve ever taken a cutting before, you’re already halfway there.
When to Get Your Hands Dirty
The sweet spot for propagating Scrophularia scorodonia is generally in the late spring or early summer. This is when the plant is actively growing and has plenty of sap flowing, which helps with both root development and overall vigor. You’ll be looking for new, healthy growth. Avoid taking cuttings from woody, old stems.
What You’ll Need
Gathering your supplies beforehand makes the whole process much smoother. Here’s what I usually have on hand:
- Clean Pruning Shears or a Sharp Knife: Essential for making clean cuts, which reduces stress on the plant and prevents disease.
- Rooting Hormone (Optional but Recommended): A little boost can really speed things up and improve success rates.
- Small Pots or Seed Trays: Whatever you have that can hold soil and allow for drainage.
- Well-Draining Potting Mix: A good starter mix is usually a blend of peat moss or coco coir, perlite, and a little compost. You can also get a specific seed-starting mix.
- Watering Can or Spray Bottle: For gentle watering.
- Plastic Bags or a Propagator Lid: To create a humid environment.
- Plant Labels: Because trust me, you will forget what you planted where!
Bringing New Figwort to Life
I find two methods work brilliantly for Scrophularia scorodonia: stem cuttings and division.
Stem Cuttings: A Classic for a Reason
- Take Your Cuttings: In late spring or early summer, select healthy, non-flowering shoots. Use your clean shears to cut lengths of about 4-6 inches. Make the cut just below a leaf node (where a leaf attaches to the stem).
- Prepare the Cuttings: Gently remove the lower leaves from the cutting, leaving just the top 2-3 sets. This will prevent them from rotting in the soil.
- Dip in Rooting Hormone (Optional): If you’re using it, dip the cut end of the stem into a small amount of rooting hormone powder, tapping off any excess.
- Plant Them Up: Fill your small pots with your well-draining potting mix. Make a small hole in the center of the soil with your finger or a pencil.
- Insert and Water: Gently insert the cutting into the hole, firming the soil around it. Water thoroughly but gently. You want the soil to be moist, not waterlogged.
- Create a Humid Environment: Cover the pot with a clear plastic bag (making sure the leaves don’t touch the plastic) or place it under a propagator lid. This keeps humidity high, which is crucial for cuttings to root.
- Find a Good Spot: Place the pots in a bright location, but out of direct, hot sunlight. A warm spot is ideal.
Division: The Quickest Route
If you have an established clump of Scrophularia scorodonia, division is a fantastic, easy option.
- Dig Up the Plant: In spring or fall (though spring is often easier as the soil is usually moist and the plant is ready to grow), carefully dig up the entire plant.
- Gently Separate: You can often gently pull or tease the root ball apart with your hands. If it’s a bit stubborn, use a clean trowel or a sturdy knife to slice through the clump, ensuring each section has plenty of roots and some healthy shoots.
- Replant Immediately: Dig new holes in your garden or fill pots with fresh soil. Replant your divisions at the same depth they were growing before. Water them in well.
The “Secret Sauce” – My Insider Tips
Here are a couple of things I’ve learned over the years that can really make a difference:
- Bottom Heat is Your Friend: For cuttings, placing the pots on a gentle heat mat can significantly speed up root formation. It mimics the warmth of spring soil and encourages those roots to get going much faster. Just a low setting is all you need.
- Don’t Be Afraid to Trim: If you have a cutting with multiple stems emerging, and some look weaker than others, don’t hesitate to pinch off the weaker ones. This channels the plant’s energy into the stronger stem, leading to a more robust plant overall.
Aftercare and What to Watch For
Once your cuttings have developed a good root system (you can often tell by gently tugging on the cutting – if there’s resistance, roots are forming!) or your divisions are settled, it’s time for a little TLC.
- Gradual Acclimatization: If you used a humidity dome or plastic bag, slowly start to remove it over a few days. This allows the new plant to adjust to the drier air.
- Keep Moist, Not Soggy: Continue to water regularly, keeping the soil consistently moist but never waterlogged.
- First Feeding: Once you see new top growth, you can give them a diluted liquid feed once every couple of weeks.
The most common sign of things not going quite right is wilting that doesn’t recover after watering, or the cutting turning mushy and black at the base. This usually indicates rot, often caused by too much moisture and not enough air circulation. If you see this, sadly, it’s usually a lost cause, but don’t get discouraged! Just try again with fresh cuttings and ensure your soil drains well.
Happy Planting!
Propagating Scrophularia scorodonia is a wonderful way to get more of its garden charm for free. Be patient with the process. Sometimes cuttings take longer than you expect, and that’s perfectly okay. The joy is in nurturing a new life from a tiny piece of a plant you already love. Happy growing!
Resource:
https://identify.plantnet.org/k-world-flora/species/Scrophularia%20scorodonia%20L./data