Oh, hello there! Welcome to my little corner of the garden world. Today, we’re diving into the fascinating process of bringing more of a truly special plant into our lives: Thelypodium laciniatum.
A Thorny Beauty Worth Cultivating
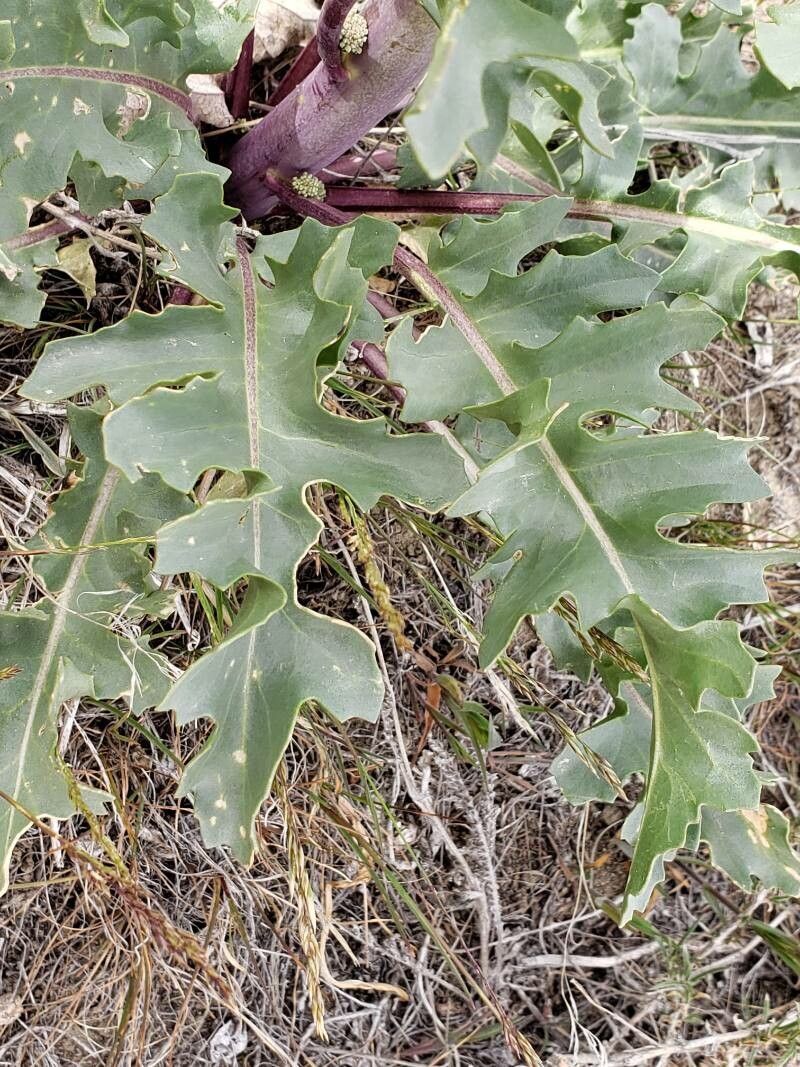
Thelypodium laciniatum, often called the Cutleaf Thelypodium, is a real gem for any garden that appreciates a bit of wild elegance. Its delicate, lacy foliage and lovely, often fragrant, flowers attract a wonderful array of pollinators. It’s not a plant you see everywhere, which makes it all the more rewarding to grow your own. Now, if you’re wondering if this is a beginner-friendly propagation project, I’d say it’s a moderately easy one. With a little patience and the right approach, you’ll be successful.
When is the Perfect Time to Propagate?
For Thelypodium laciniatum, the sweet spot for propagation by cuttings is late spring to early summer. This is when the plant is actively growing, and the new stems have a good balance of flexibility and woody tissue. You want stems that are not too soft and floppy, but also not completely woody. Think of it as the “pencil-thick” stage – firm but still bendable.
Gathering Your Propagation Arsenal
Here’s what you’ll want to have on hand before you get started:
- Sharp Pruning Shears or a Razor Blade: Cleanliness is key!
- Rooting Hormone (Powder or Gel): This really gives your cuttings a boost.
- Potting Mix: A well-draining mix is crucial. I like a blend of peat moss, perlite, and a bit of sterile compost. A good general-purpose seed starting mix works too.
- Small Pots or Seed Trays: With drainage holes, of course.
- Clear Plastic Bags or a Propagation Dome: To create a humid environment.
- A Small Watering Can or Spray Bottle: For gentle watering.
- Labels and a Marker: To keep track of your cuttings!
Bringing New Life: Propagation Methods
The most reliable method for Thelypodium laciniatum is through stem cuttings. Here’s how I do it:
- Take Your Cuttings: Select healthy, non-flowering stems from your parent plant. Using your sharp shears or blade, cut sections that are about 4-6 inches long. Make the cut just below a leaf node (where a leaf attaches to the stem), as this is where roots are most likely to form. Remove any lower leaves, leaving just two or three at the top.
- Dip in Rooting Hormone: Moisten the cut end of the stem slightly with water, then dip it into your chosen rooting hormone. Tap off any excess.
- Plant Your Cuttings: Fill your pots with your prepared potting mix. Make a small hole in the center of the mix with your finger or a pencil. Gently insert the cut end of the stem into the hole, ensuring the rooting hormone isn’t completely scraped off. Firm the mix gently around the stem to secure it.
- Water Gently: Give the pot a light watering to settle the soil around the cutting.
- Create a Humid Environment: This is super important! You can tent a clear plastic bag over the pot, making sure it doesn’t touch the leaves, or use a propagation dome. This traps humidity, which cuttings need to prevent drying out before they can root. Place the pots in a bright spot, but out of direct sunlight.
The “Secret Sauce”: Insider Tips for Success
Here are a few things I’ve learned over the years that make a real difference:
- Don’t Be Afraid to Wiggle: If you’re unsure if your cutting has rooted, give it a very gentle tug. If you feel resistance, it’s likely developing roots! If it pulls out easily, it hasn’t rooted yet.
- Bottom Heat is Your Friend: While not strictly necessary, placing your pots on a gentle heat mat can significantly speed up root development. It mimics the warmth of spring and tells the plant, “It’s time to get growing!”
- The “Mother Leaf” Trick: For some plants, leaving a small portion of a lower leaf attached can help nourish the cutting. While less critical for Thelypodium laciniatum, it’s a good practice to remember for other species.
Aftercare and What to Watch For
Once your cuttings have rooted – which can take 4-8 weeks, sometimes longer – you’ll start to see new growth.
- Acclimatize Gradually: Before removing the plastic bag or dome permanently, gradually increase the ventilation over a week or so. This helps the new plant adjust to lower humidity.
- Watering: Keep the soil consistently moist but not waterlogged. Overwatering is a fast track to rot.
- Transplanting: Once the new plants are large enough to handle and have a good root system, you can transplant them into slightly larger pots.
Troubleshooting is part of the journey! The most common issue is rot, which usually signals too much moisture and poor air circulation. If a cutting looks black and mushy, it’s best to discard it and try again. Yellowing leaves can sometimes indicate underwatering or a lack of light.
Keep Growing with Joy!
Propagating Thelypodium laciniatum is a wonderfully satisfying process. It’s a chance to learn your plant’s rhythms and reward yourself with more of its unique beauty. Be patient, trust the process, and enjoy the little victories as you nurture these new seedlings into strong, healthy plants. Happy gardening!
Resource:
https://identify.plantnet.org/k-world-flora/species/Thelypodium%20laciniatum%20(Hook.)%20Endl./data