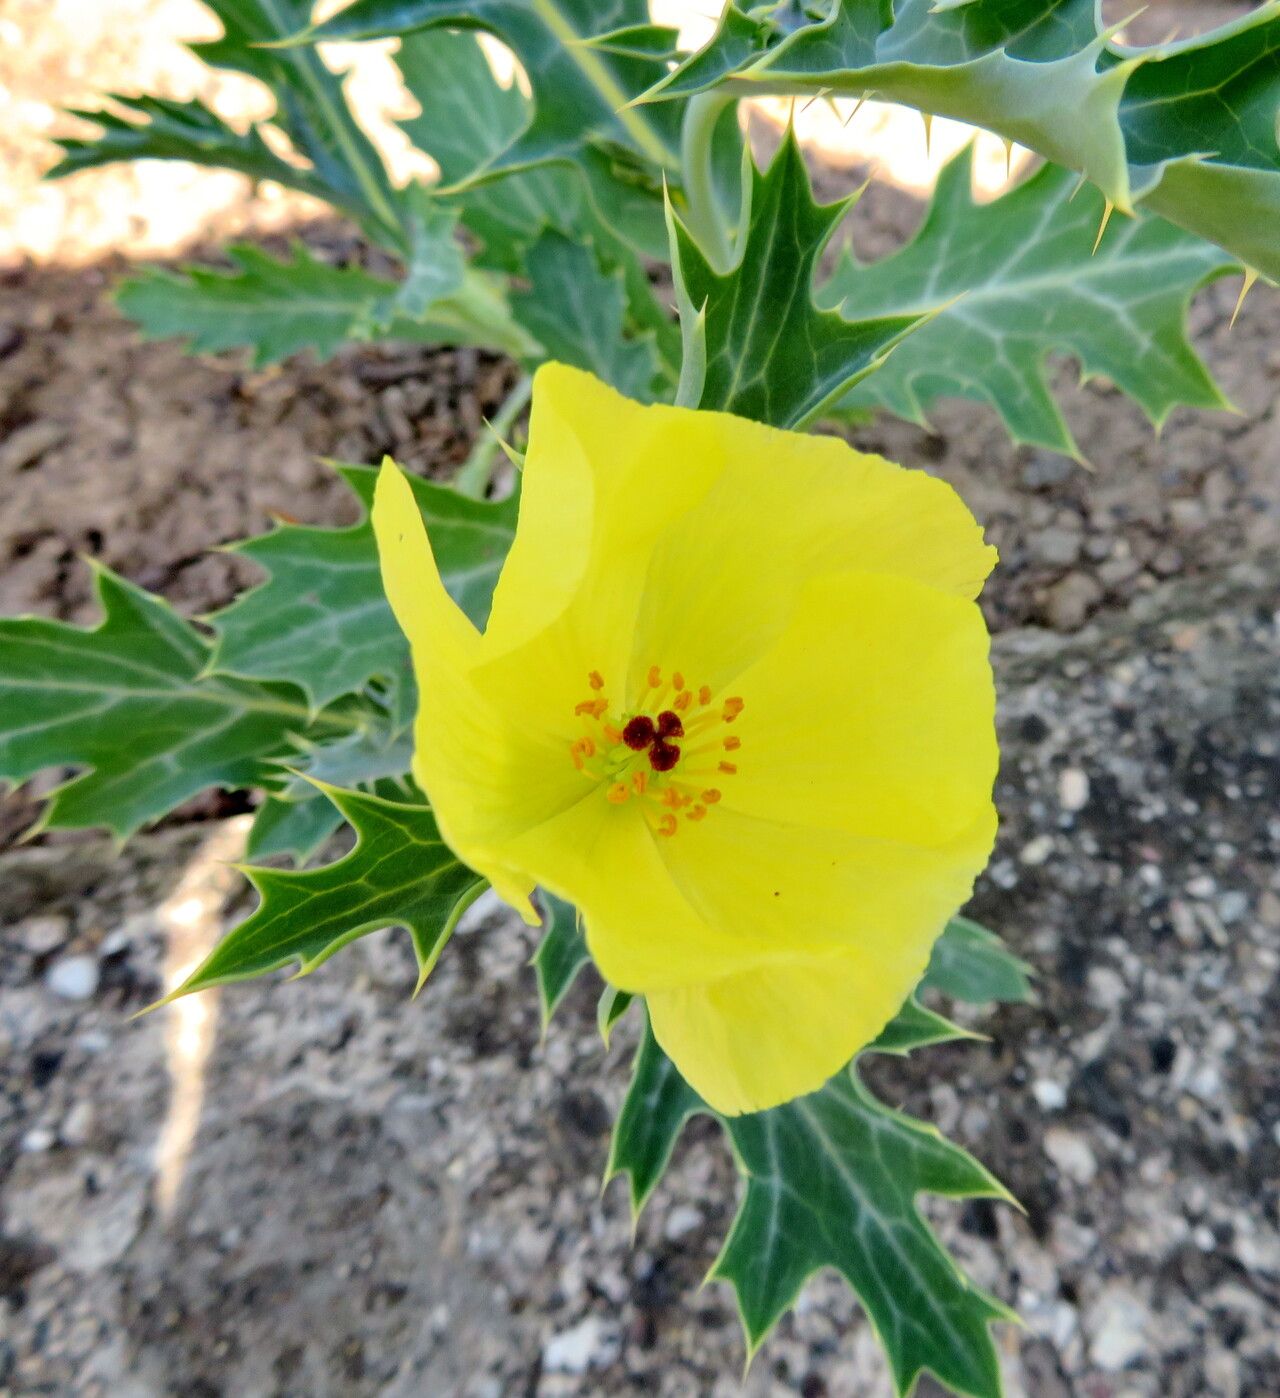
Hello there, fellow garden enthusiasts! If you’ve ever found yourself captivated by the vibrant blooms and striking foliage of Argemone subfusiformis, also known as the Mexican Poppy, then you’re in for a treat. Its cheerful orange flowers are like little bursts of sunshine in the garden, and the silvery, prickly leaves add an architectural elegance that’s hard to resist. Propagating this beauty is not only a fantastic way to multiply your joy but also incredibly rewarding. And for those of you just starting out? I’d say Argemone subfusiformis is moderately easy to propagate, a great plant to build your confidence with!
The Best Time to Start
For the highest success rate with propagating Argemone subfusiformis, I always recommend working with new growth in the spring or early summer. This is when the plant has plenty of energy to put into developing new roots. You’re looking for stems that are firm but not yet woody. Think of a healthy, vibrant shoot that feels robust when you gently bend it.
Supplies You’ll Need
Gathering your supplies beforehand makes the whole process much smoother. Here’s what I like to have on hand:
- Sharp, clean pruning shears or a sharp knife: Essential for making clean cuts.
- Rooting hormone (optional but recommended): Helps speed up root development.
- Well-draining potting mix: A good blend of perlite, peat moss, and sand is ideal. You can also buy specific seed-starting or succulent mixes.
- Small pots or trays: Clean containers with drainage holes are a must.
- Watering can with a fine rose: For gentle watering.
- Plastic bags or a propagation dome: To maintain humidity around your cuttings.
Propagation Methods: Let’s Get Our Hands Dirty!
While you can grow Argemone subfusiformis from seed, I find stem cuttings to be the most reliable and rewarding method for increasing your stock.
-
Taking the Cuttings: Gently take your pruning shears and select a healthy stem. Look for a piece that’s about 4-6 inches long. Make a clean cut just below a leaf node (where a leaf attaches to the stem). Remove the lower leaves, leaving just a few at the top.
-
Preparing the Cuttings: If you’re using rooting hormone, dip the cut end of the stem into the powder. Gently tap off any excess. This step isn’t strictly necessary, as the plant is pretty good at rooting on its own, but it can give you a nice boost.
-
Planting the Cuttings: Fill your small pots with the well-draining potting mix. Make a small hole in the center with your finger or a pencil. Insert the cut end of the Argemone stem into the hole, ensuring at least one leaf node is buried beneath the soil surface. Gently firm the soil around the stem.
-
Watering and Humidity: Water your cuttings gently, just enough to moisten the soil. Then, cover the pots with a clear plastic bag, creating a mini-greenhouse. You can secure the bag with a rubber band around the rim of the pot. This helps maintain the high humidity that cuttings crave.
-
Placement: Place your pots in a bright location, but avoid direct sunlight, which can scorch the tender cuttings. A spot on a windowsill that gets bright, indirect light is usually perfect.
The “Secret Sauce” (Pro Tips)
Over the years, I’ve picked up a few tricks that seem to make a real difference:
- The “Sap Sting” Solution: Argemone subfusiformis produces a yellow, sticky sap when cut, which can sometimes hinder rooting. My personal trick is to let the cuttings “sweat” for about 24 hours before planting. I lay them on a dry paper towel on my counter, away from direct sun. This allows some of the sap to dry and can prevent issues sometimes.
- Bottom Heat is Your Friend: If you have a seedling heat mat, using it can significantly speed up the rooting process. Place your pots on the heat mat, but ensure they don’t dry out too quickly. Just a gentle warmth from below encourages those roots to form.
- When in Doubt, Don’t Overwater: It’s tempting to shower your new cuttings with love, but the biggest killer is almost always overwatering leading to rot. Keep the soil consistently moist but not soggy. You’ll learn to judge it by the feel and the look of the soil.
Aftercare & Troubleshooting
Once you start seeing new leaf growth emerging from your cuttings – that’s your cue! It means roots are forming beneath the soil.
- Gradually Acclimate: After a week or two of new growth, start to gradually acclimate your cuttings to a drier environment. Open the plastic bag a little each day for a few hours, eventually removing it completely.
- Continue Watering: Keep the soil moist but not waterlogged. As they grow, you can treat them more like established plants.
- Signs of Trouble: The most common sign of issues is wilting and browning leaves, which can indicate rot. If your cutting looks limp and the soil is soggy, it’s likely suffering from root rot. Unfortunately, if this happens, it’s usually too late to save that particular cutting. Ensure you’ve got good drainage and aren’t overwatering again. Another sign is the cutting just looking sad and not producing any growth – this could mean it just didn’t take. Don’t be discouraged; just try again!
A Little Patience Goes a Long Way
Propagating plants is a journey, not a race. There will be times when things don’t work out as planned, and that’s perfectly okay. The beauty of gardening is learning from every experience. Be patient with your Argemone subfusiformis cuttings, celebrate every tiny sign of life, and enjoy the wonderful process of bringing more of these sunny blooms into your life. Happy propagating!
Resource:
https://identify.plantnet.org/k-world-flora/species/Argemone%20subfusiformis%20Ownbey/data