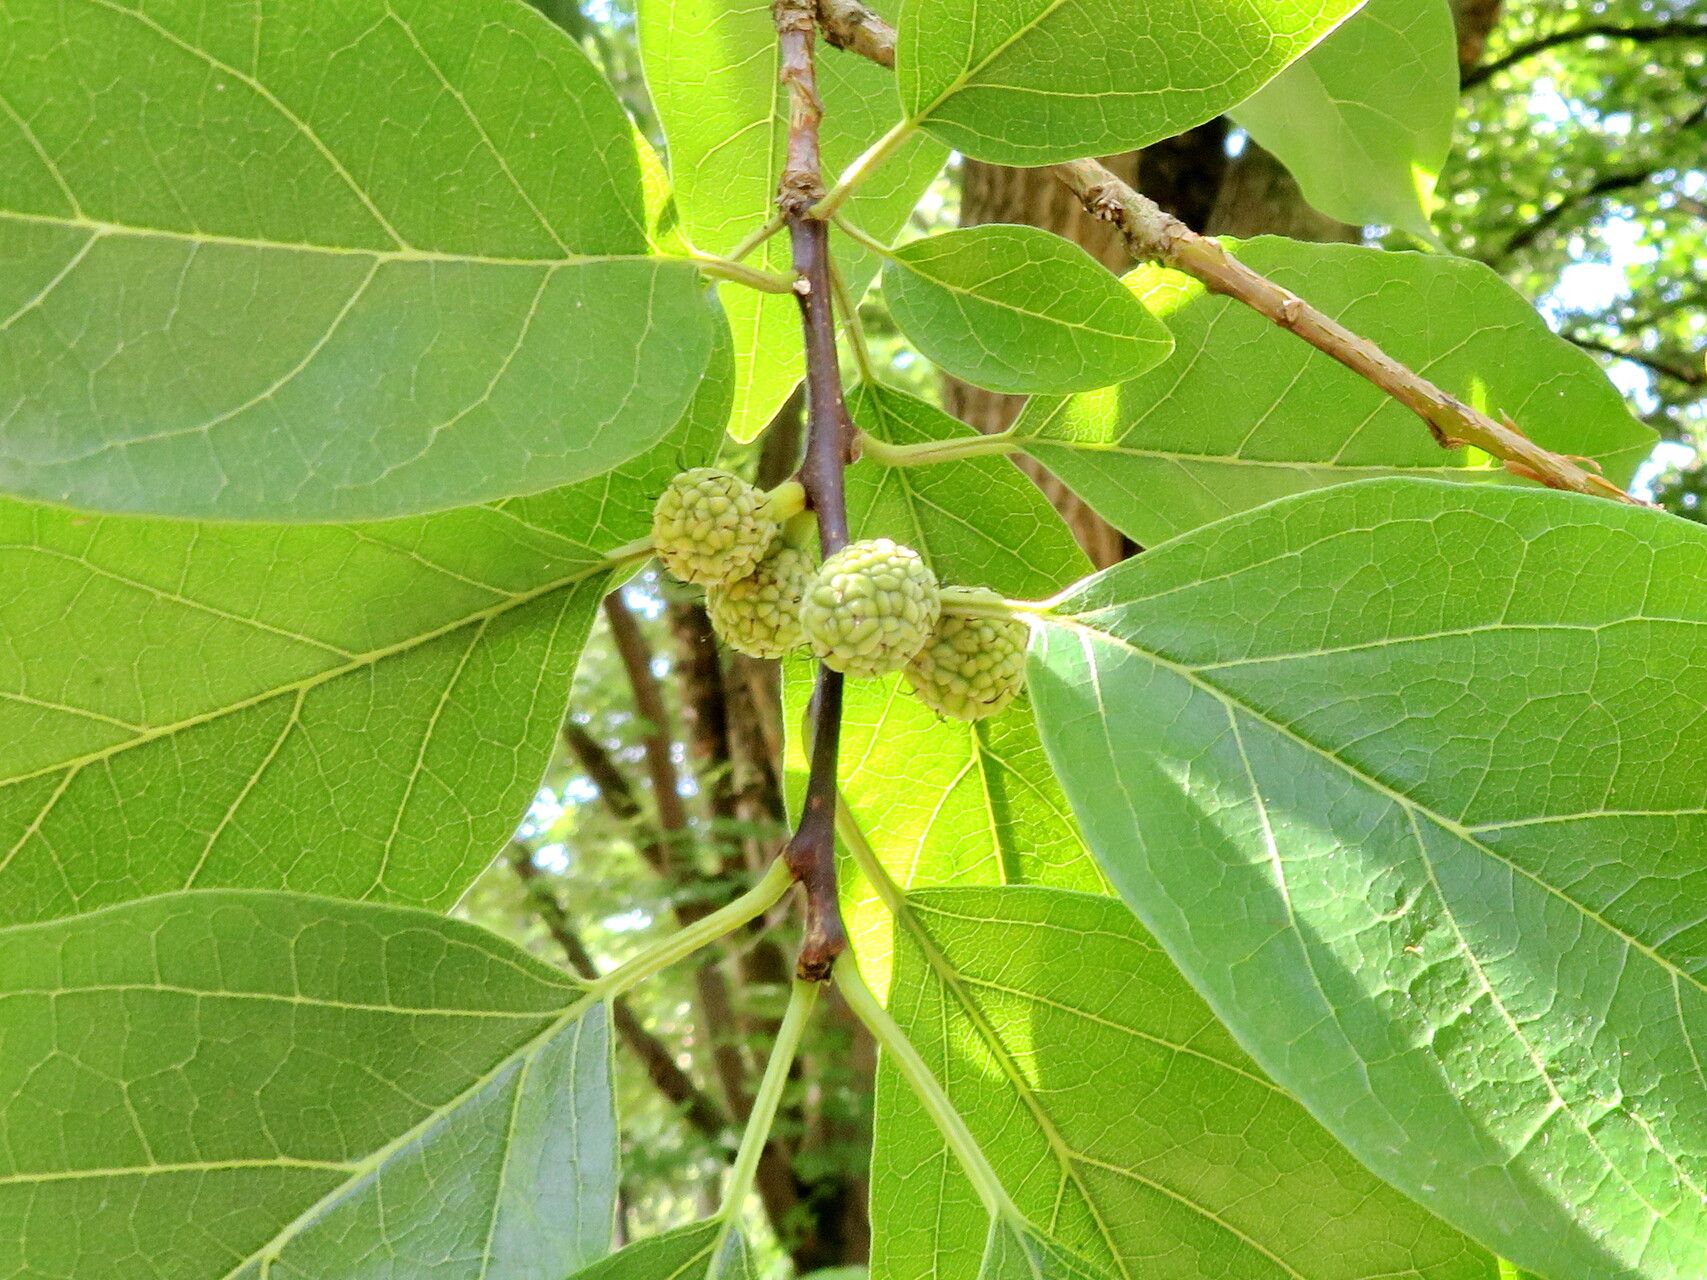
Oh, hello there! Pull up a chair and let’s chat about propagating Maclura tricuspidata, or as some of you might call it, the Korean Mulberry. If you’ve ever admired its handsome, glossy leaves and the promise of delicious fruit (yes, they’re edible and quite tasty!), you’ll understand why having more of these beauties around is such a wonderful idea. Propagating plants is one of my favorite ways to grow my garden, and while Maclura tricuspidata can be a little bit particular, don’t let that deter you. It’s a very rewarding process, and once you get the hang of it, you’ll be sharing these plants with everyone!
The Best Time to Start
For the highest success rate, the sweet spot for propagating Maclura tricuspidata is late spring to early summer, after the plant has started its active growth for the season. You want to take cuttings when the stems are still somewhat flexible and green, but beginning to firm up a bit. This is often referred to as taking semi-hardwood cuttings. Avoid taking cuttings from brand-new, floppy growth or from old, woody stems.
Supplies You’ll Need
Here’s a quick rundown of what you’ll want to have on hand:
- Sharp Pruning Shears or a Craft Knife: Clean, sharp tools are essential for making clean cuts.
- Rooting Hormone: This isn’t strictly mandatory, but it significantly increases your chances of success. Look for a powder or gel designed for woody plants.
- Potting Mix: A well-draining mix is crucial. I like to use a blend of equal parts peat moss or coco coir, perlite, and a bit of compost.
- Small Pots or Propagation Trays: Clean containers with drainage holes are a must.
- Plastic Bag or Humidity Dome: To create a humid environment for your cuttings.
- Water: For moistening the soil and potentially for water propagation.
- Optional but Recommended: Bottom Heat Mat: This can speed up root development considerably.
Propagation Methods
While Maclura tricuspidata can be a bit stubborn, here are the methods that tend to work best:
Stem Cuttings (The Most Reliable Method)
- Prepare Your Cuttings: On a mild day, select healthy stems that are about pencil-thick and between 4-6 inches long. Make a clean cut just below a leaf node (where a leaf attaches to the stem). Remove any leaves from the bottom half of the cutting. You can optionally cut any larger leaves in half to reduce water loss.
- Apply Rooting Hormone: Dip the cut end of your cutting into rooting hormone, tapping off any excess. Make sure the end is well-coated.
- Plant Your Cuttings: Fill your pots or trays with your prepared potting mix and moisten it thoroughly. Make a small hole with your finger or a pencil, and insert the cut end of the cutting up to the first leaf node. Gently firm the soil around the stem.
- Create a Humid Environment: Water the soil lightly again. Then, cover the pot loosely with a plastic bag or a propagator lid. If you’re using a bag, you can prop it up with stakes so it doesn’t touch the leaves.
- Provide the Right Conditions: Place the pots in a bright location, but out of direct sunlight. If you have a bottom heat mat, now’s the time to use it – aim for a soil temperature around 70-75°F (21-24°C). Keep the soil consistently moist but not waterlogged.
Water Propagation (A Simpler, but Sometimes Less Successful Approach)
- Prepare Your Cuttings: Follow the same steps as above for preparing stem cuttings, but do not use rooting hormone for water propagation.
- Place in Water: Take your cuttings and place them in a jar or vase filled with clean water.
- Positioning is Key: Crucially, ensure that no leaves are submerged in the water. Submerged leaves will rot, and this will likely kill your cutting before it has a chance to root.
- Change Water Regularly: Change the water every few days to keep it fresh and prevent bacterial growth. Again, provide bright, indirect light. You should start to see roots emerging from the cut end. Once the roots are about an inch long, you can carefully transplant them into your potting mix, following the steps for aftercare.
The “Secret Sauce” (Pro Tips)
- The Milky Sap Alert: Maclura tricuspidata has a milky white sap that can be a bit sticky. While not harmful, it can be a nuisance. You can dip the cut end of your cuttings in lukewarm water for a few minutes to rinse off some of this sap before applying rooting hormone. This also helps the hormone adhere better.
- Bottom Heat is Your Friend: I can’t stress this enough for woody cuttings. Providing that gentle warmth from below encourages root formation dramatically. It’s like giving your little cuttings a cozy, nurturing environment to really get going.
- Don’t Overcrowd: Give your cuttings plenty of space in their pots. Overcrowding can lead to poor air circulation, which can encourage fungal diseases and hinder rooting.
Aftercare & Troubleshooting
Once you see signs of new growth (tiny leaves emerging), it’s a good indication that roots are forming. You can gently tug on the cutting – if it offers resistance, it’s likely rooted.
- Gradual Acclimation: Slowly reduce the humidity over a week or two by opening the plastic bag or dome a little more each day. This helps the new plant adjust to its drier environment.
- Watering: Water your new plants when the top inch of soil feels dry. Be careful not to overwater; this is where root rot is most likely to occur. You’ll recognize rot by mushy, brown stems that easily pull out of the soil, often accompanied by a foul smell.
- Signs of Failure: If a cutting turns black and shrivels up, it’s likely died. This can happen due to a lack of moisture, too much direct sun, or fungal issues. Don’t be discouraged if you have a few failures; it’s all part of the learning process! Keep trying!
A Little Patience Goes a Long Way
Propagating Maclura tricuspidata takes a good dose of patience, but the reward of nurturing a new plant from a small cutting is immense. Watch them, tend to them, and celebrate every tiny new leaf. Happy gardening!
Resource:
https://identify.plantnet.org/k-world-flora/species/Maclura%20tricuspidata%20Carrière/data