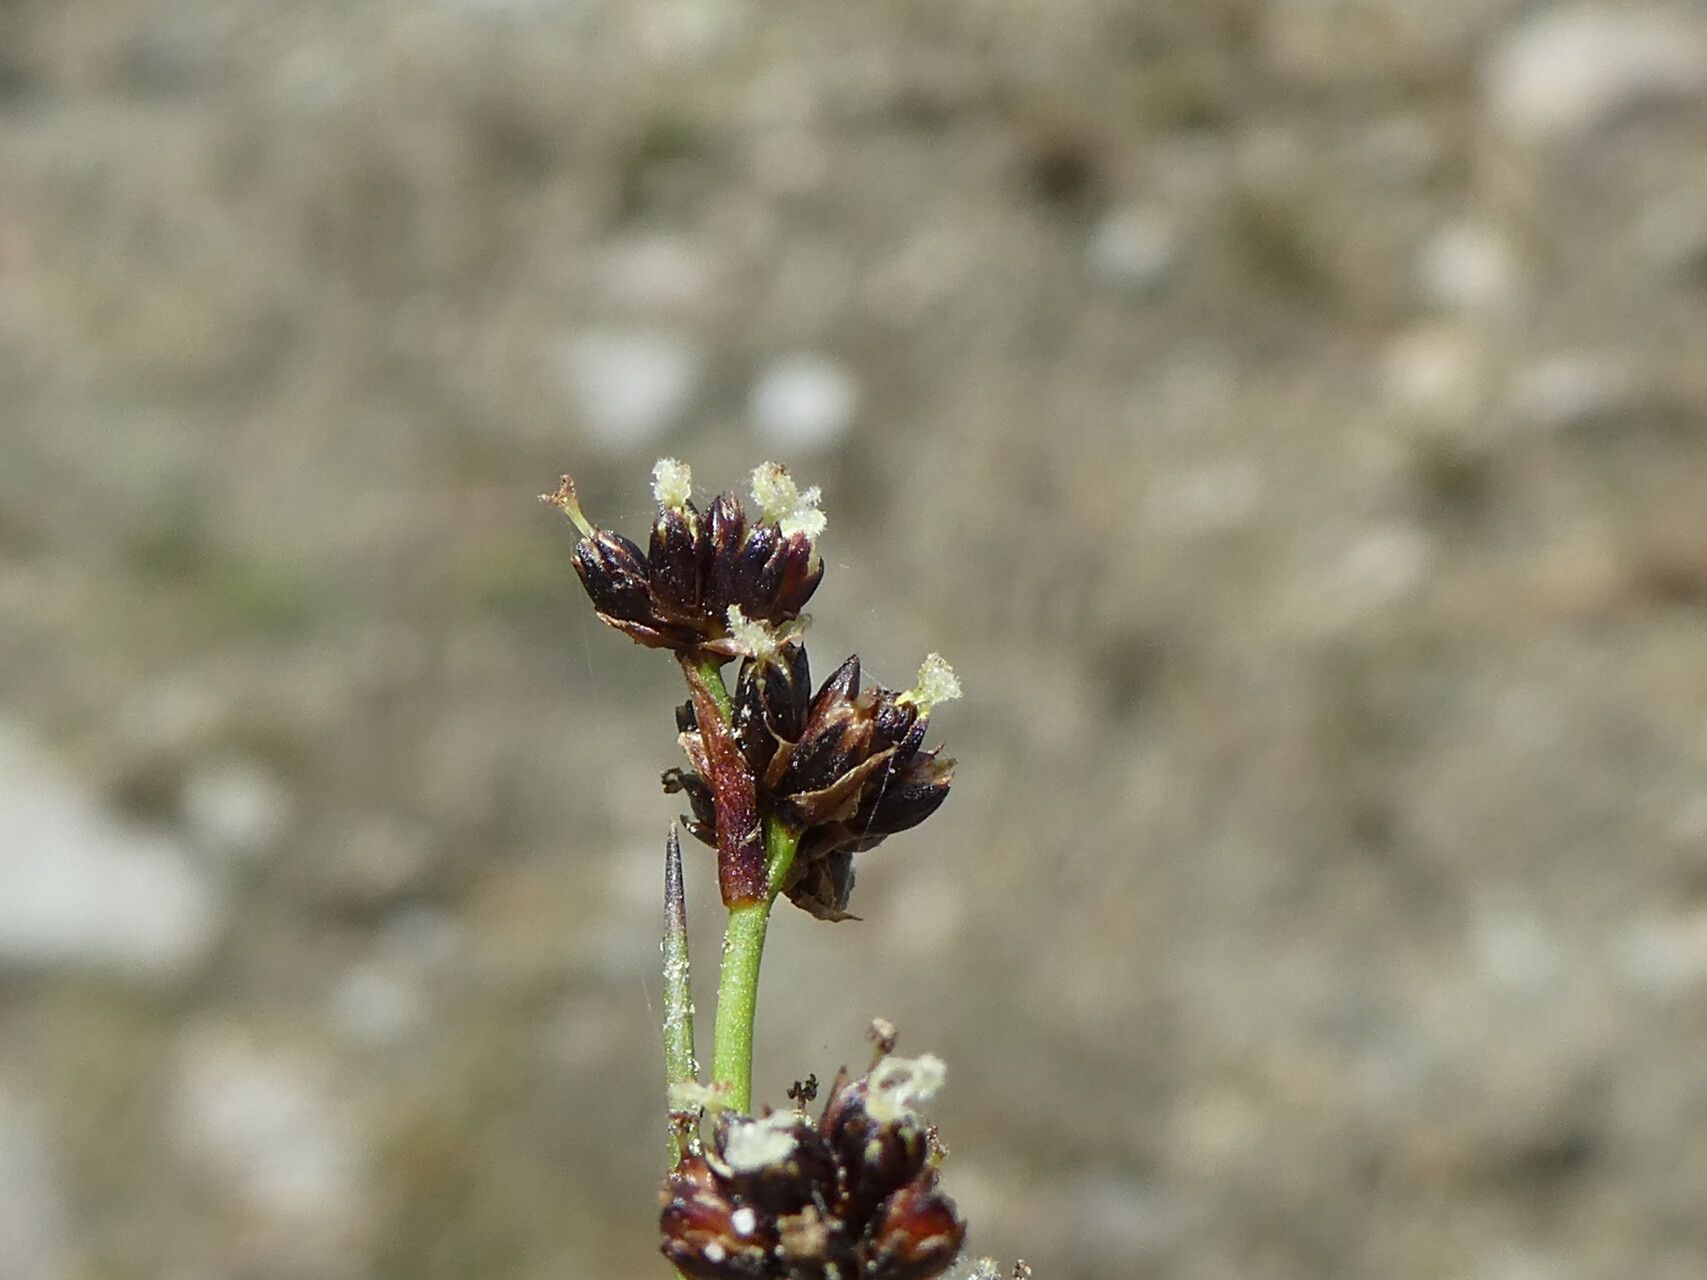
Grow More Rush: Your Guide to Propagating Juncus alpinoarticulatus
Oh, Juncus alpinoarticulatus! This lovely little rush, often called Alpine Wood Rush, brings such a wonderful textural element to ponds, bog gardens, or even just a damp corner. Its grass-like foliage is a beautiful deep green, and it forms attractive, upright clumps that sway gently in the breeze. I especially love how it adds a touch of wildness to a more formal planting scheme. And the best part? It’s surprisingly easy to propagate! For even the most novice gardener looking to expand their collection, this is a fantastic plant to start with.
When is the Rush Hour for Propagation?
The absolute best time to get your hands dirty with Juncus alpinoarticulatus is in early spring. Think about when everything else is waking up after a winter’s nap. That’s when the plant is bursting with new energy, and any divisions or cuttings will have the whole growing season ahead of them to establish well. Late spring or early summer can also work, but aim for that initial surge of growth for the highest success rates.
What You’ll Need to Get Started:
Gathering your supplies beforehand makes the whole process so much smoother. Here’s what I usually have on hand:
- Sharp pruning shears or a clean, sharp knife
- A good quality potting mix or compost. For Juncus, I like a mix that retains moisture well, but also drains just enough to prevent soggy roots. A blend of peat moss or coir, perlite, and compost usually does the trick.
- A clean container or pot (with drainage holes!)
- A watering can or spray bottle
- Optional: Rooting hormone (though often not strictly necessary for this tough plant)
- Optional: A tray filled with small pebbles for water propagation if you choose that route.
Your Propagation Toolkit: Methods That Work
Juncus alpinoarticulatus is wonderfully adaptable, and you have a couple of easy ways to get more plants.
Method 1: Division – The Crowd Pleaser
This is my go-to method for Juncus. It’s like giving the plant a good haircut and getting free haircuts of your own!
- Gently remove the Juncus from its pot or out of the ground. Try not to be too rough with the roots.
- Inspect the root ball. You’ll see that the plant naturally grows in clumps.
- Using your hands or a blunt tool (like the back of a trowel), carefully pull the root ball apart. You want to create sections, each with a healthy clump of foliage and plenty of roots. If it’s a bit stubborn, your sharp pruning shears can help tease apart thicker rhizomes.
- Discard any dead or damaged bits.
- Pot up each new division into its own container with your chosen potting mix. Water them in thoroughly.
Method 2: Water Propagation – A Peek at Progress
This is a fun one if you like to see roots forming!
- Select a healthy shoot from your Juncus.
- Using sharp shears, cut a section about 4-6 inches long. Make sure it has at least a couple of nodes (the little bumps where leaves emerge).
- Remove any lower leaves that would sit below the water line. This is important to prevent rot.
- Place the cutting in a jar or vase filled with fresh water.
- Position the jar so the lower leaves do not touch the water. If needed, you can use a pebble to prop up the stem.
- Place the jar in a bright spot, but out of direct, harsh sunlight.
- Change the water every few days to keep it fresh and prevent bacterial growth. You should see tiny white roots begin to emerge in a few weeks.
- Once the roots are about an inch long, you can pot them up into your regular potting mix.
The “Secret Sauce”: Insider Tips for Success
Here are a couple of things I’ve learned over the years that really make a difference:
- Don’t be afraid to divide vigorously. Juncus is a tough plant and can handle being split into smaller sections. Just make sure each division has some good roots and at least one growing point.
- Mimic its natural environment. Juncus loves moisture. When you’re propagating, even stem cuttings in water, consider placing the pot or vase on a pebble tray. This helps keep humidity high, which is crucial for new root formation.
Aftercare and What to Watch For
Once your new Juncus babies are potted up, give them a good drink and place them in a bright spot. Keep the soil consistently moist, especially for the first few weeks as they settle in. If you’re doing water propagation, keep those roots submerged until you pot them up.
The most common issue you might encounter is rot, especially if the soil is staying too wet or if you have leaves submerged in water. You’ll notice wilting, yellowing leaves, or a mushy base. If you see this, act quickly. For potted plants, check if the drainage is adequate and try letting the soil dry out just a tiny bit between waterings. For water cuttings, remove the affected part, change the water, and ensure no leaves are touching the surface.
Growing on with Patience
Propagating Juncus alpinoarticulatus is such a rewarding way to multiply your greenery and share the beauty of your garden. Be patient, observe your new plants, and enjoy the process of watching them grow. Happy gardening!
Resource:
https://identify.plantnet.org/k-world-flora/species/Juncus%20alpinoarticulatus%20Chaix/data